What Is Masungi Georeserve?
Masungi Georeserve is a privately-owned conservation area in Rizal which was made into a park where outside visitors can come enjoy hiking, climbing course and getting in touch with the nature through a guided tour. The georeserve is located in the northeast of Manila, the capital city of the Philippines. It took us about 2 hours from Makati, a central area of Manila, at 6:30 in the morning. The driving time varies based on traffic. According to the website, it’s about 3 hours from the Ninoy Aquino International Airport.
Having experienced Masungi Georeserve myself, I must say to my fellow expats who haven’t tried it yet that it should be on your bucket list while living in Manila. I could not believe the beauty of the nature that exists in Rizal. It’s only two to two and a half hours from Manila by car!
Masungi Georeserve has a beautiful and impressive website which you should check out.
There exist a plenty of online articles written on Masungi Georeserve. Rather than trying to recreate what is already available, I will try to show you my take on the Masungi Georeserve that others haven’t touched.
Here are 15 things to expect at the Masungi Georeserve.
Hopefully people who will try it for the first time can get a good image of what to expect and prepare their minds for the wonderful experience out there.
15 Things To Expect In Masungi Georeserve
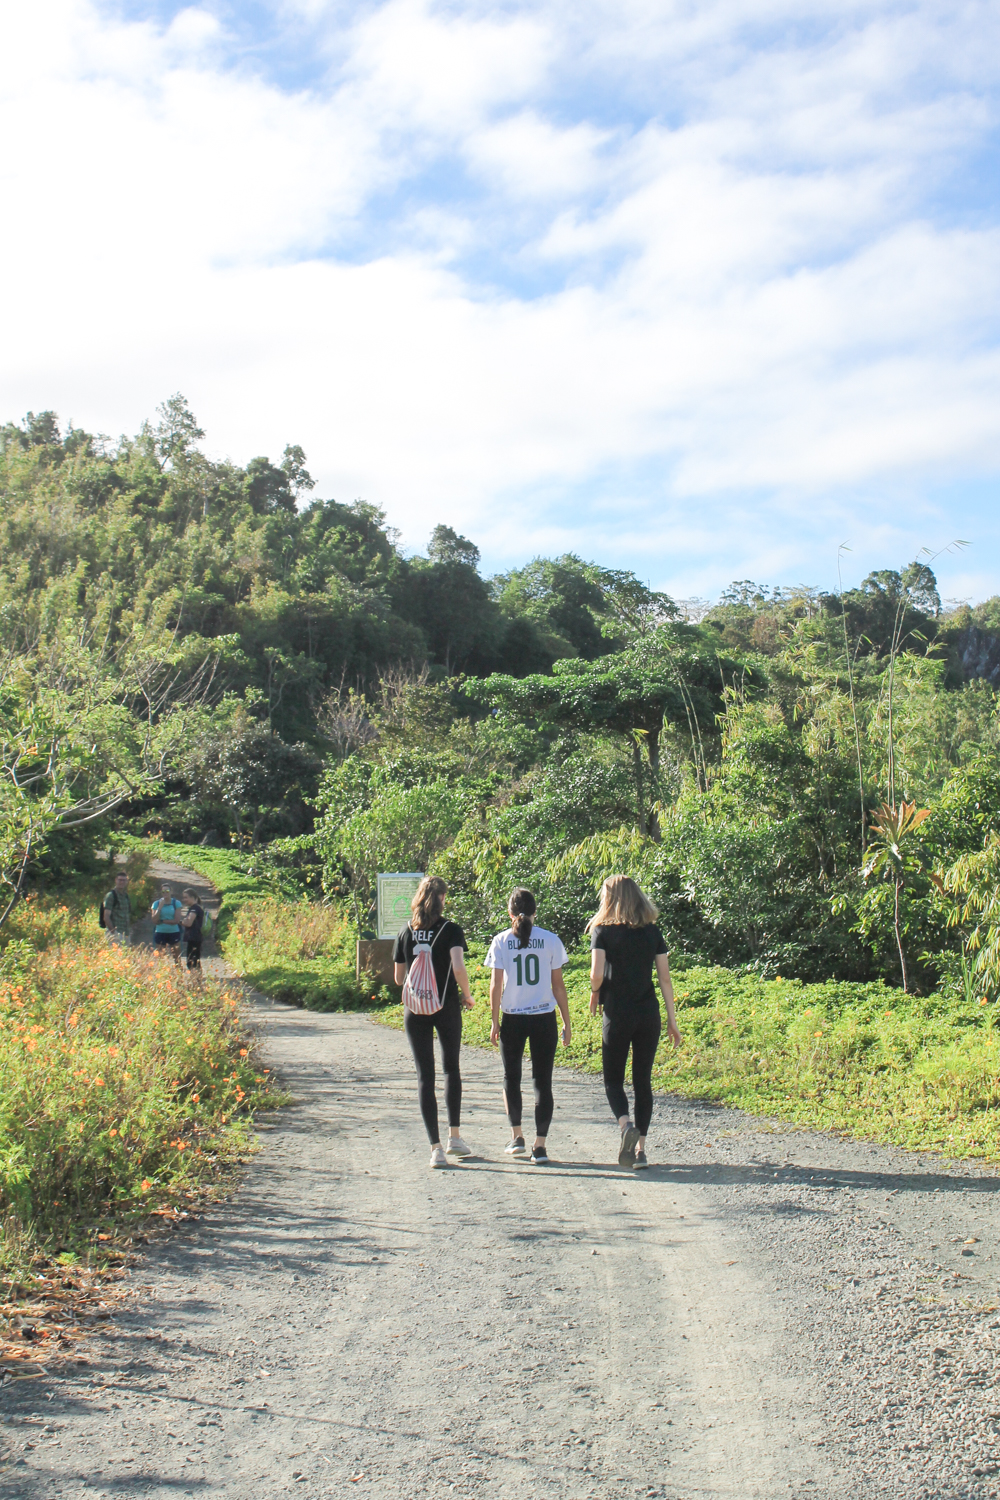
After having arrived at the parking area of the Masungi Georeserve, we walked on a nice trail to the reception area.
1. ORIENTATION BEFORE THE HIKE
Arrive early for the orientation is recommended. Calculate extra time in to drive to the Masungi Georeserve in case you get lost on the way there. There isn’t really a clear sign for the Masungi Georeserve, so you have to pay attention to the road sign as you get closer. You will receive a detailed driving instructions by email after you make a payment for the tour.
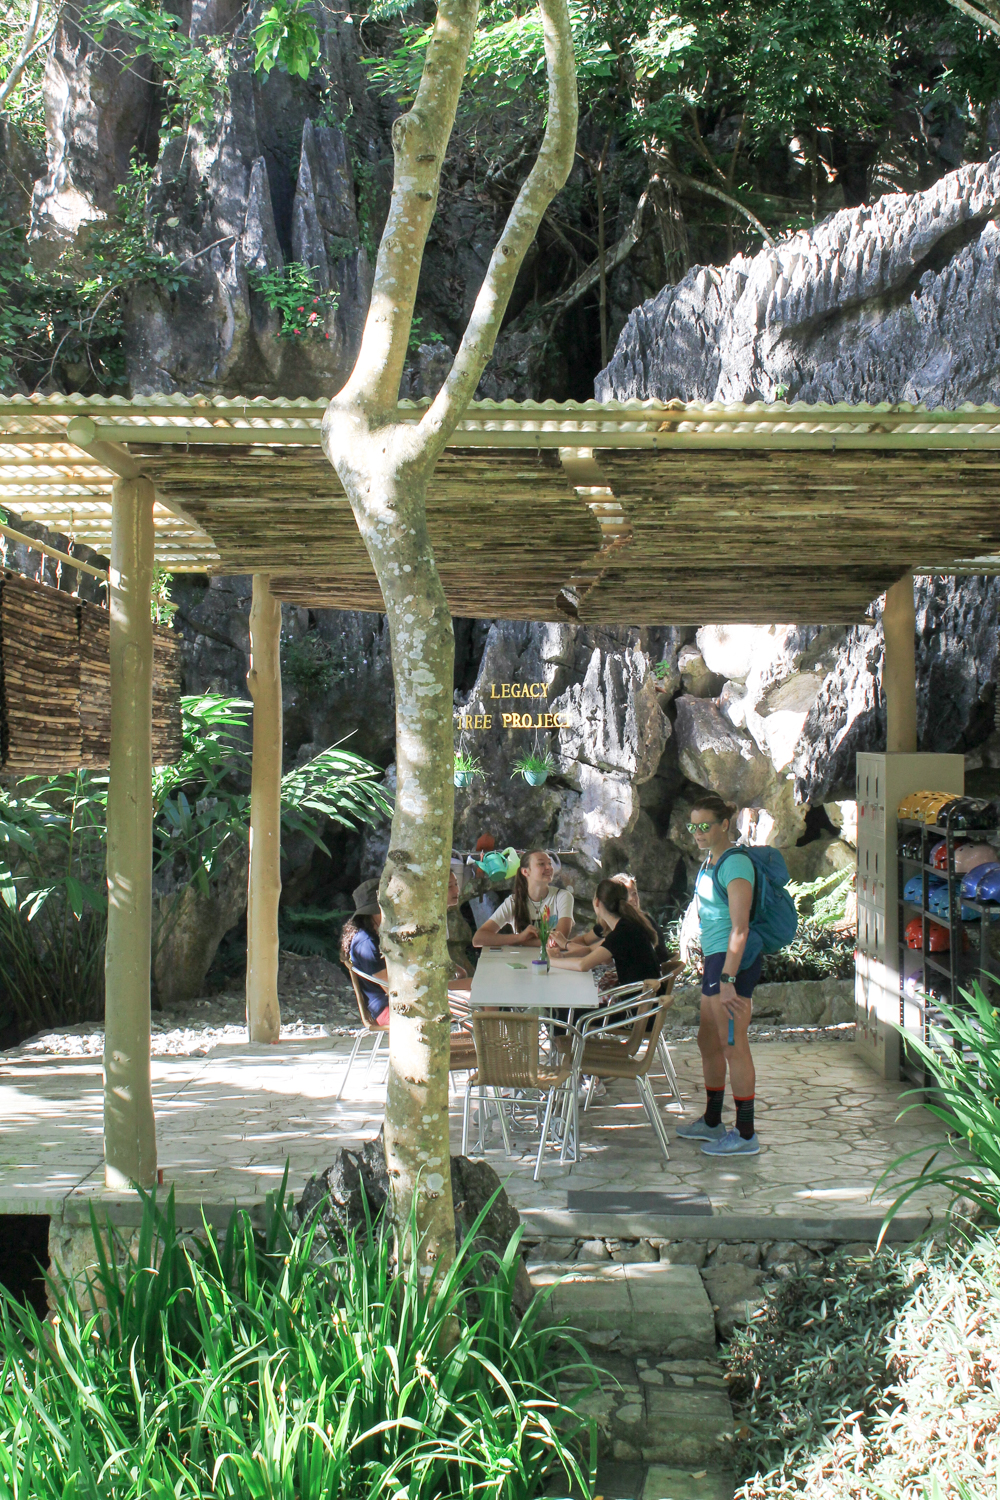
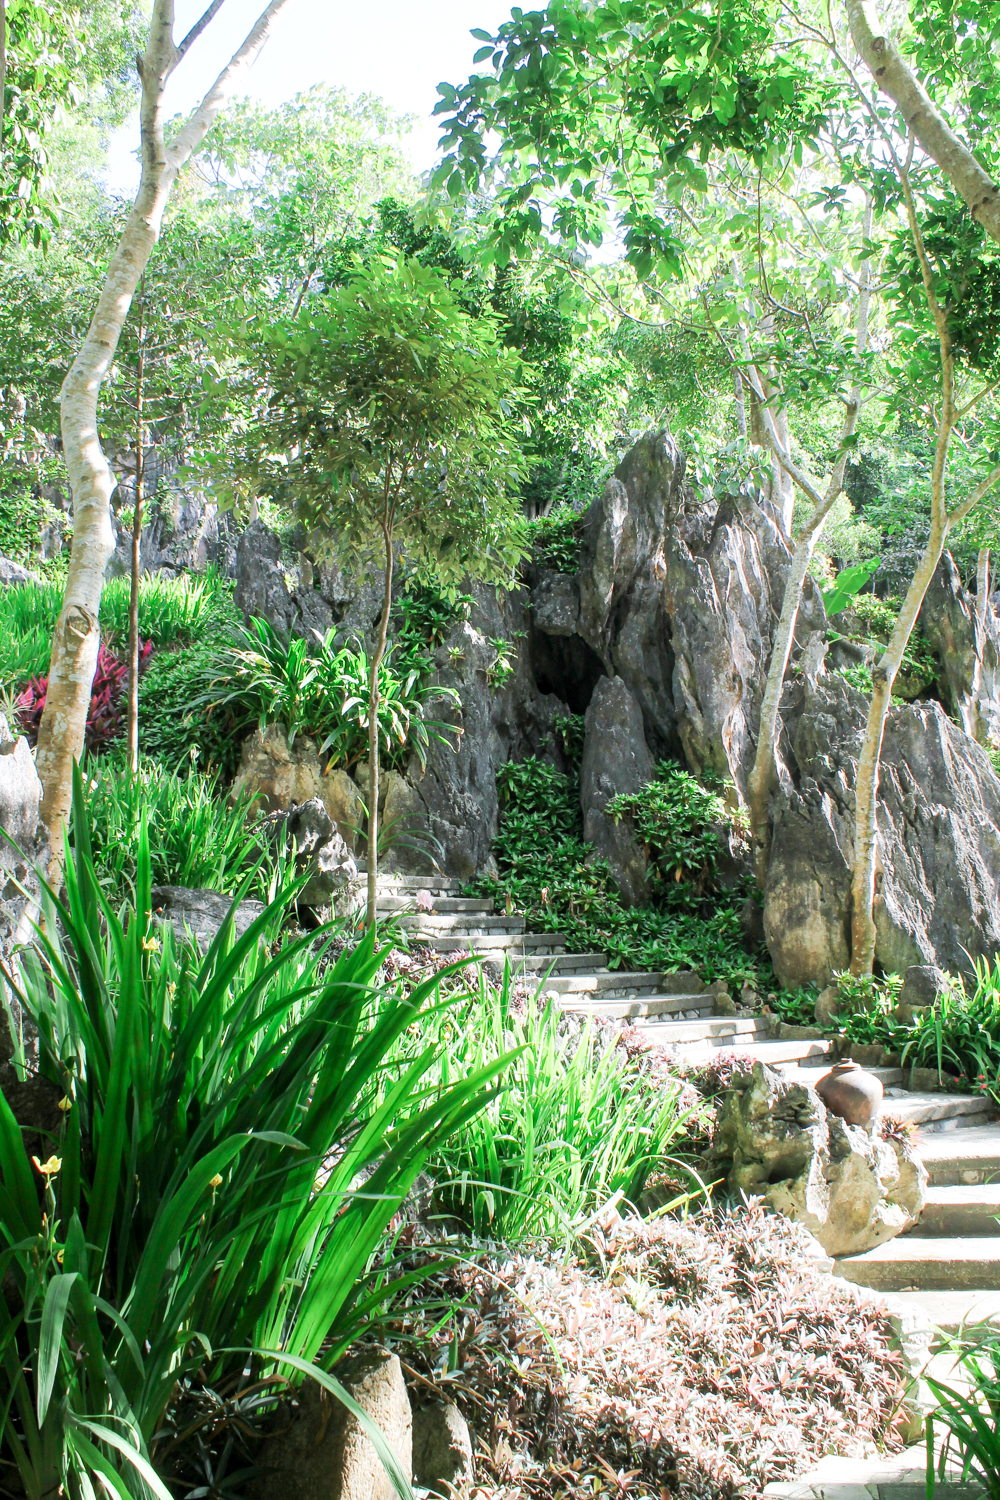
2. WATER
You must bring your own water bottles. There is no store that sells water bottles there. There are filtered water available at the georeserve so that you can refill your bottles.
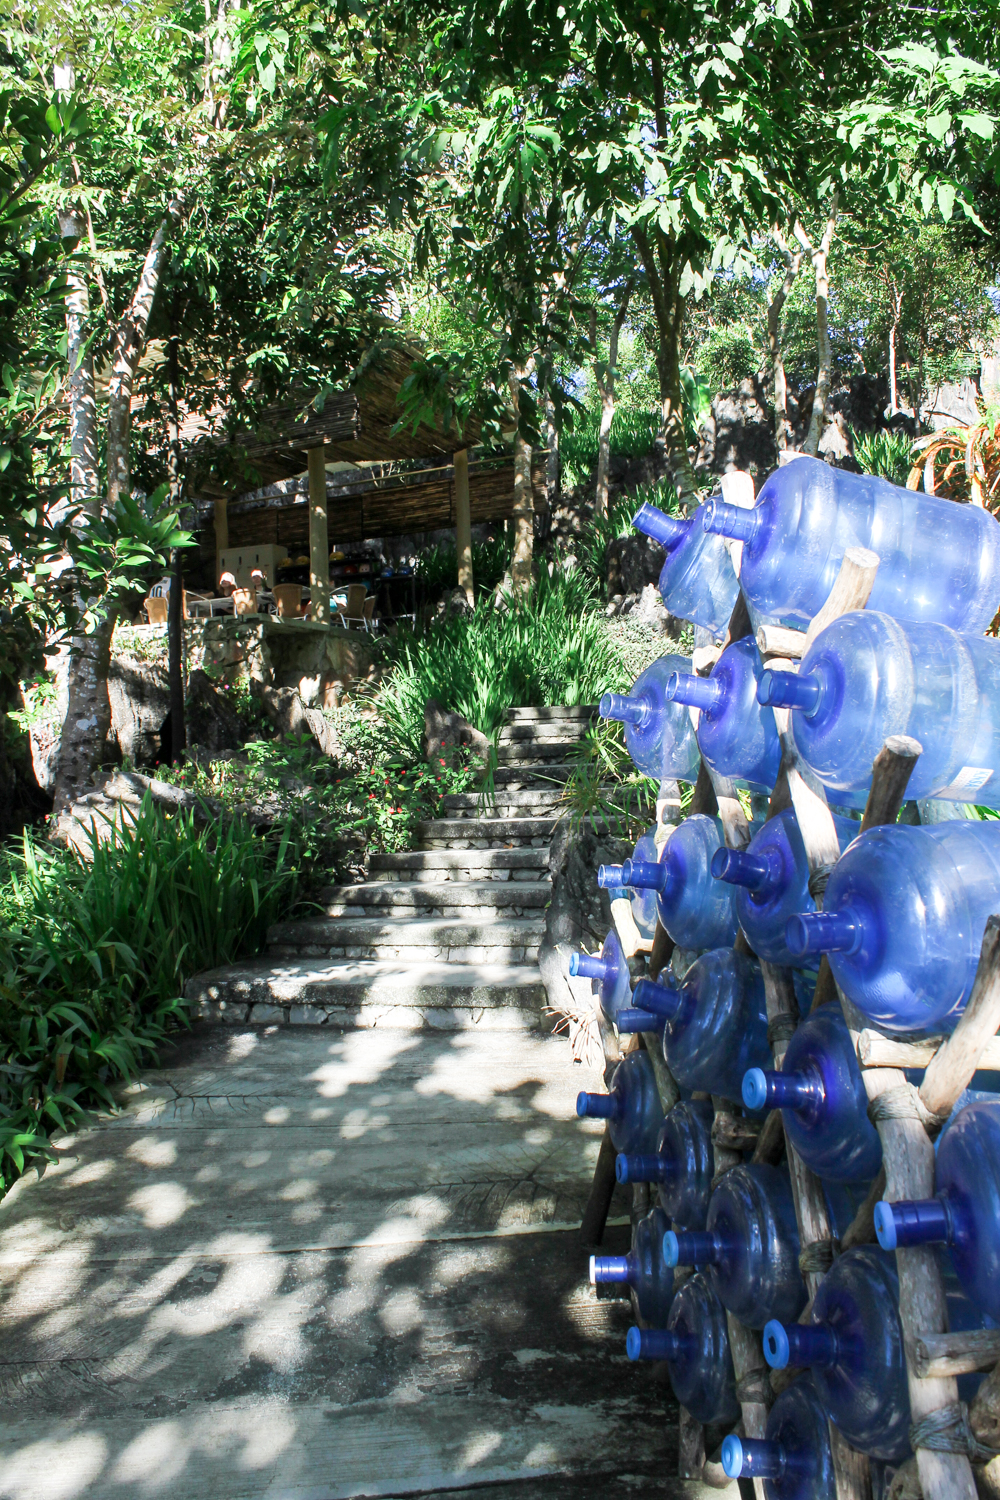
3. BATHROOMS
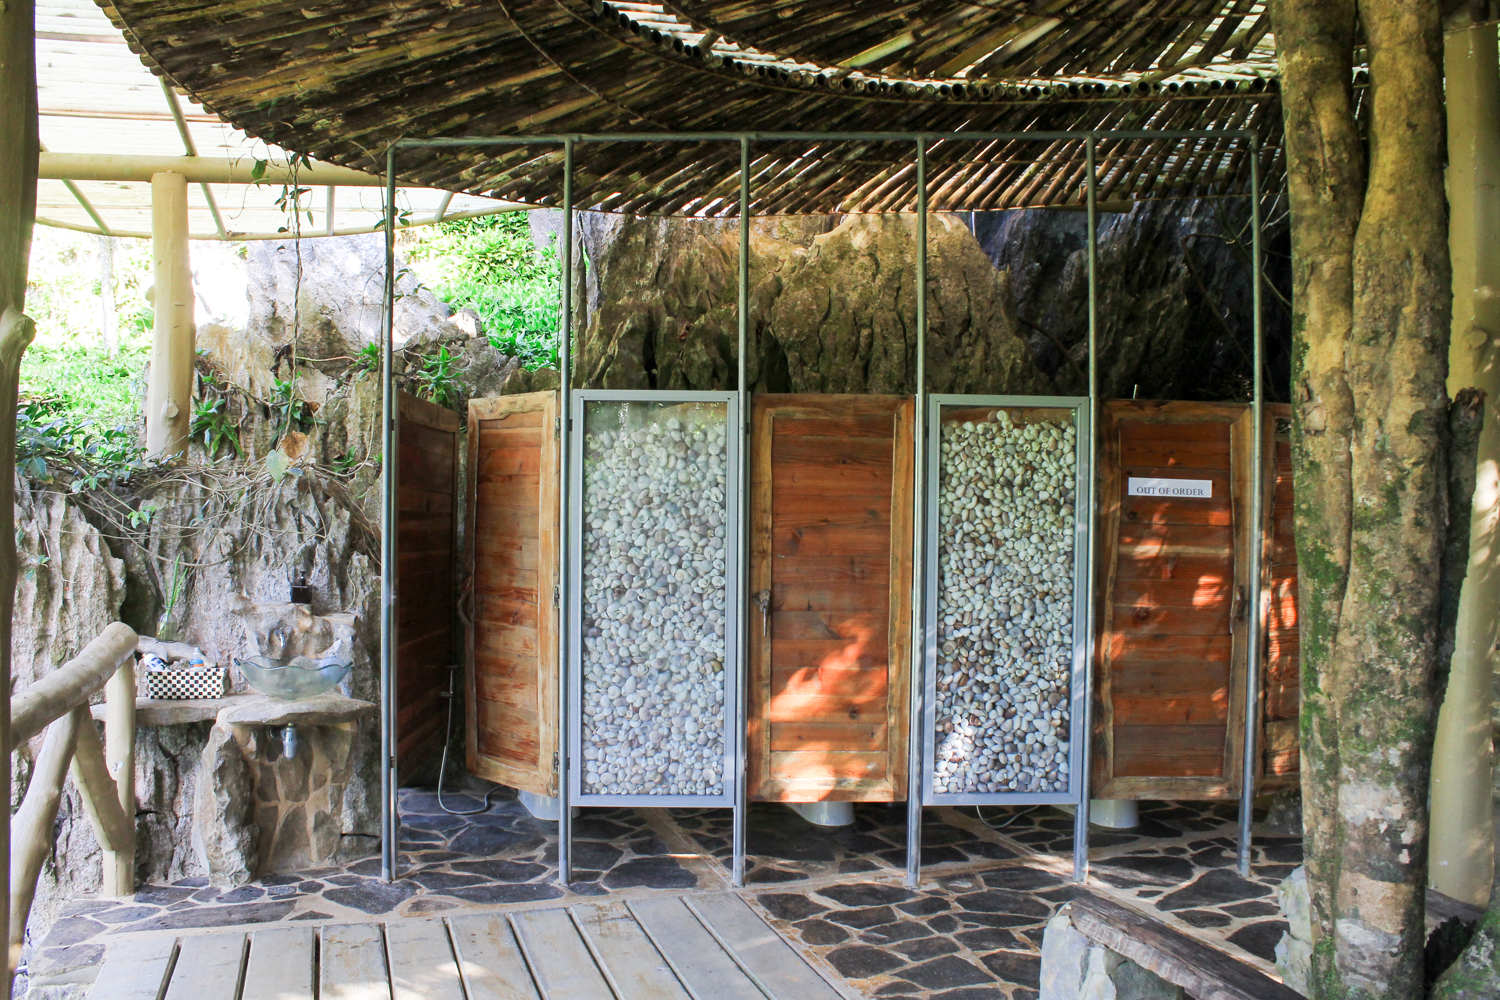
Nicely designed clean bathrooms are available at the reception area. However, there is none available (as far as I knew) during the hike. Make sure you use the bathroom before you go on a hike since you may not be able to use it for about 4 hours. If you arrive early, you may use the bathroom before the orientation. If you arrive just in time, your tour guide will probably give you the time to go before the tour begins.
4. HIKE
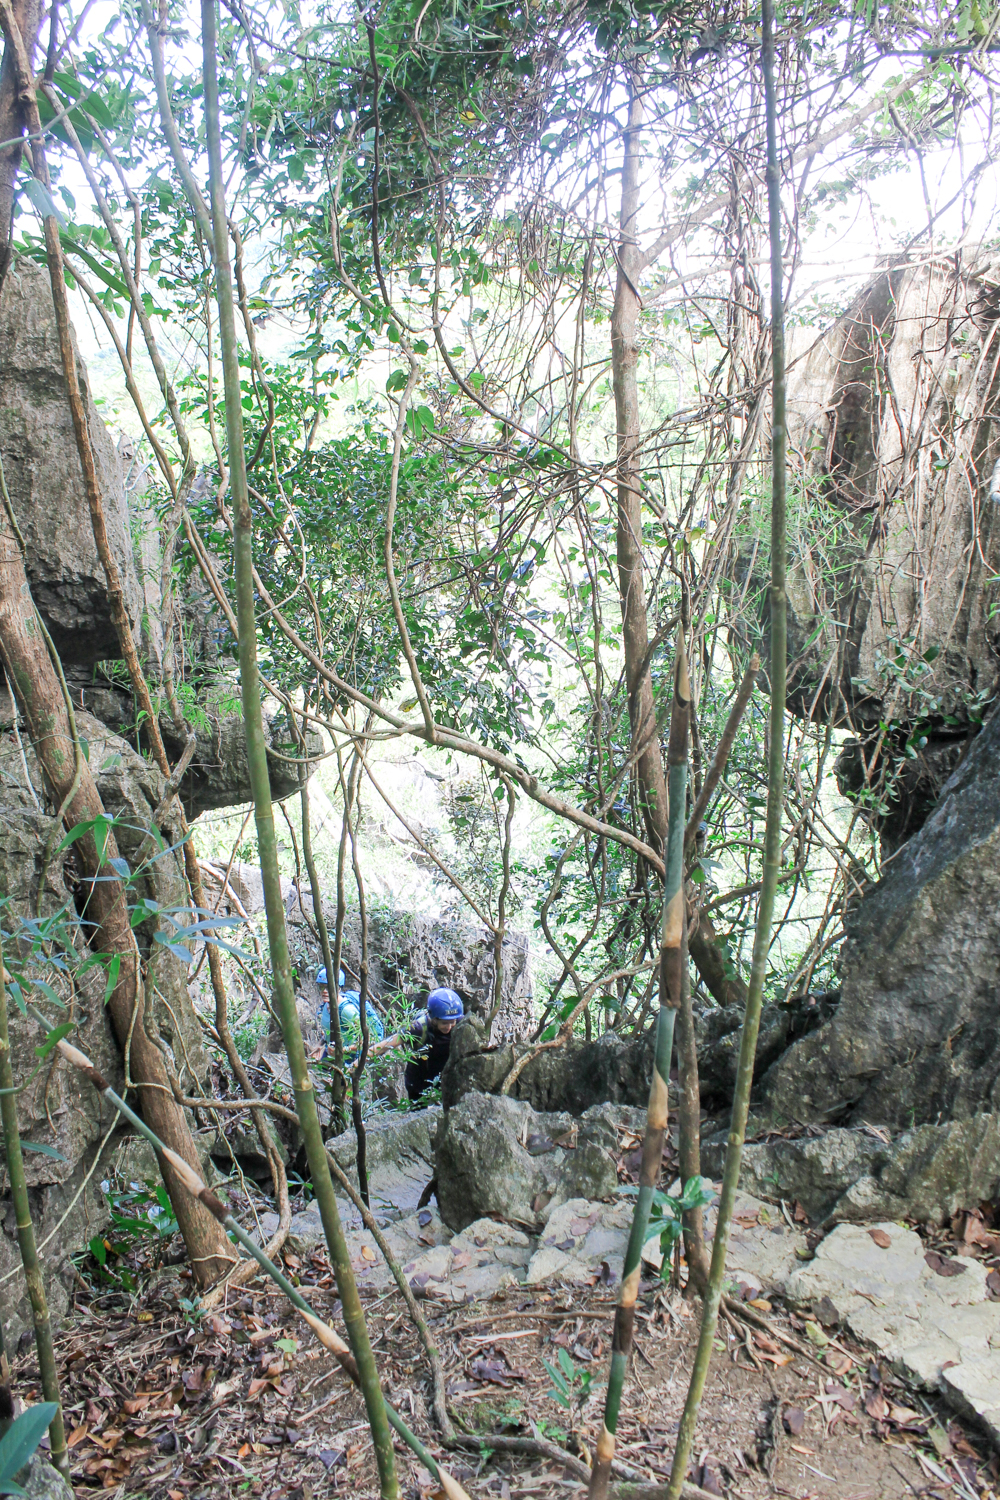
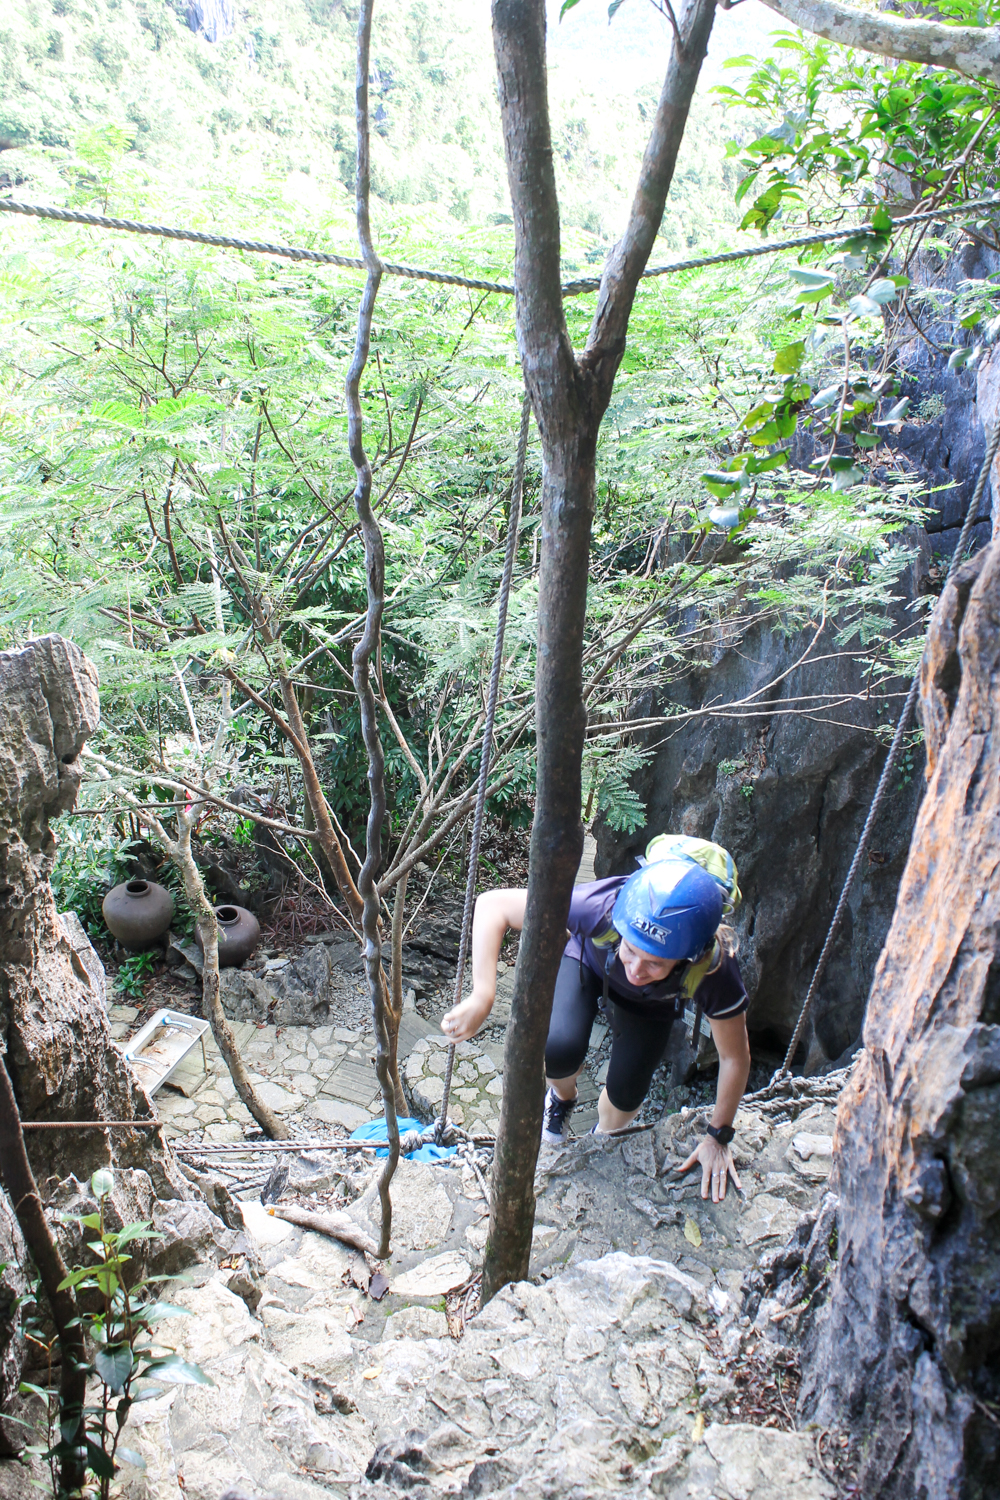
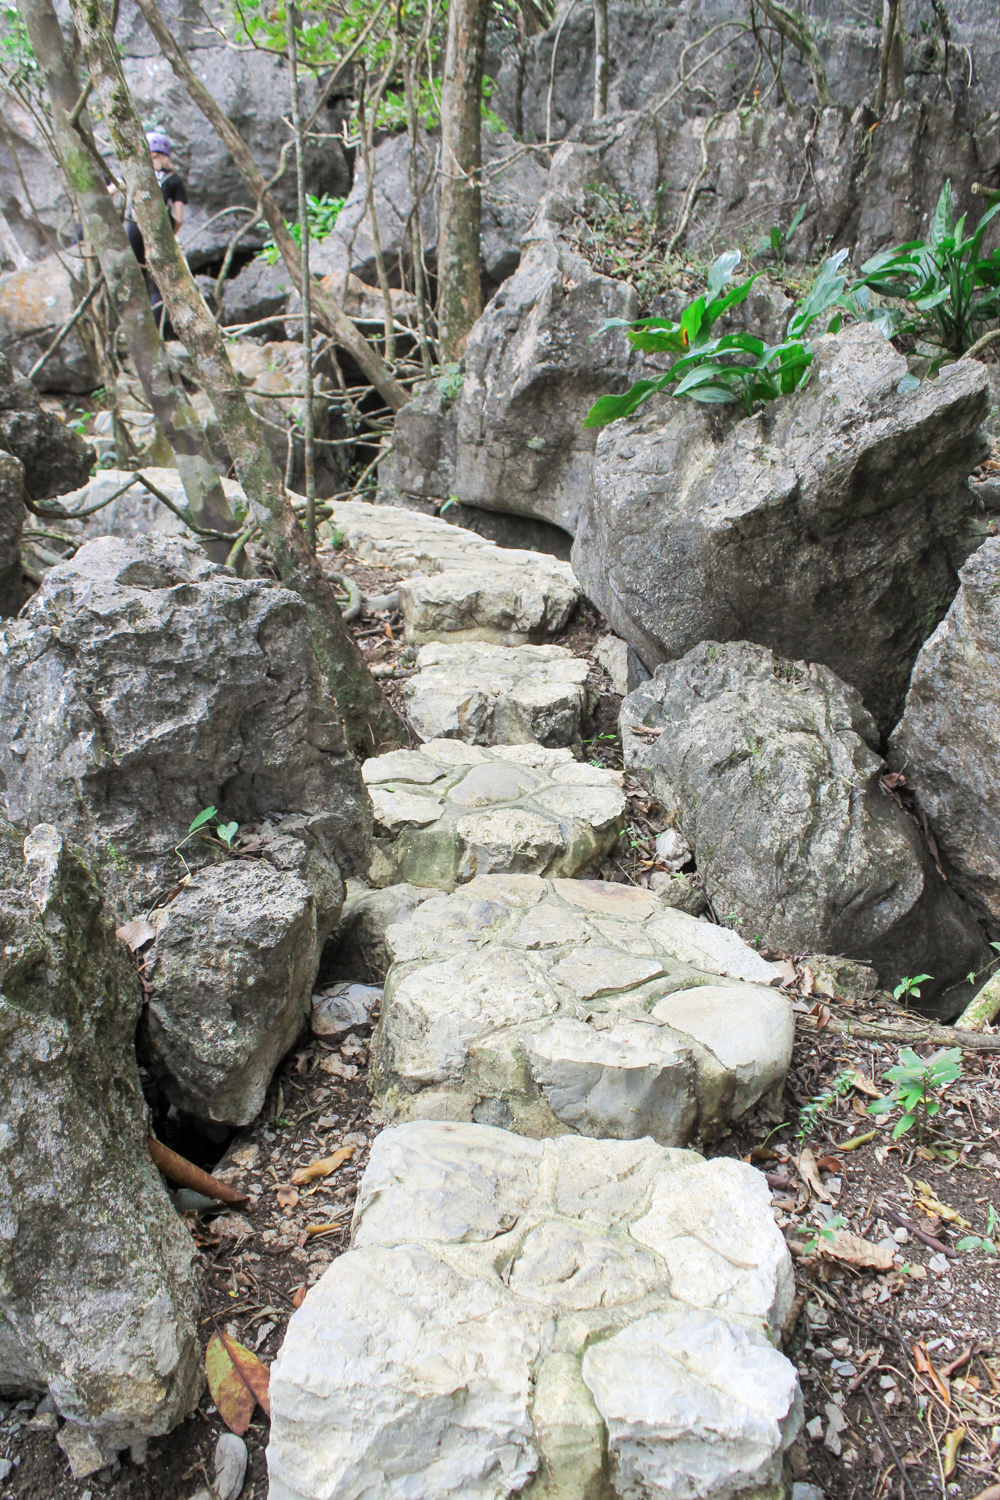
I don’t go on a hike on a regular basis. For someone like me, the hike at the Masungi Georeserve felt a bit challenging at times. It’s probably a different kind of hike at Masungi Georeserve from a regular one, so some may say it’s even not a real hike. You do climb stairs a lot and step on rocks. You must be careful, though, because you are constantly putting your feet on uneven surfaces. In fact, I strained my right ankle a bit when I placed my foot on a rock harder than I should have. If I was younger, maybe my ankle would have not felt any difference. It was a moment when I realized that I was no longer young!
5. WAIT TIME = REST TIME
Yes, the hike can make you feel out of breath.
However, fret not!
You will have a plenty of time to sit and rest.
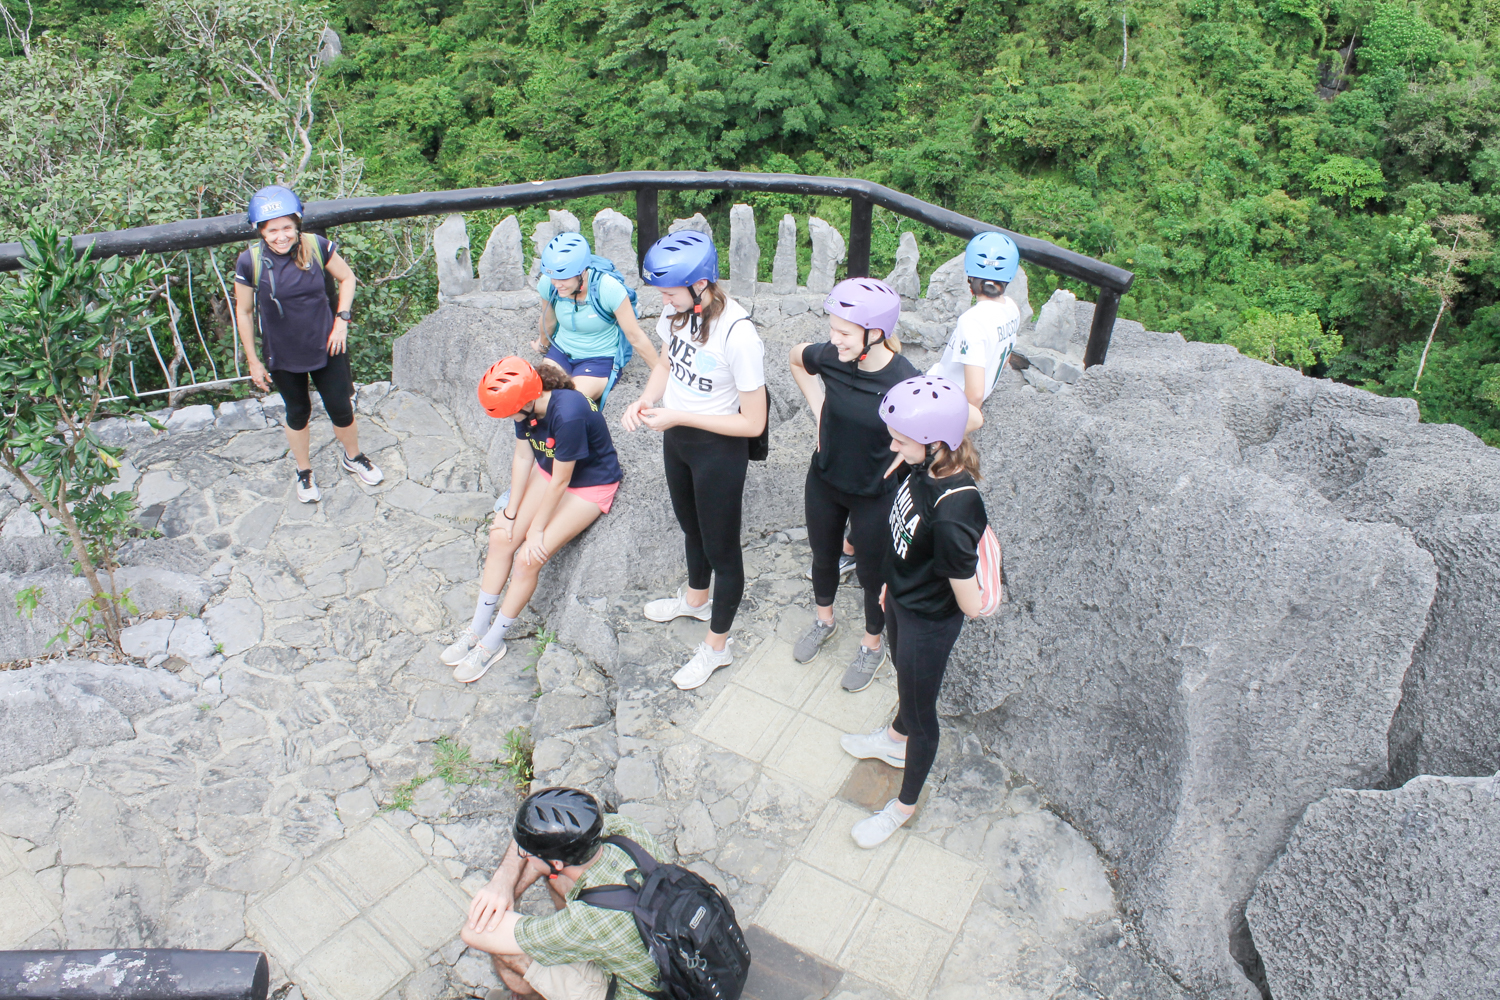
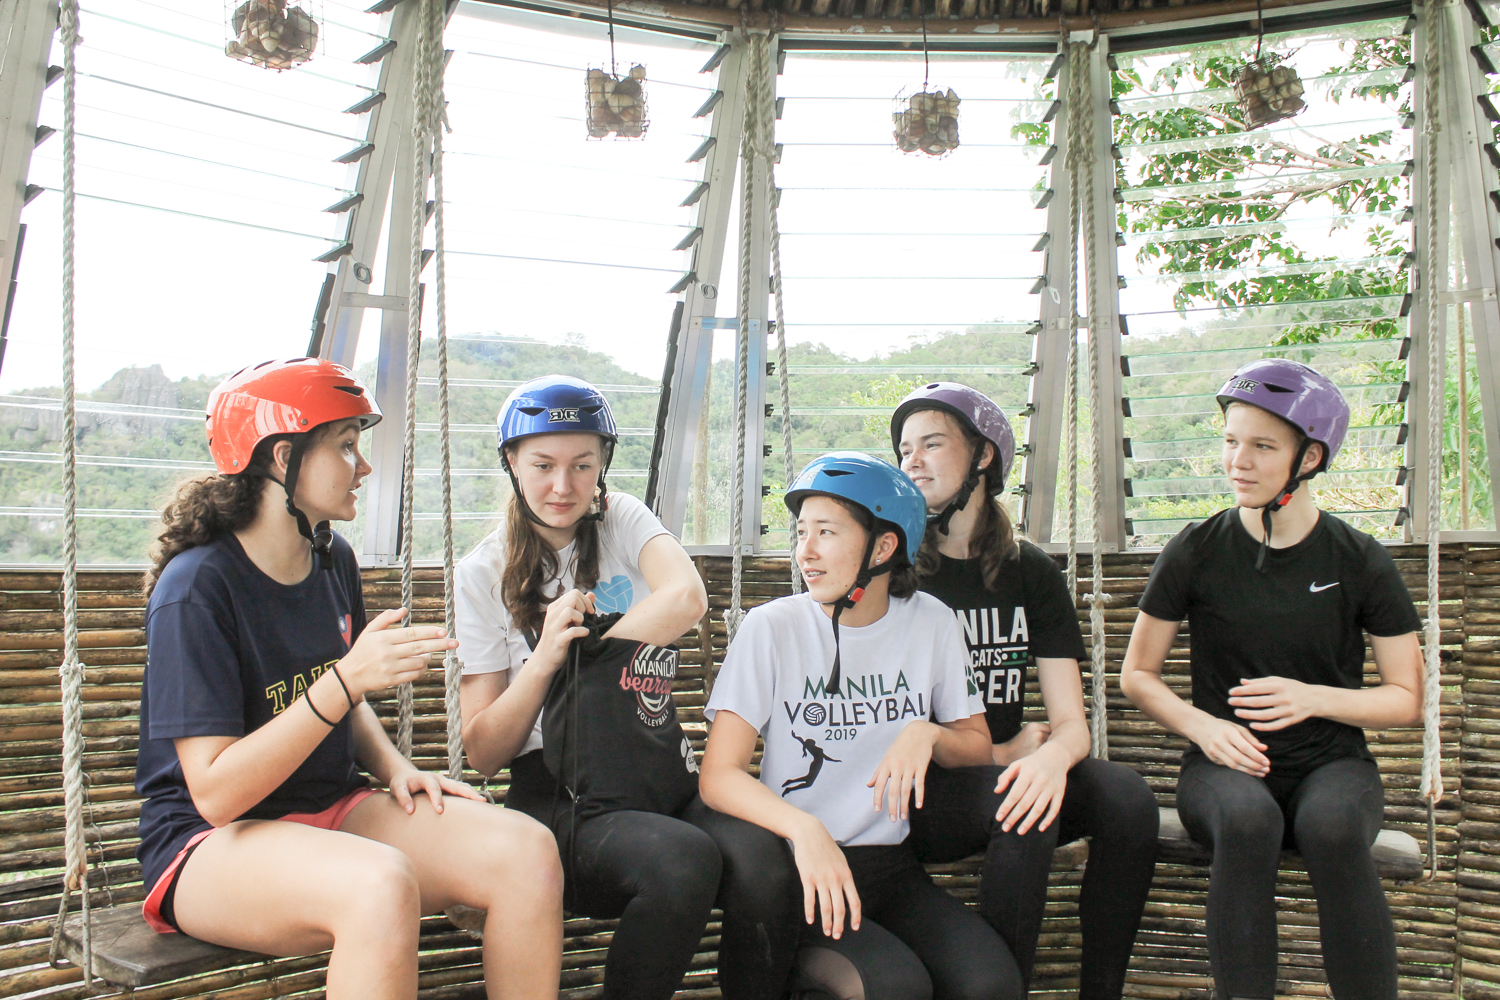
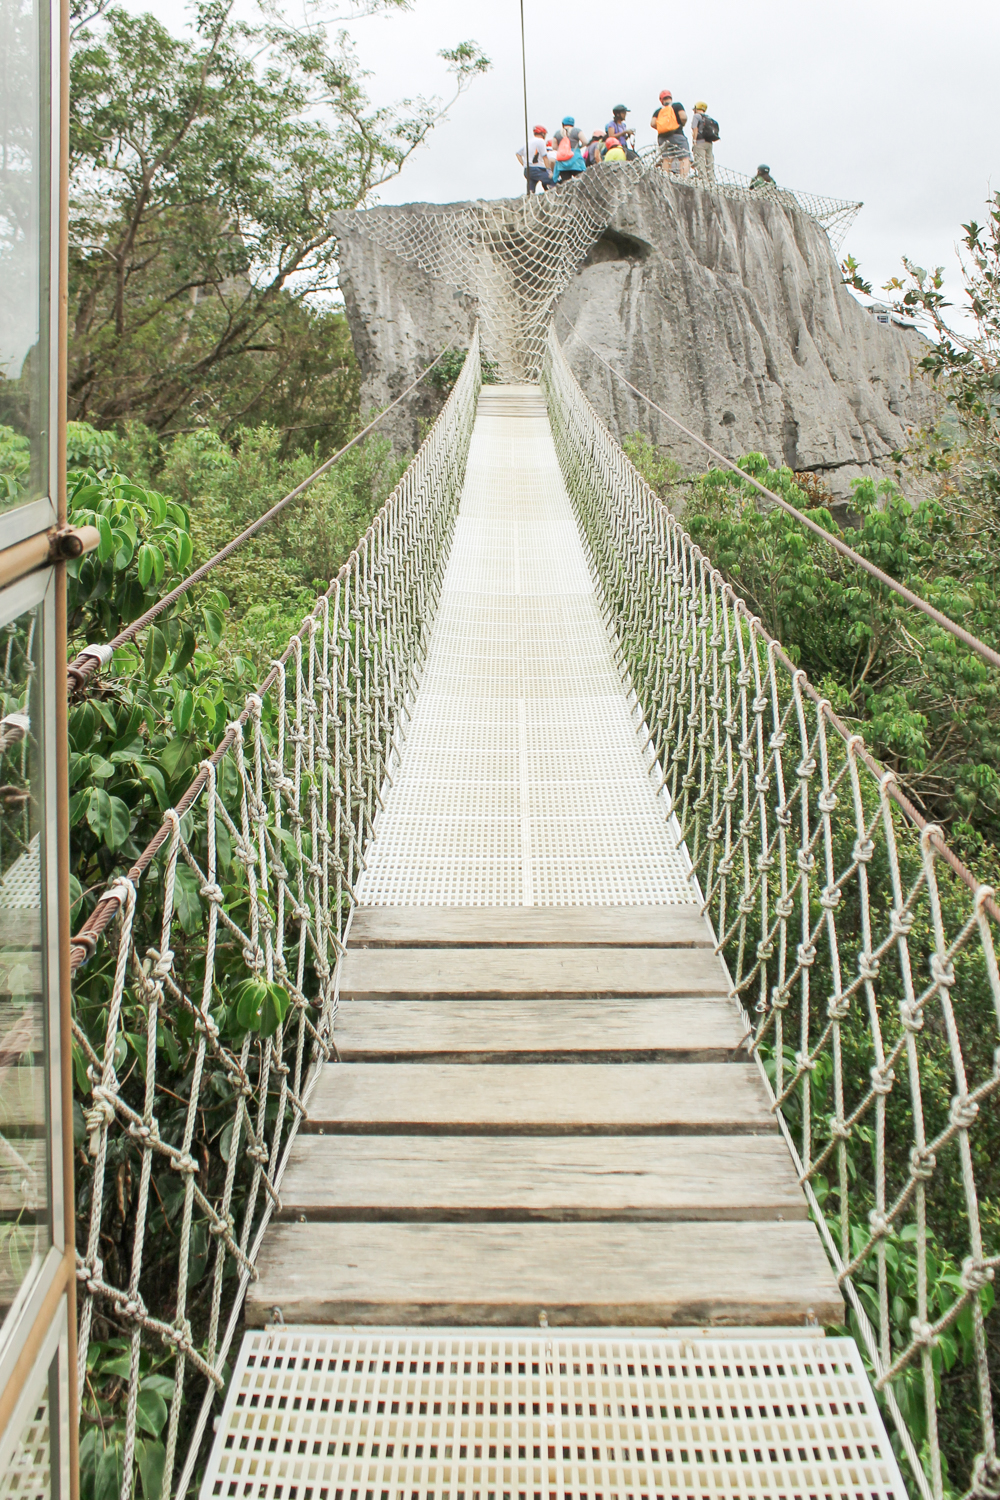
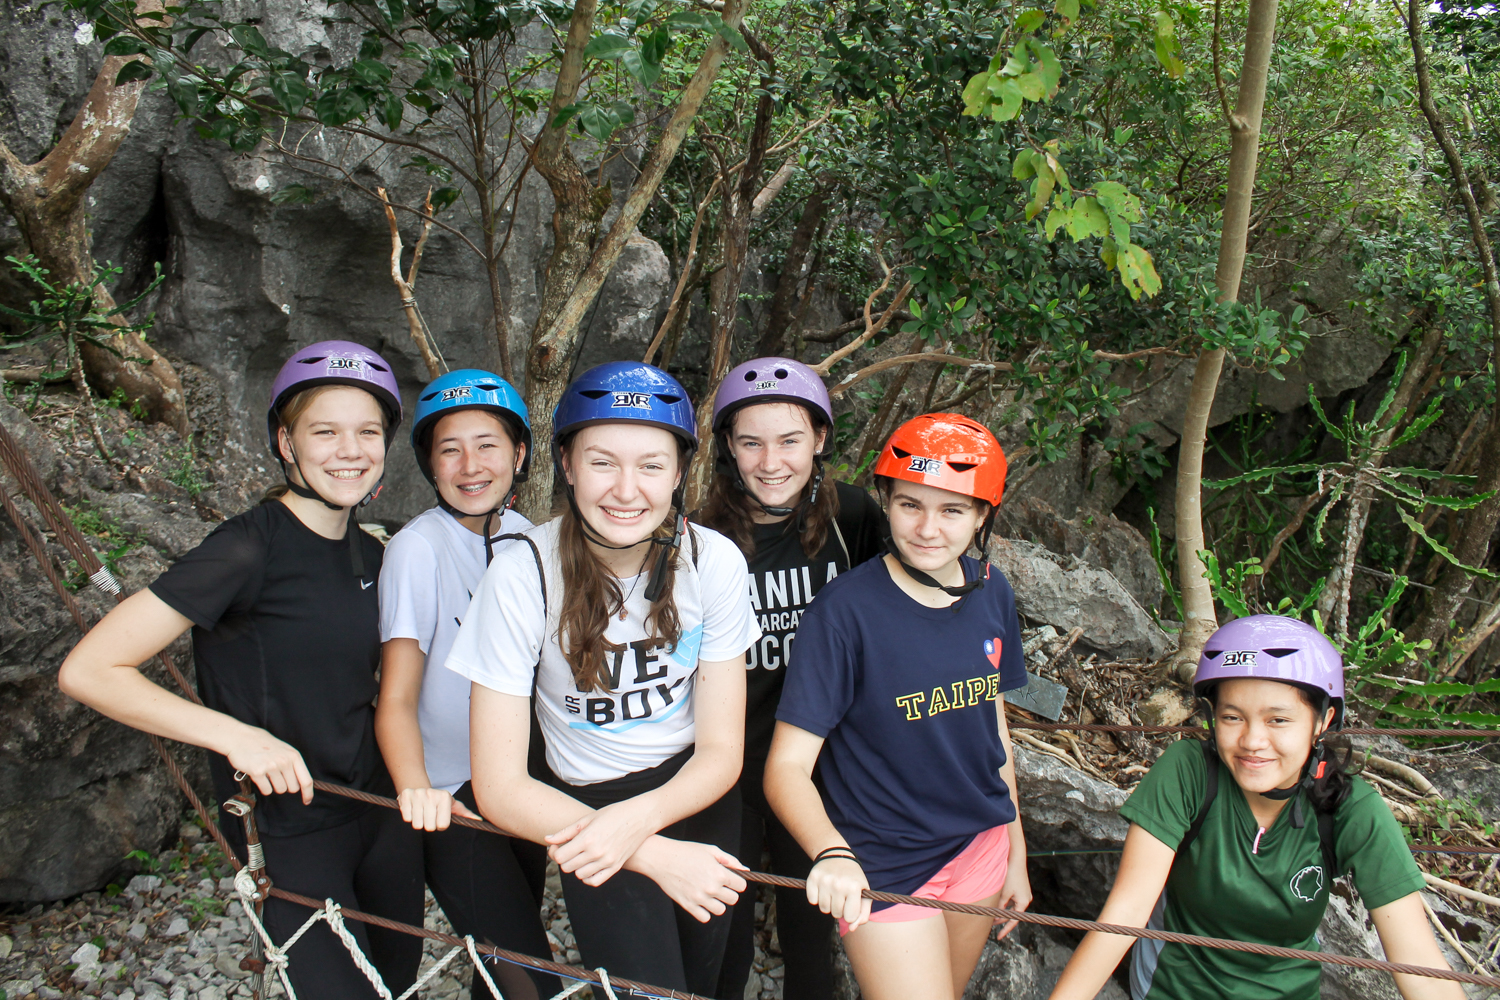
At each point, only one group is allowed to get on for the safety reason. If a group ahead of you is there, which will happen to you, you have to wait until the group is done. If you are behind a group of people who love to take selfies, you may have to wait for a long time. It’s all part of the experience!
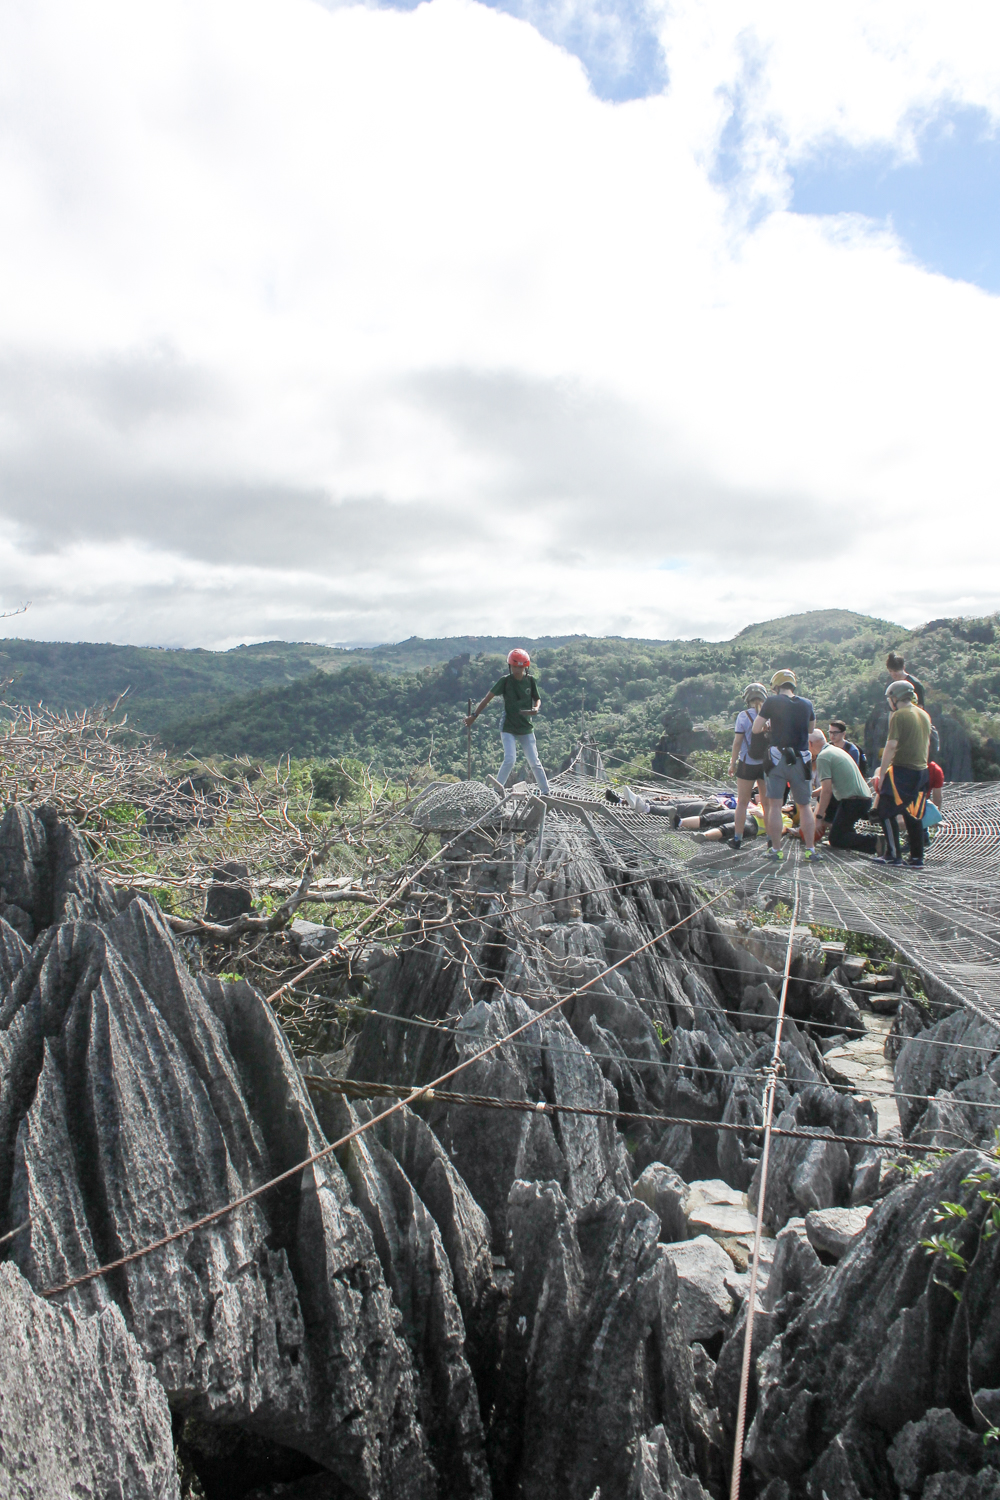
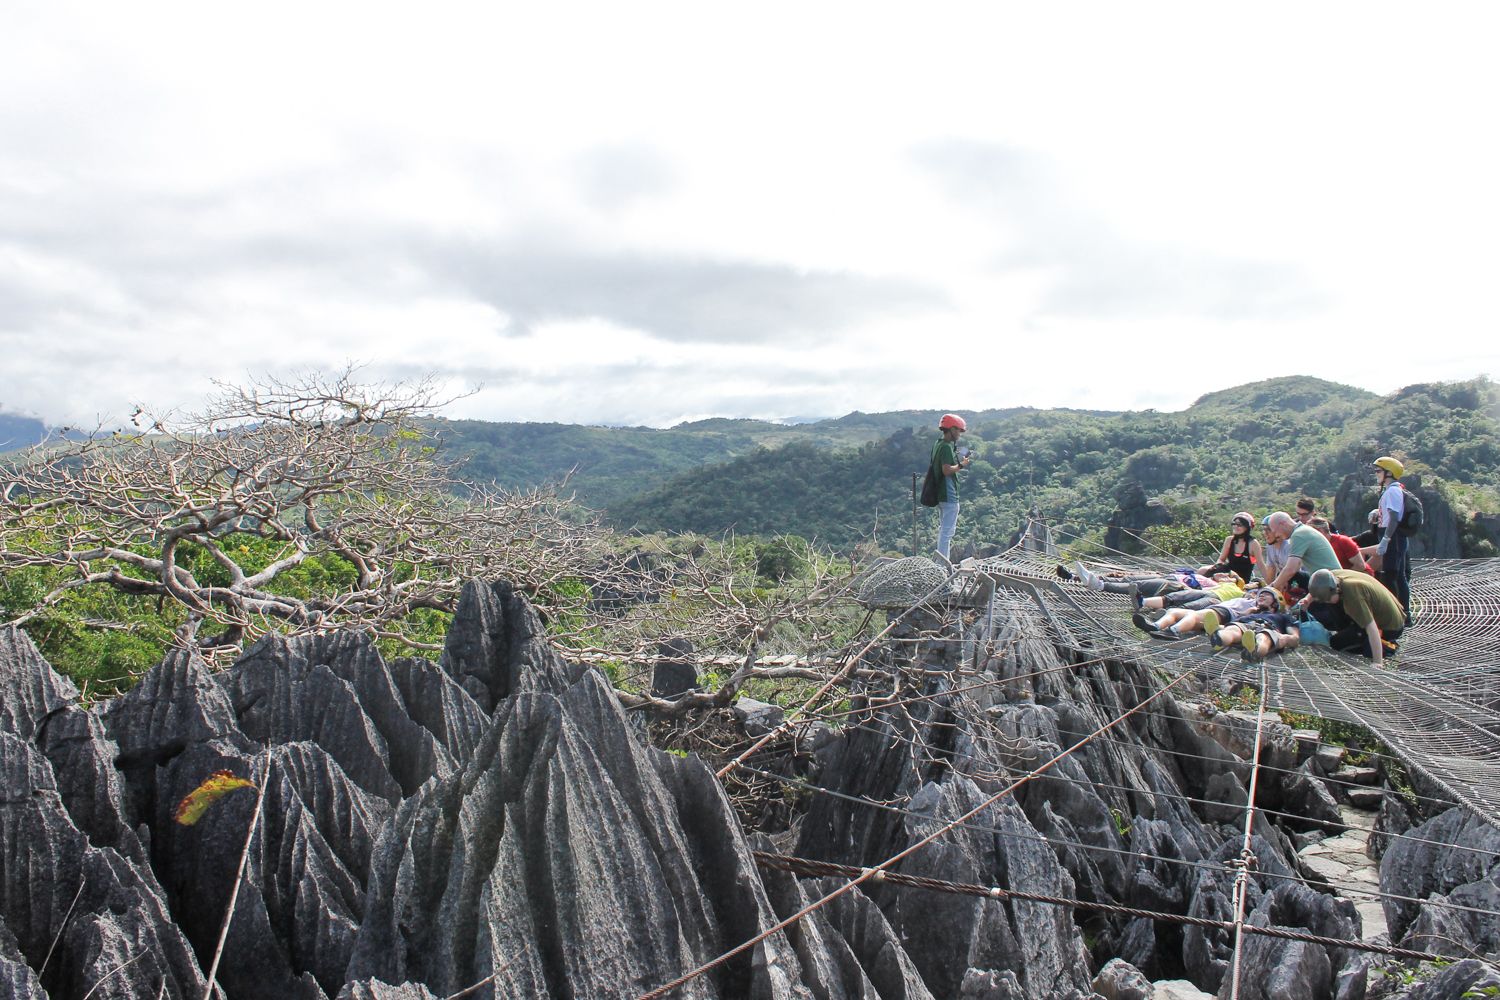
Waiting time is fun with friends!
6. HEIGHT
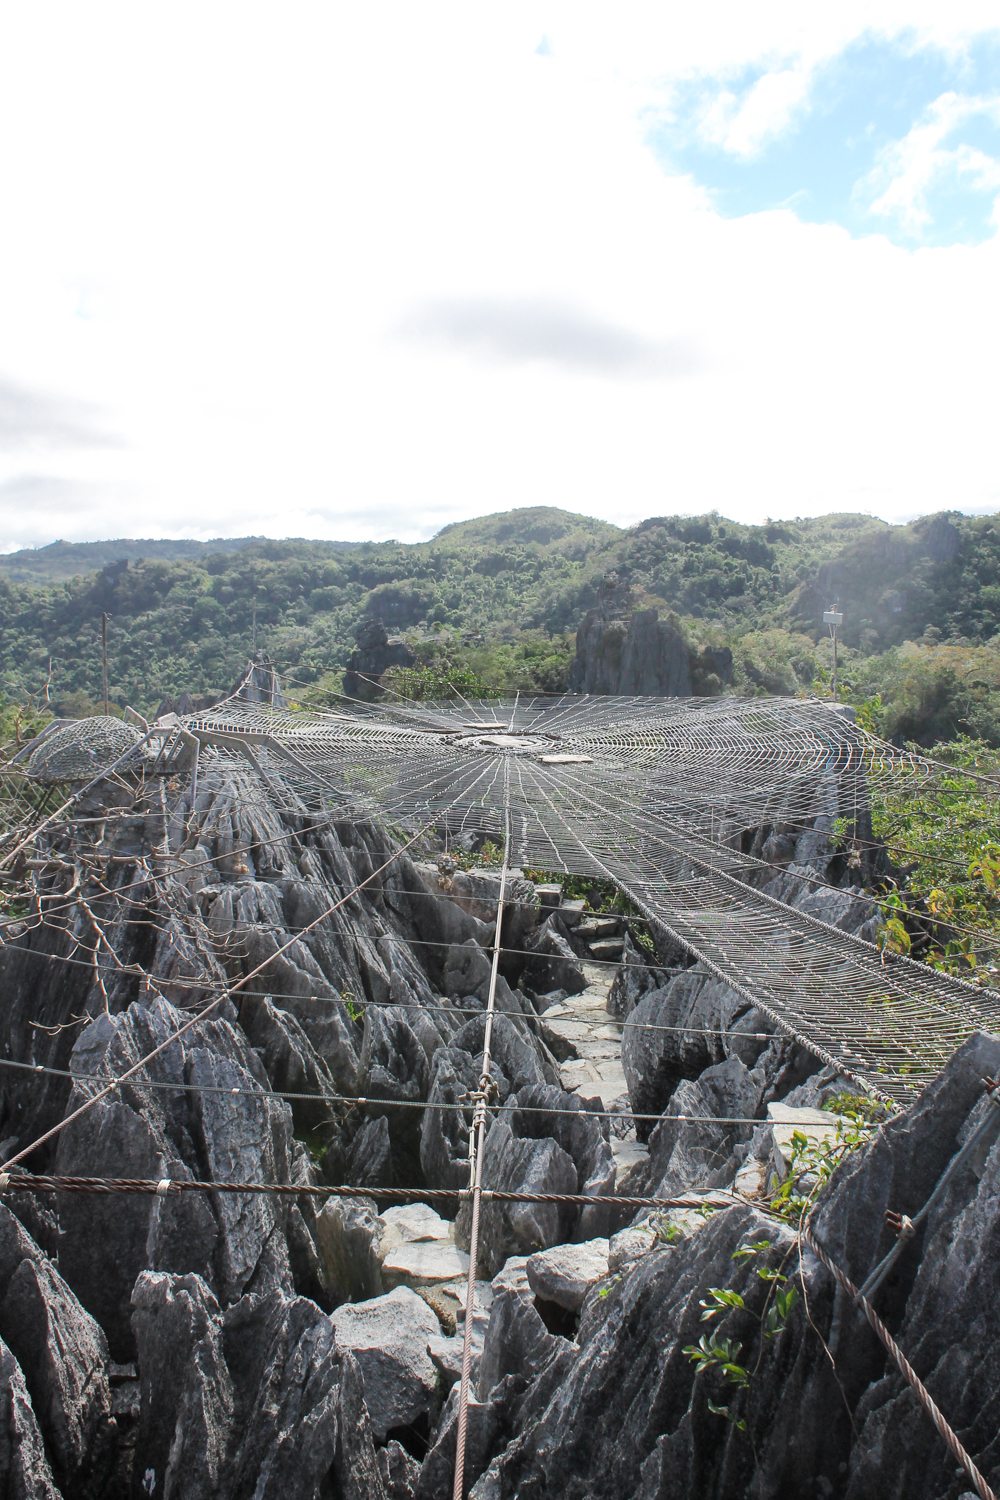
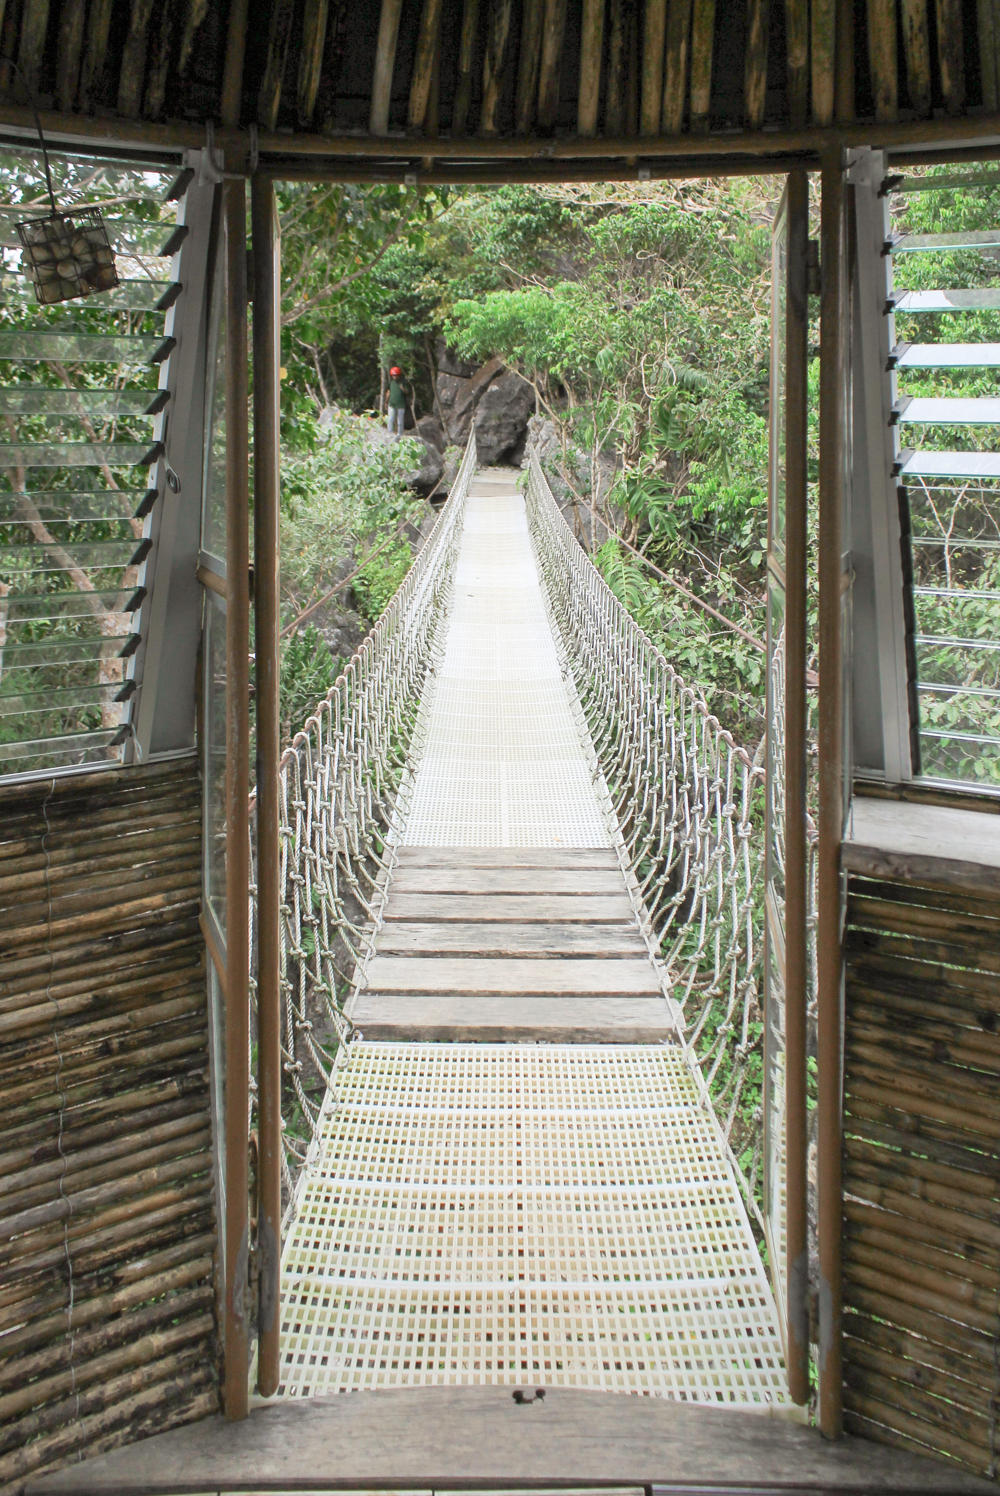
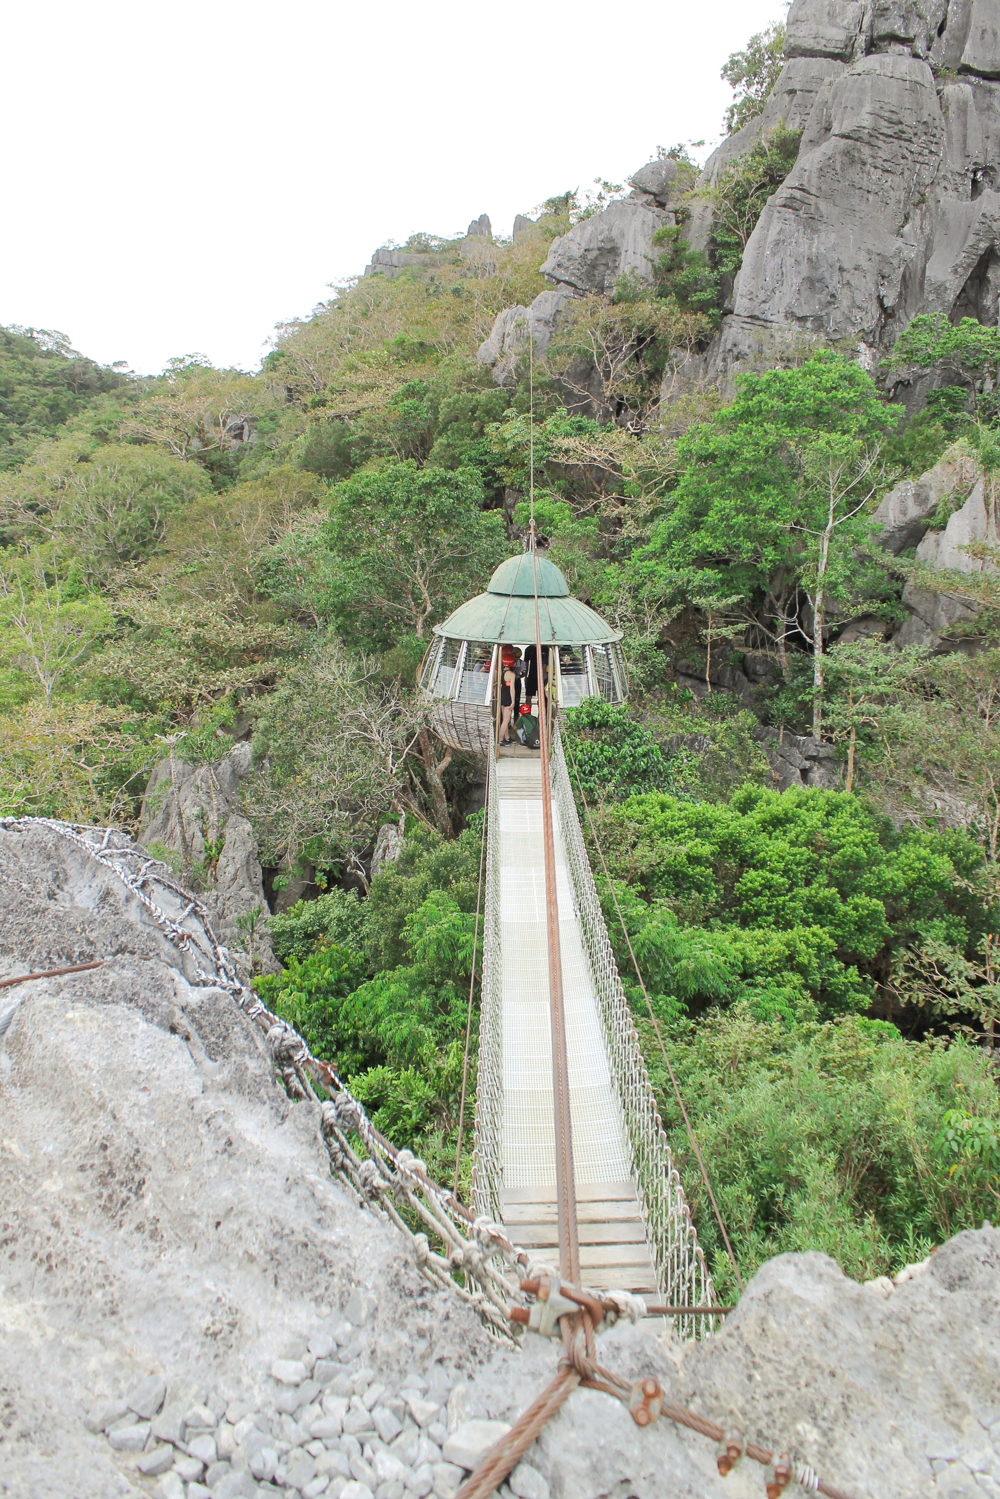
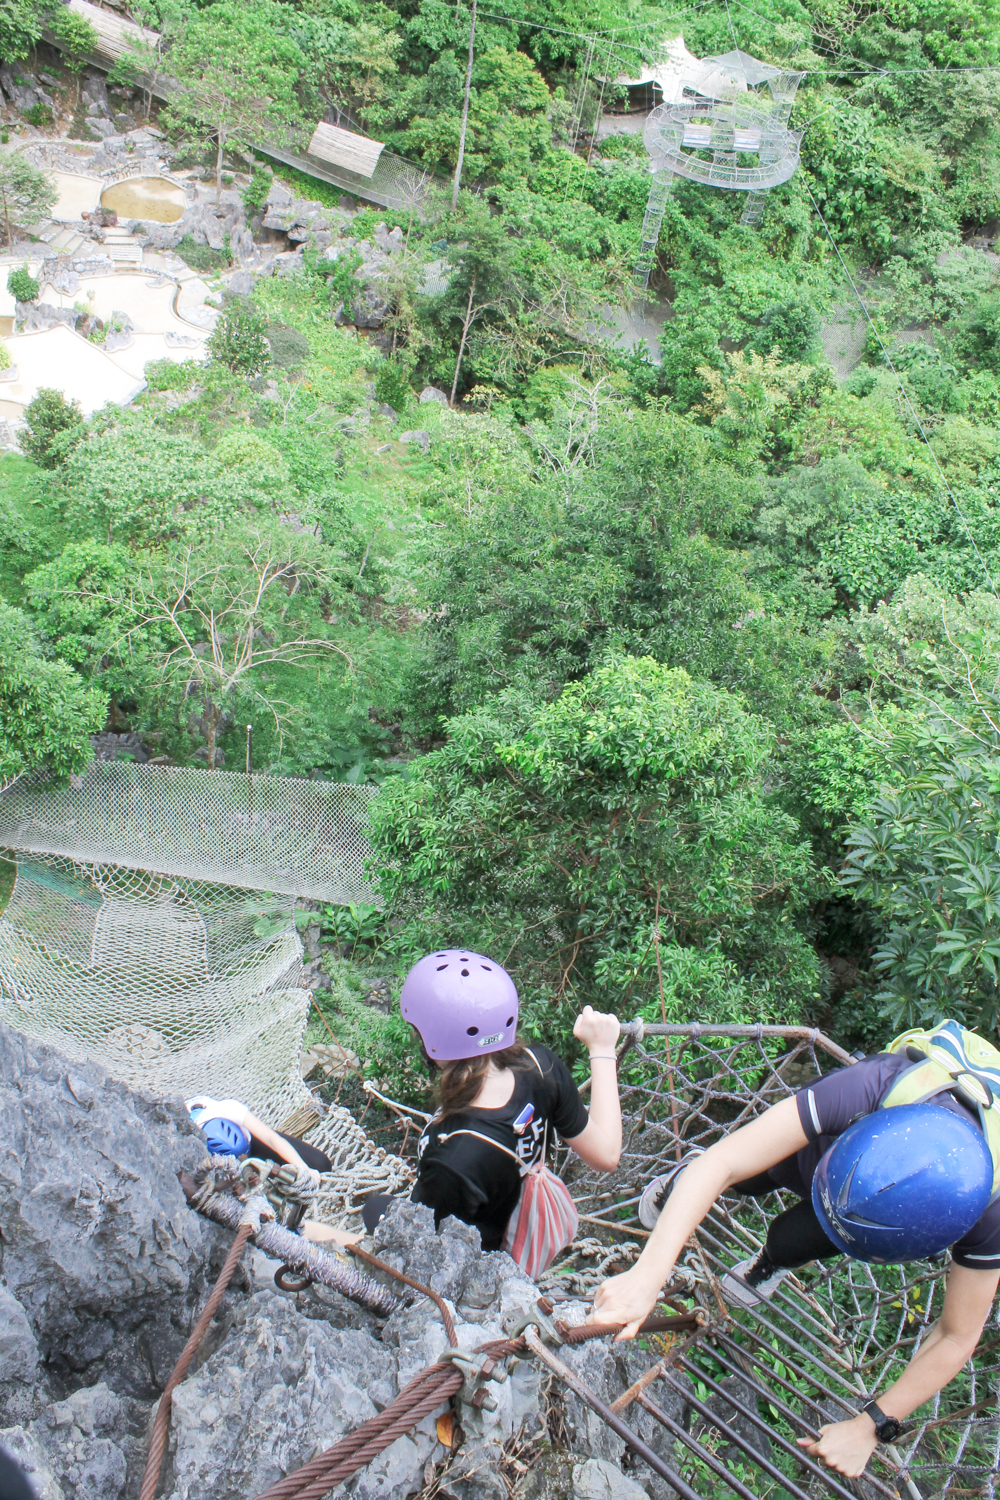
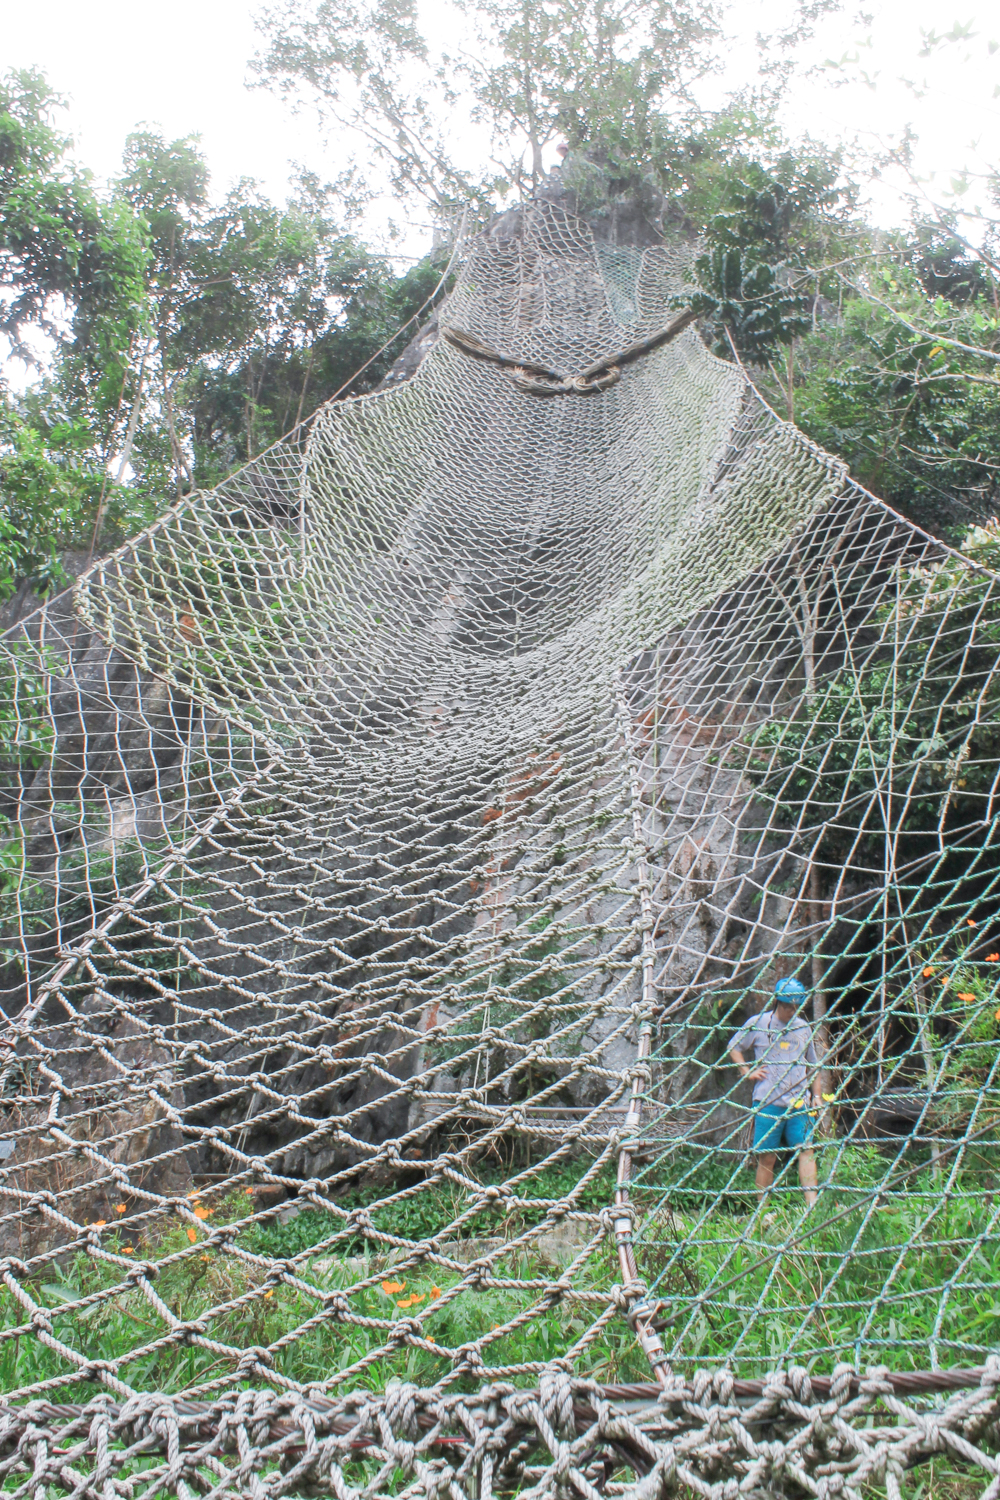
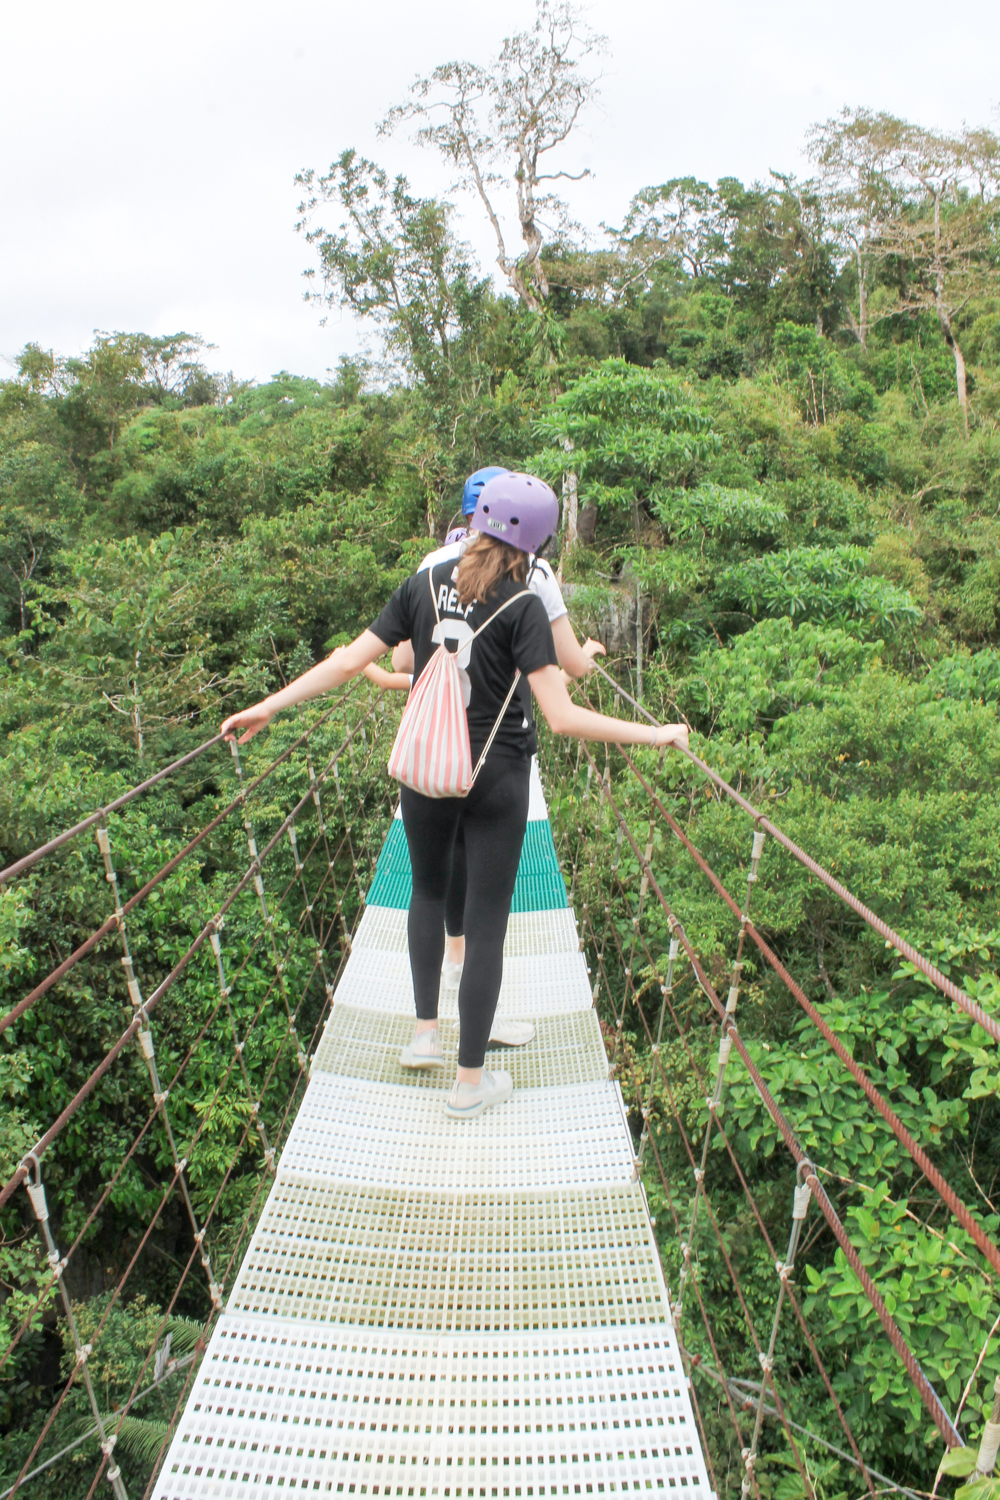
I’m not a fan of height, but I can handle it okay to a certain degree. For those who are afraid of height may find some points quite frightening. My daughter did well, but she was quite uncomfortable at certain places. I could understand the reason why the course we did requires participants to be 13 or older.
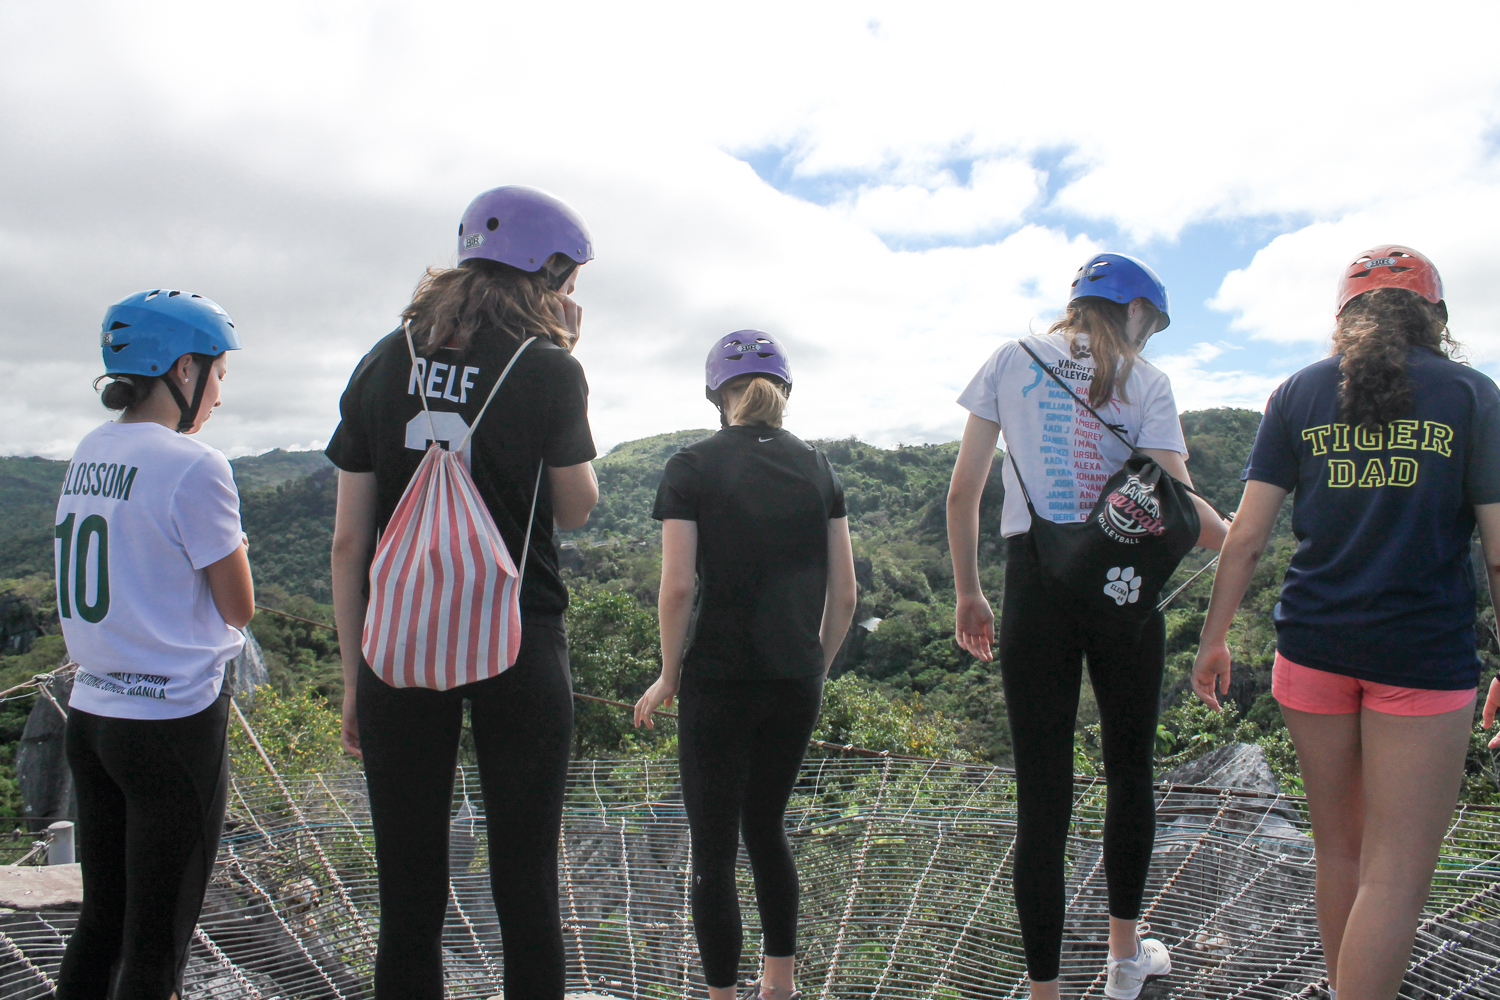
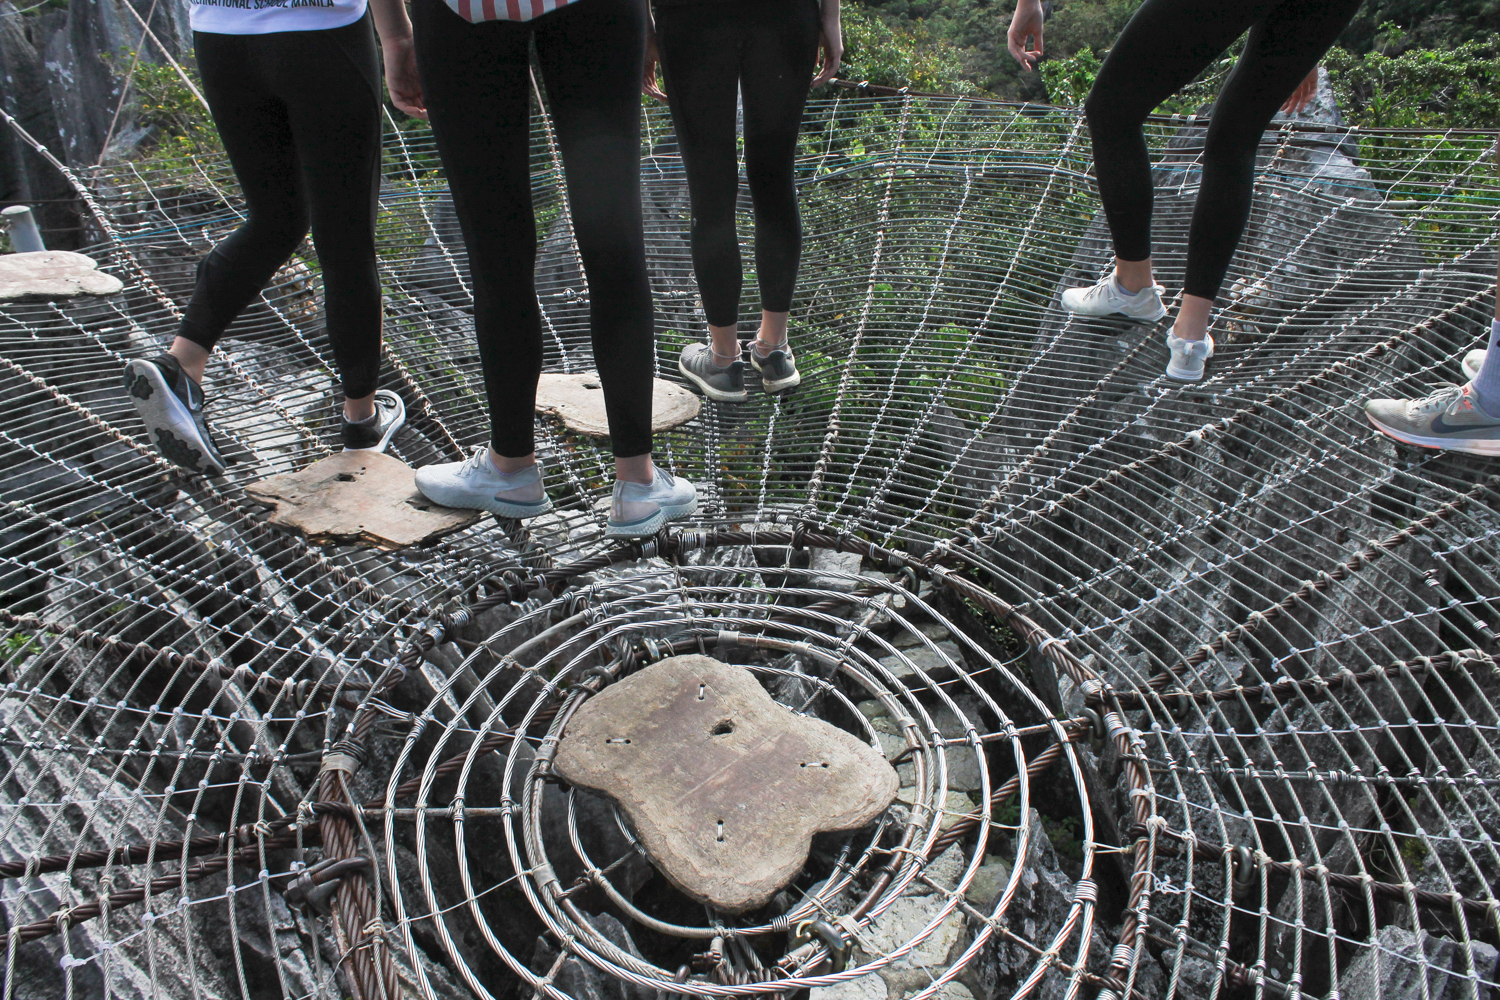
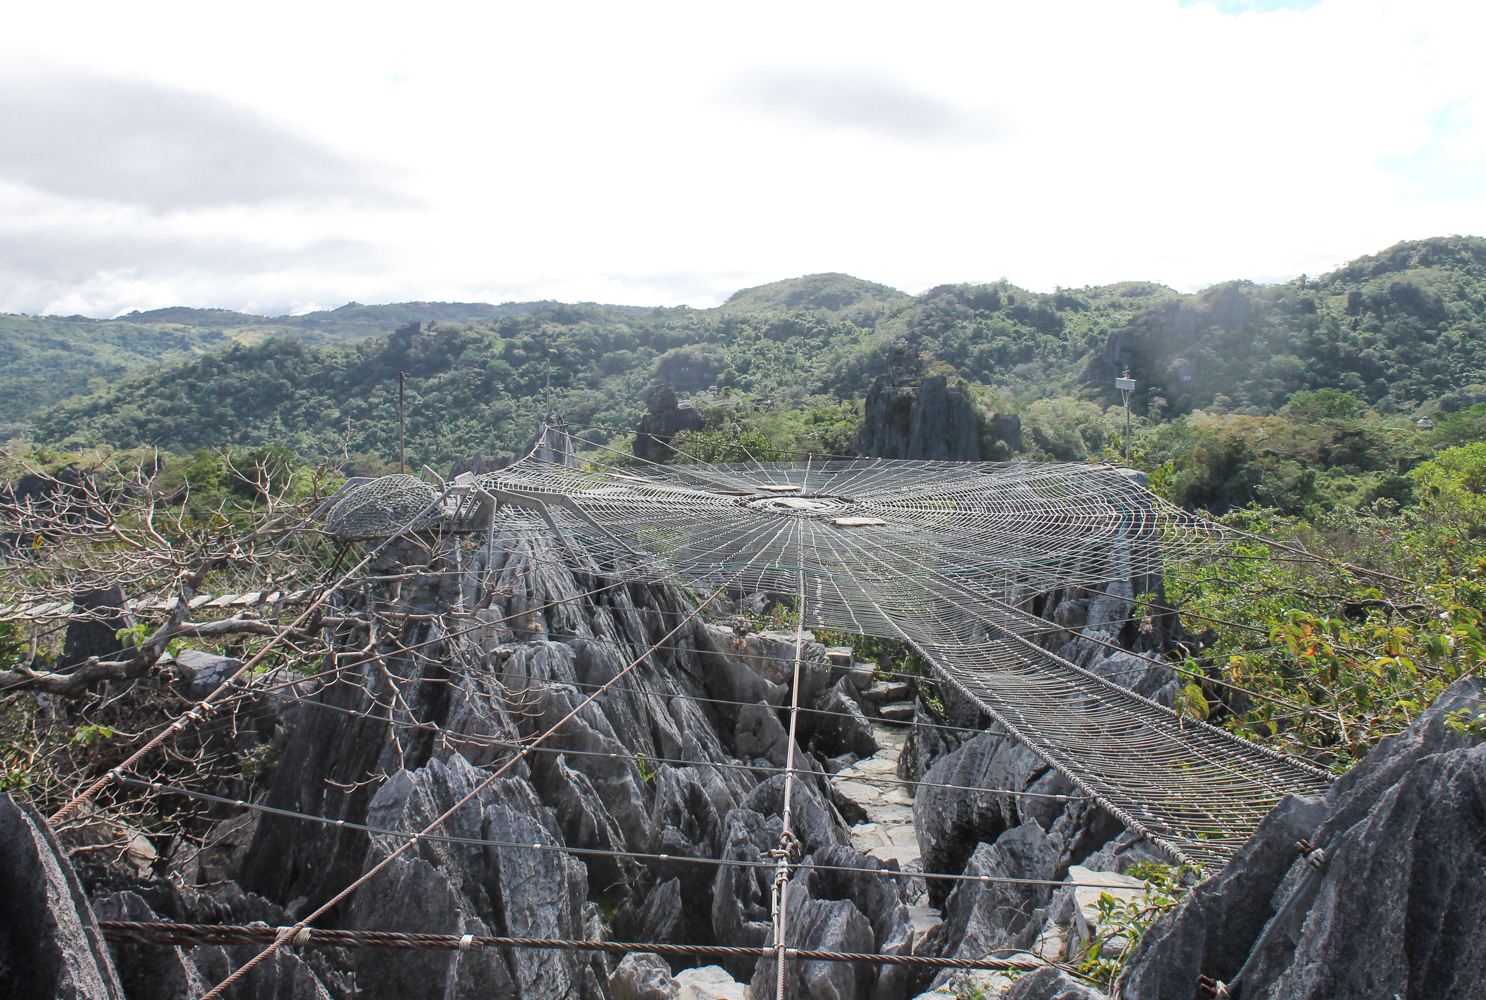
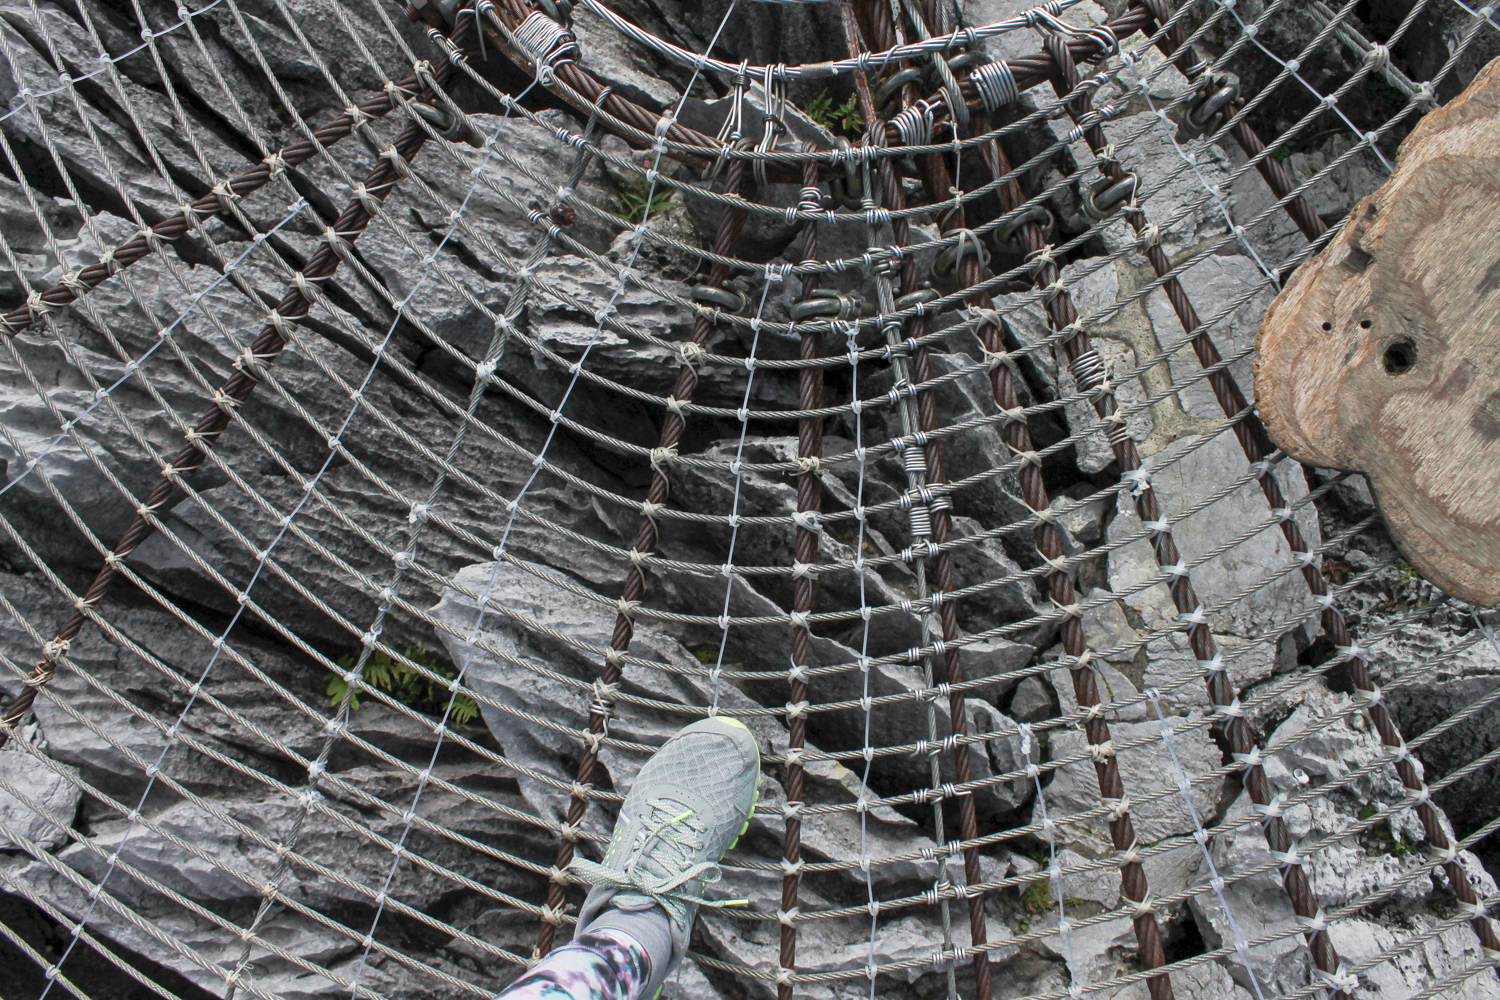
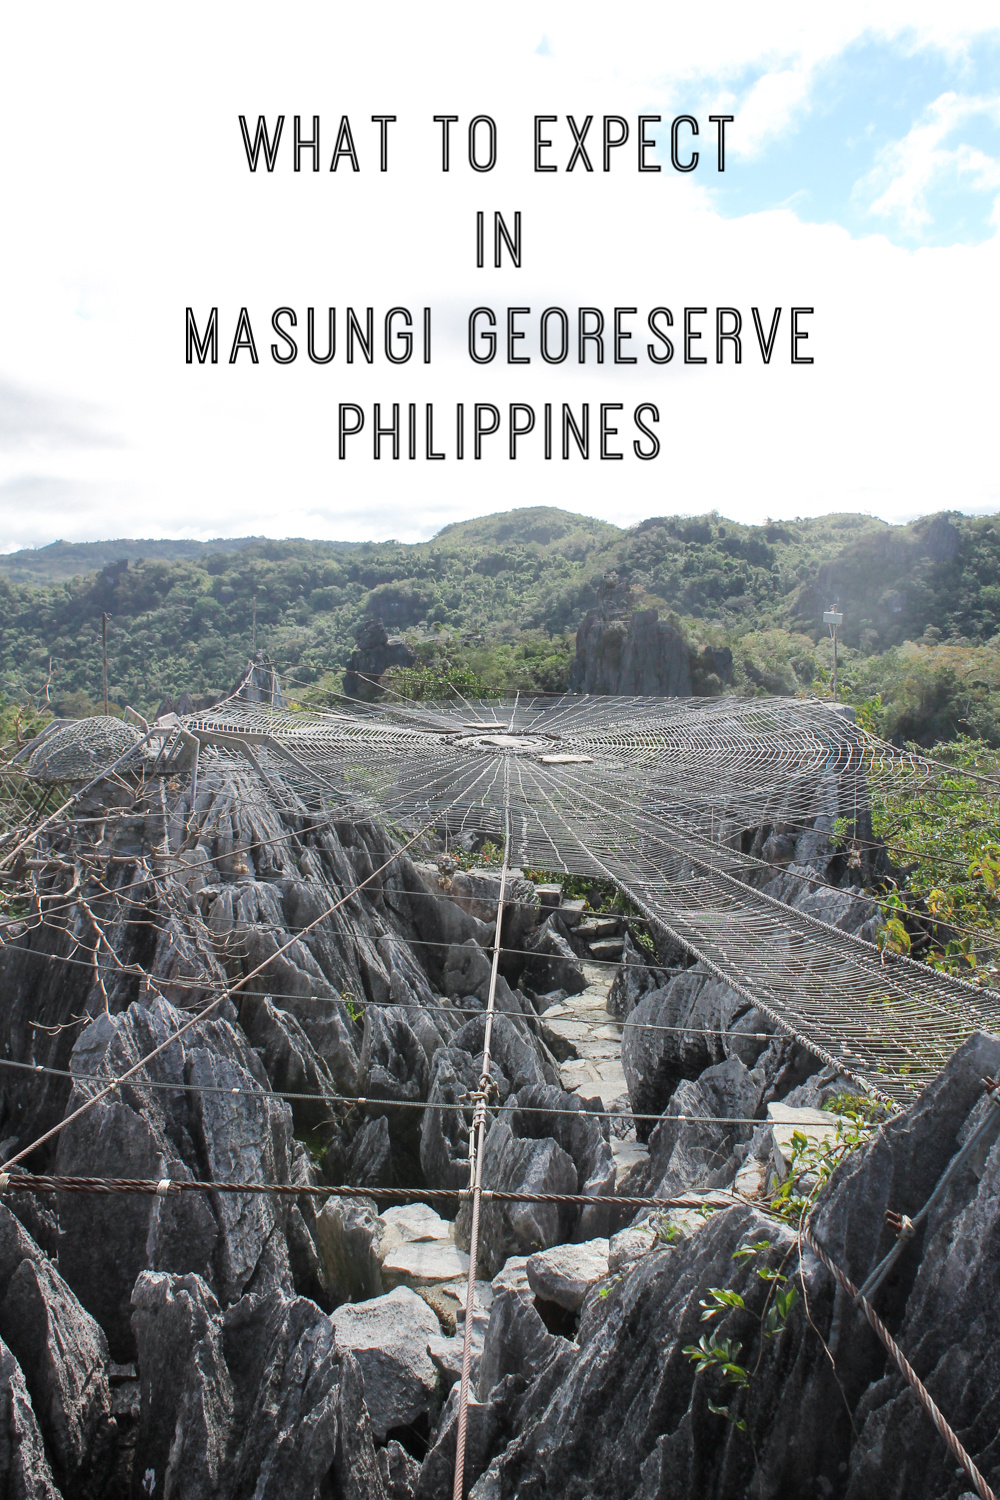
This was actually not as scary as I imagined. The web-like net was not too high up from the pointy rocks.
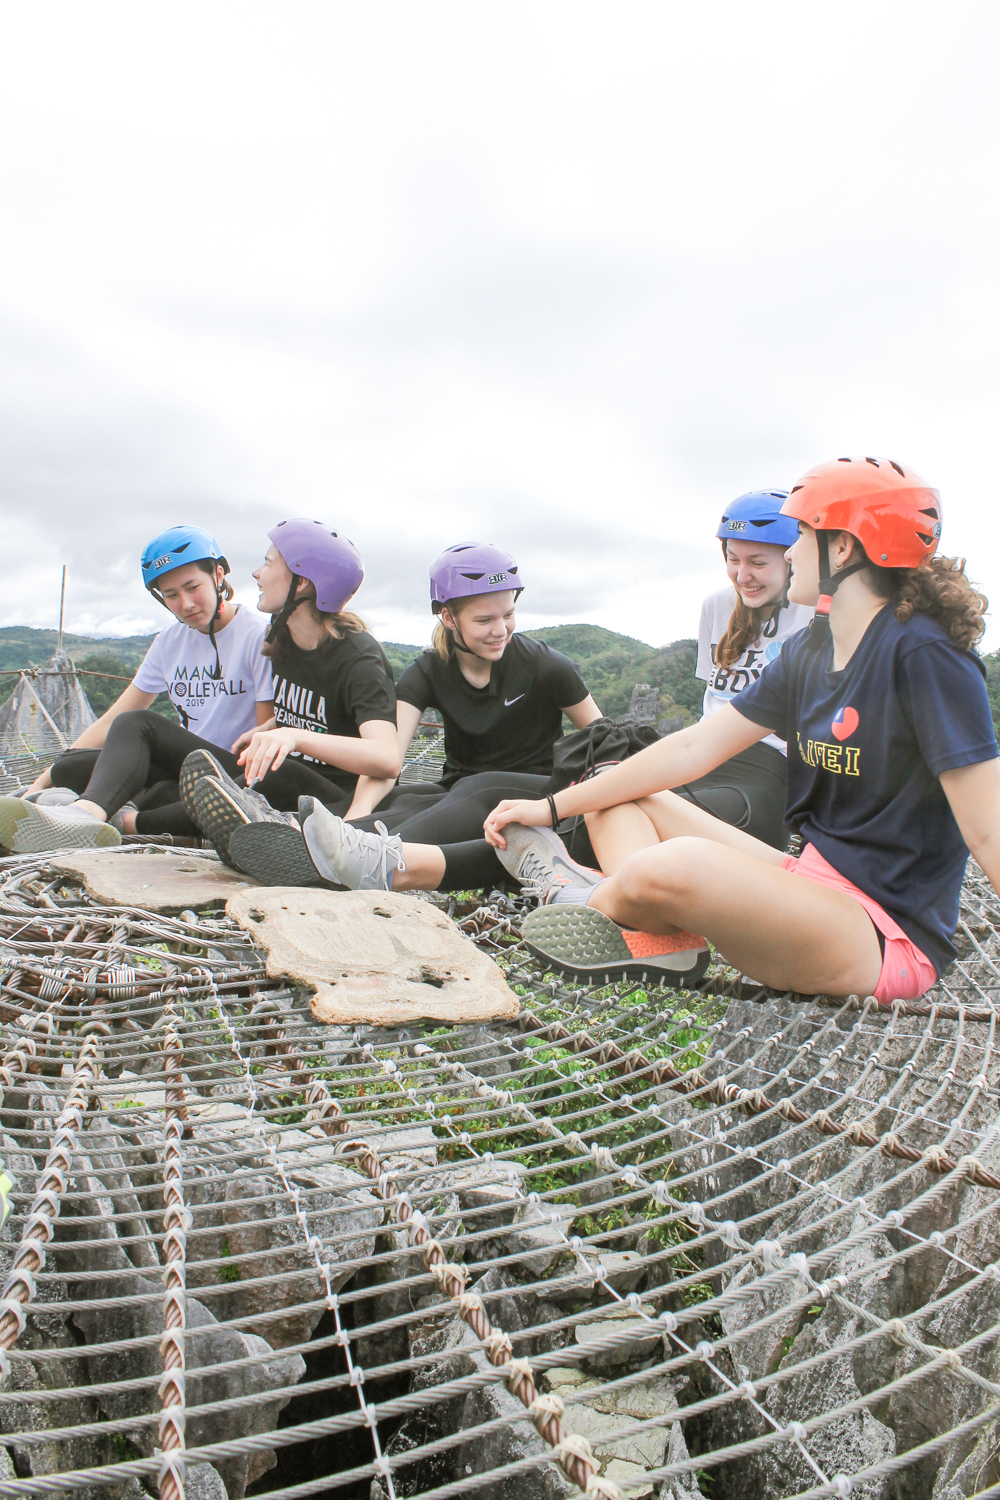
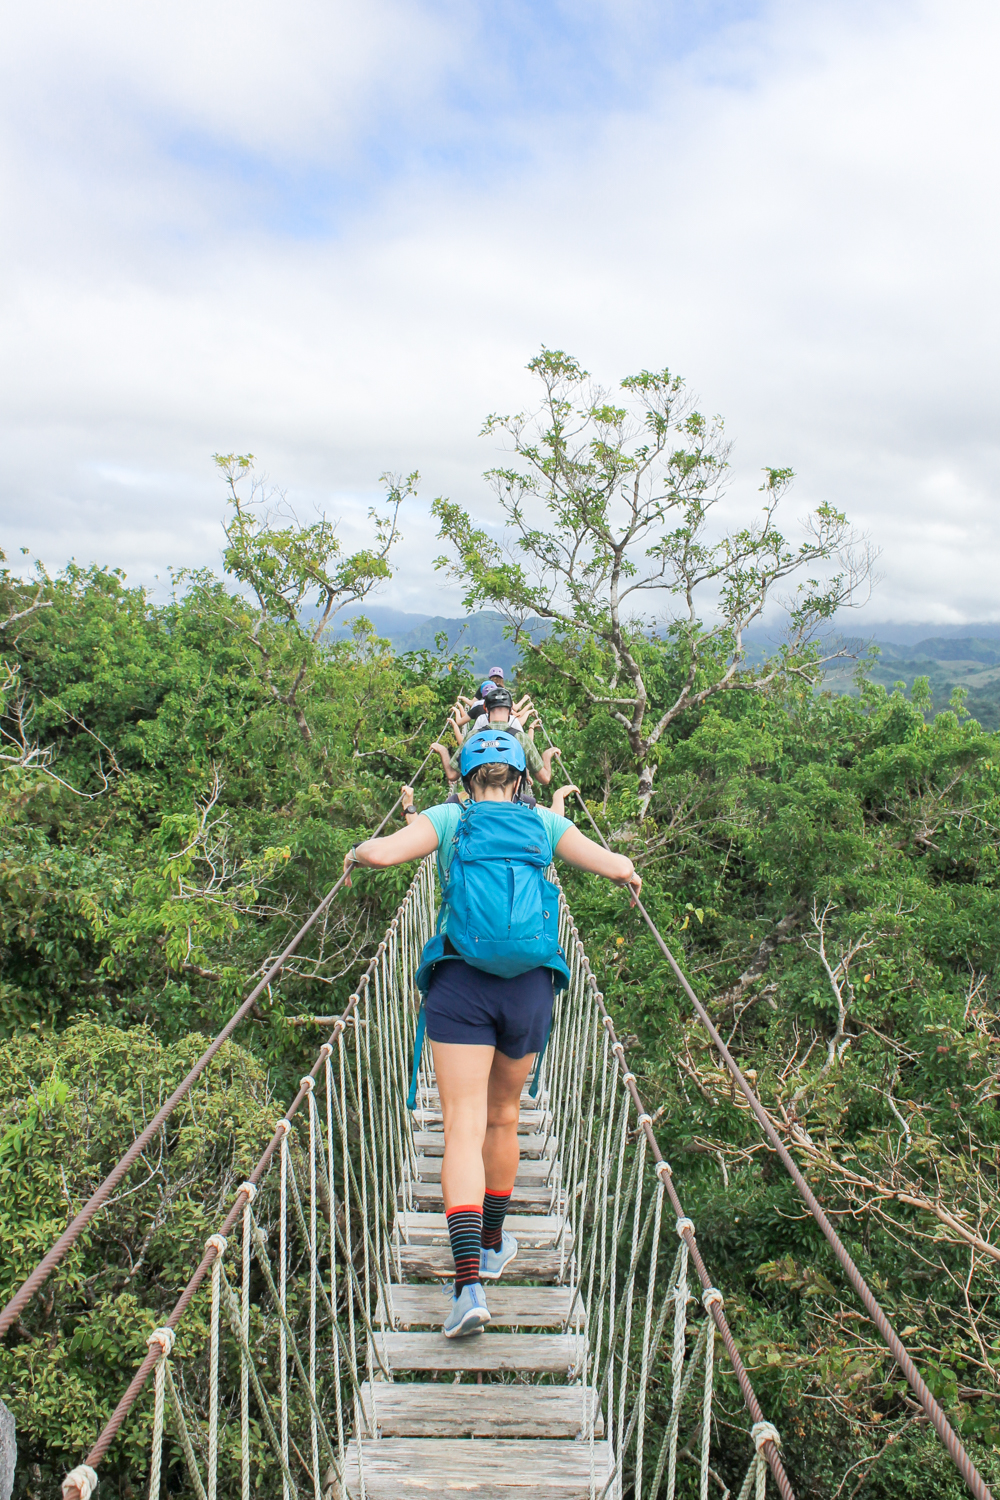
7. AREAS TO TAKE PHOTOS & REST
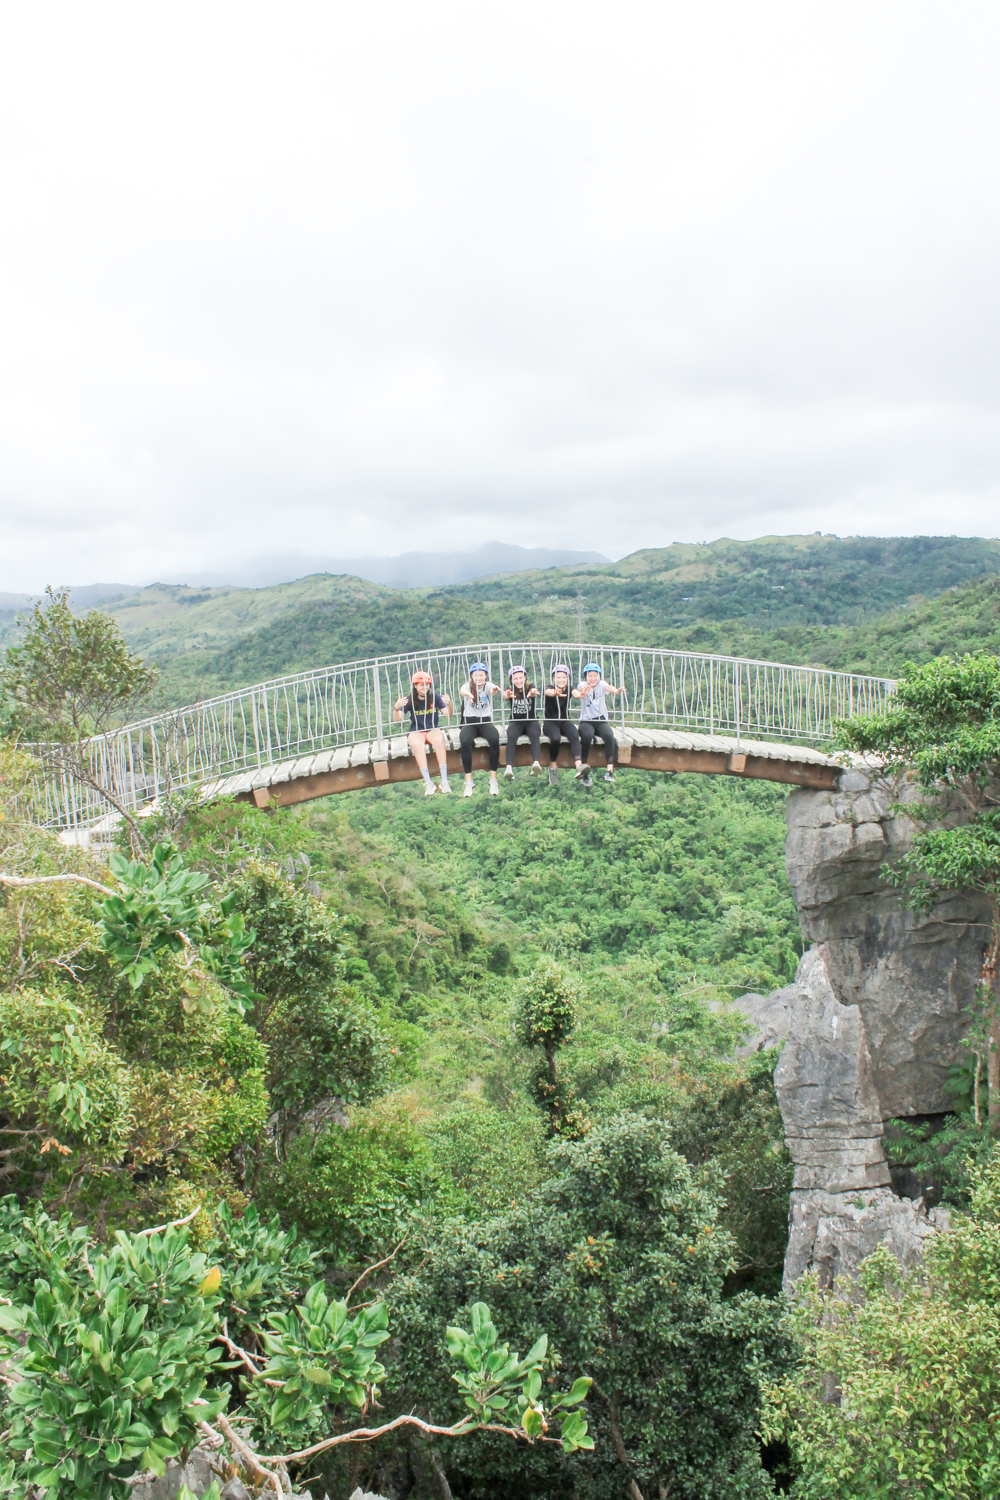
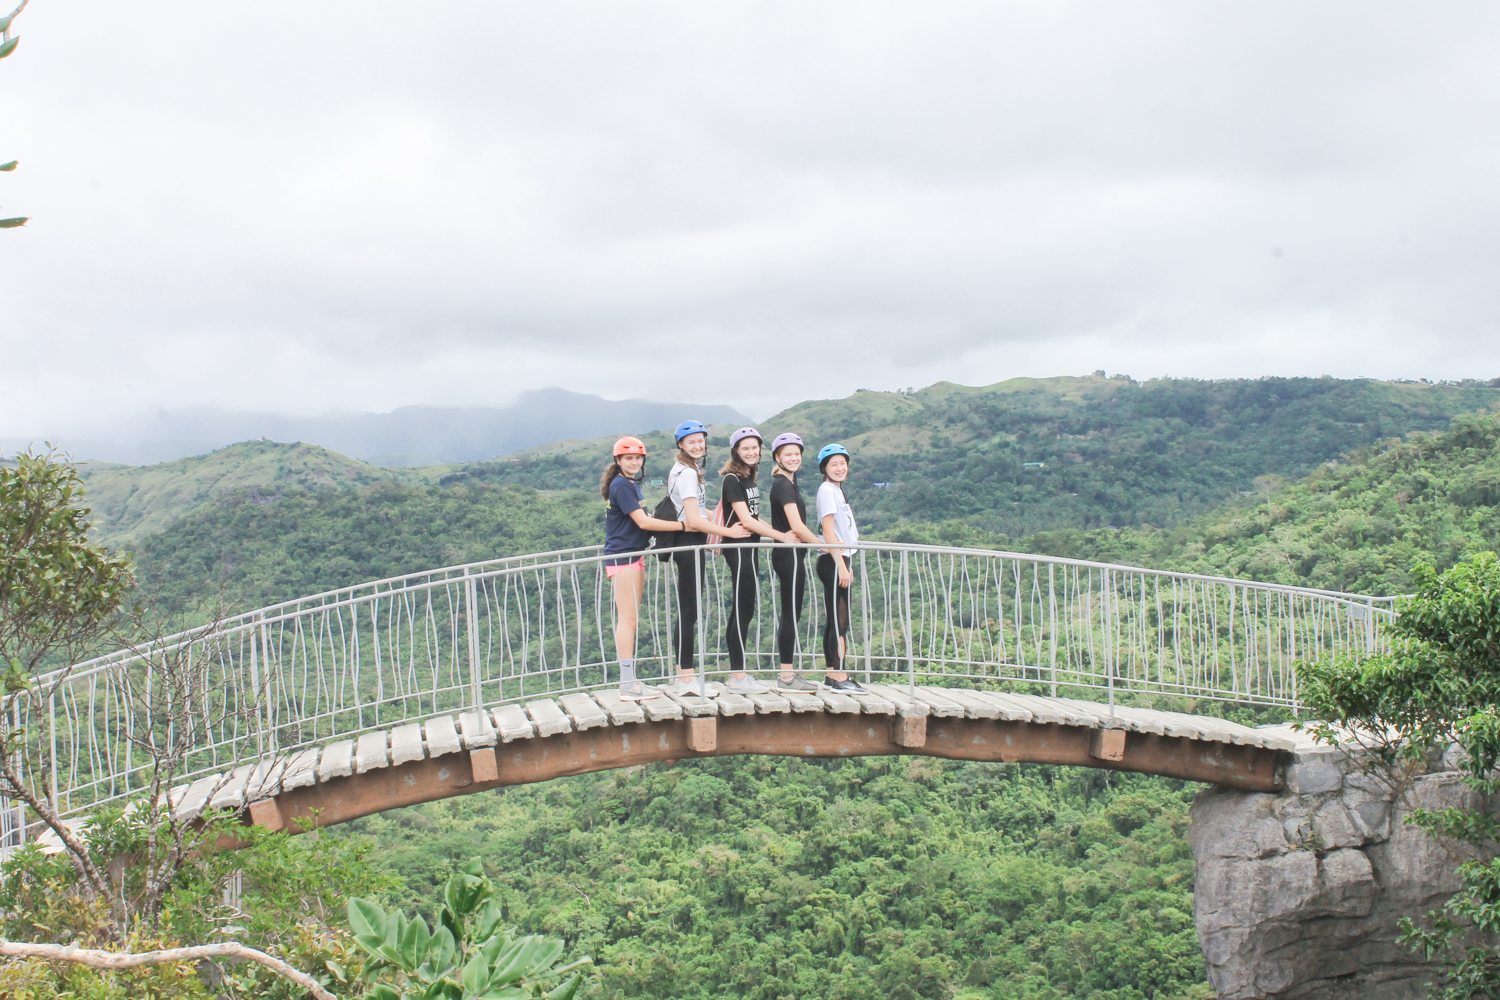
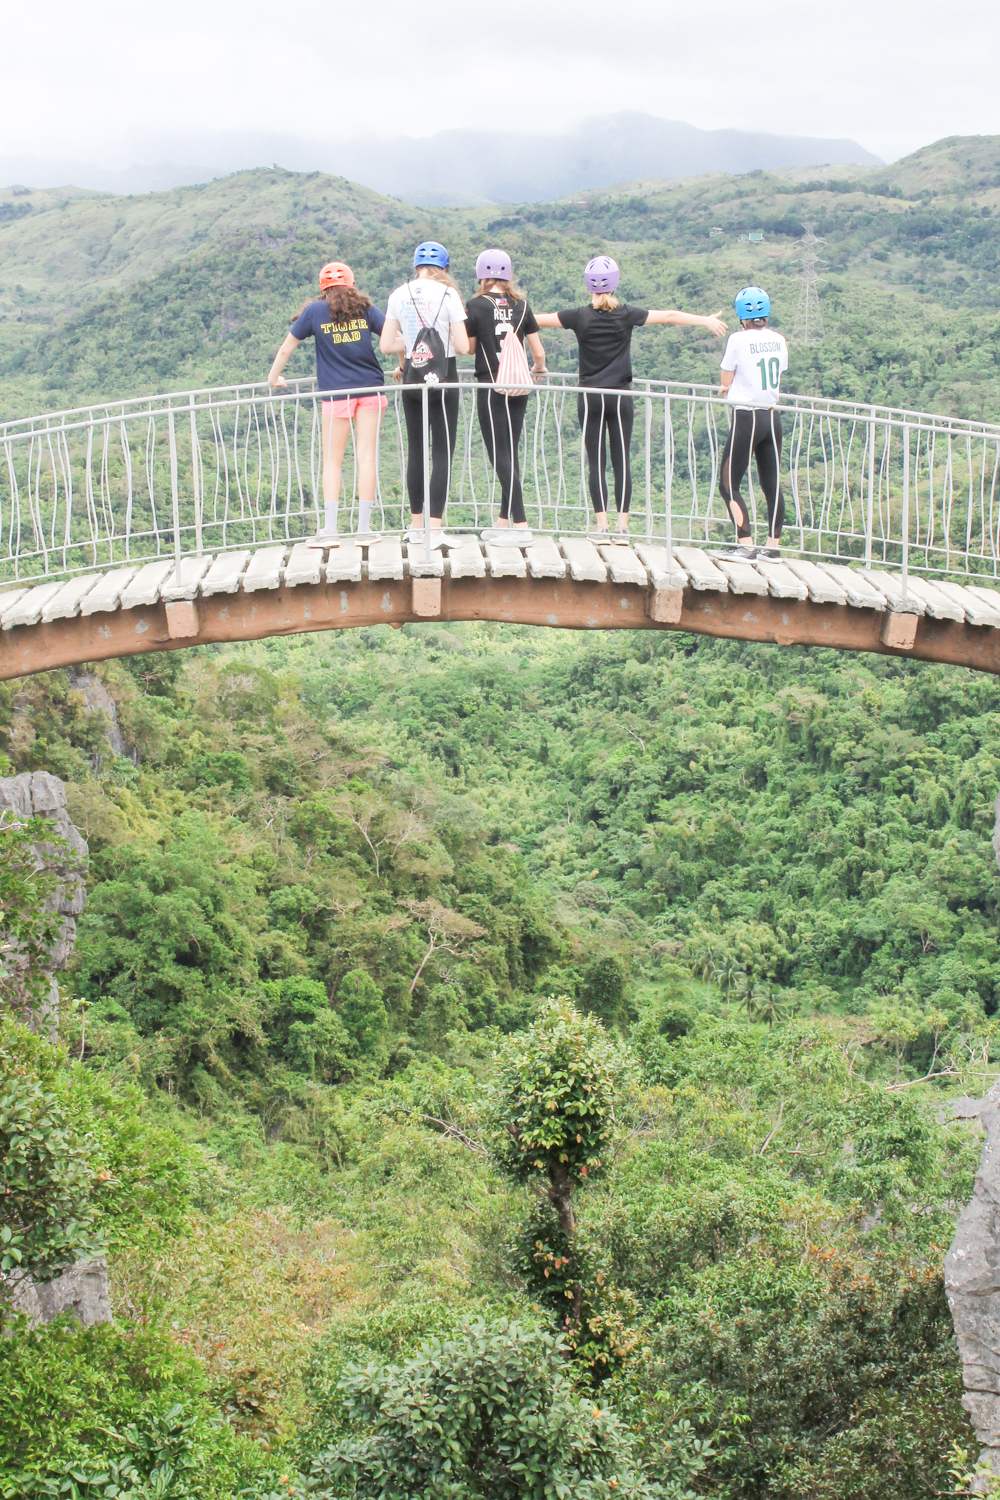
There are some fun places to take photos other than the amazing peaks and suspension bridges. I must say, though, that a helmet is not an attractive accessory!
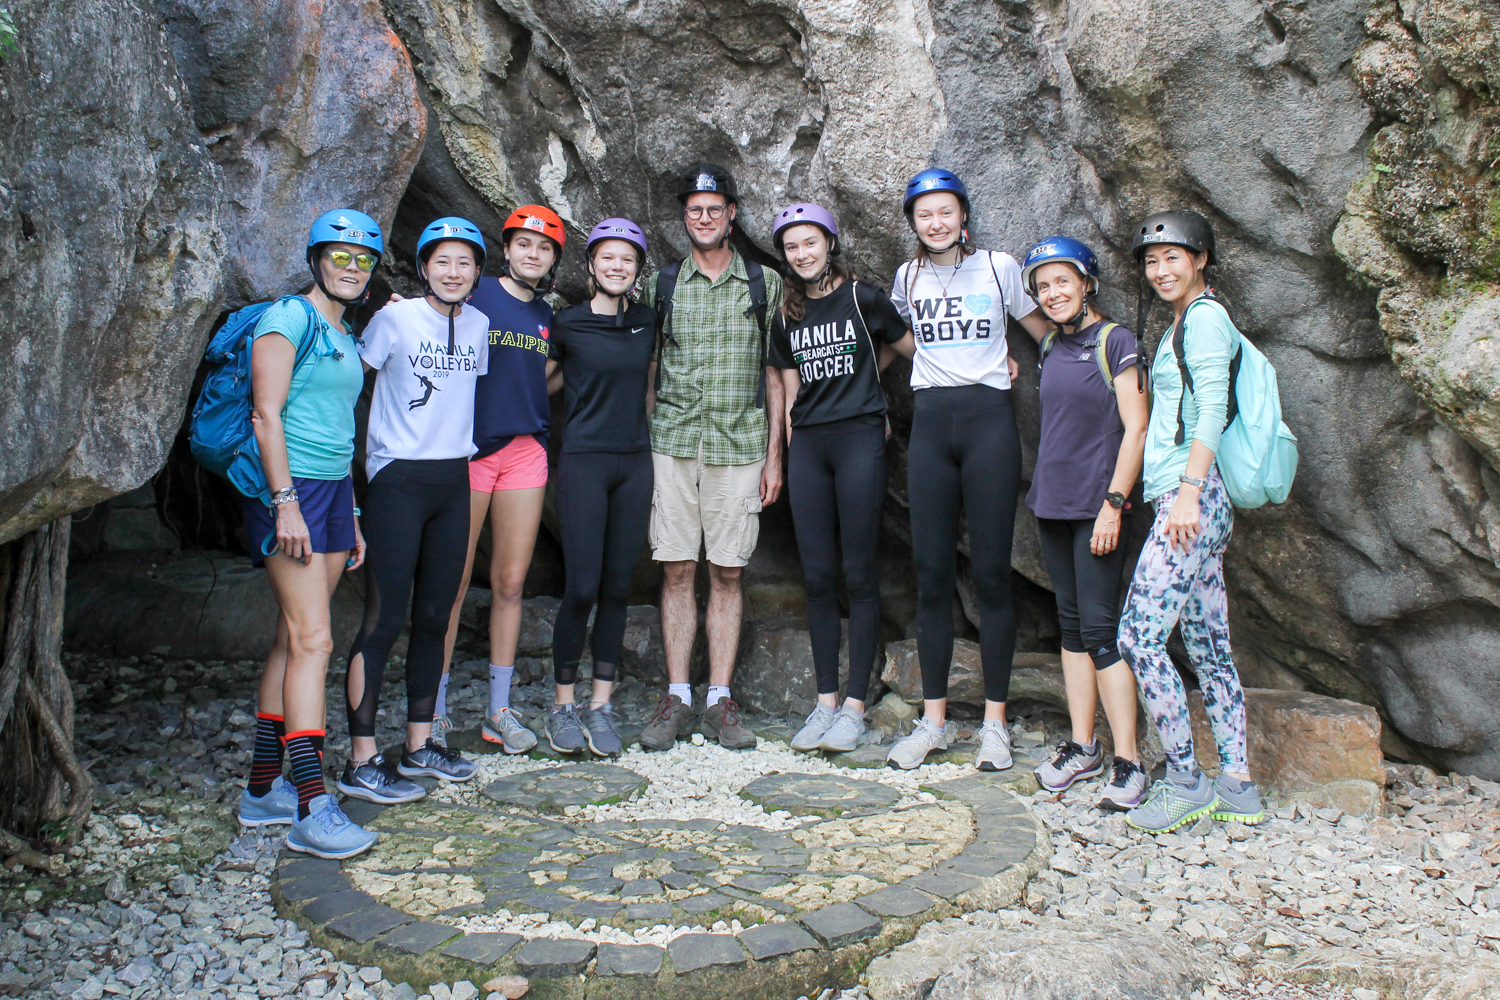
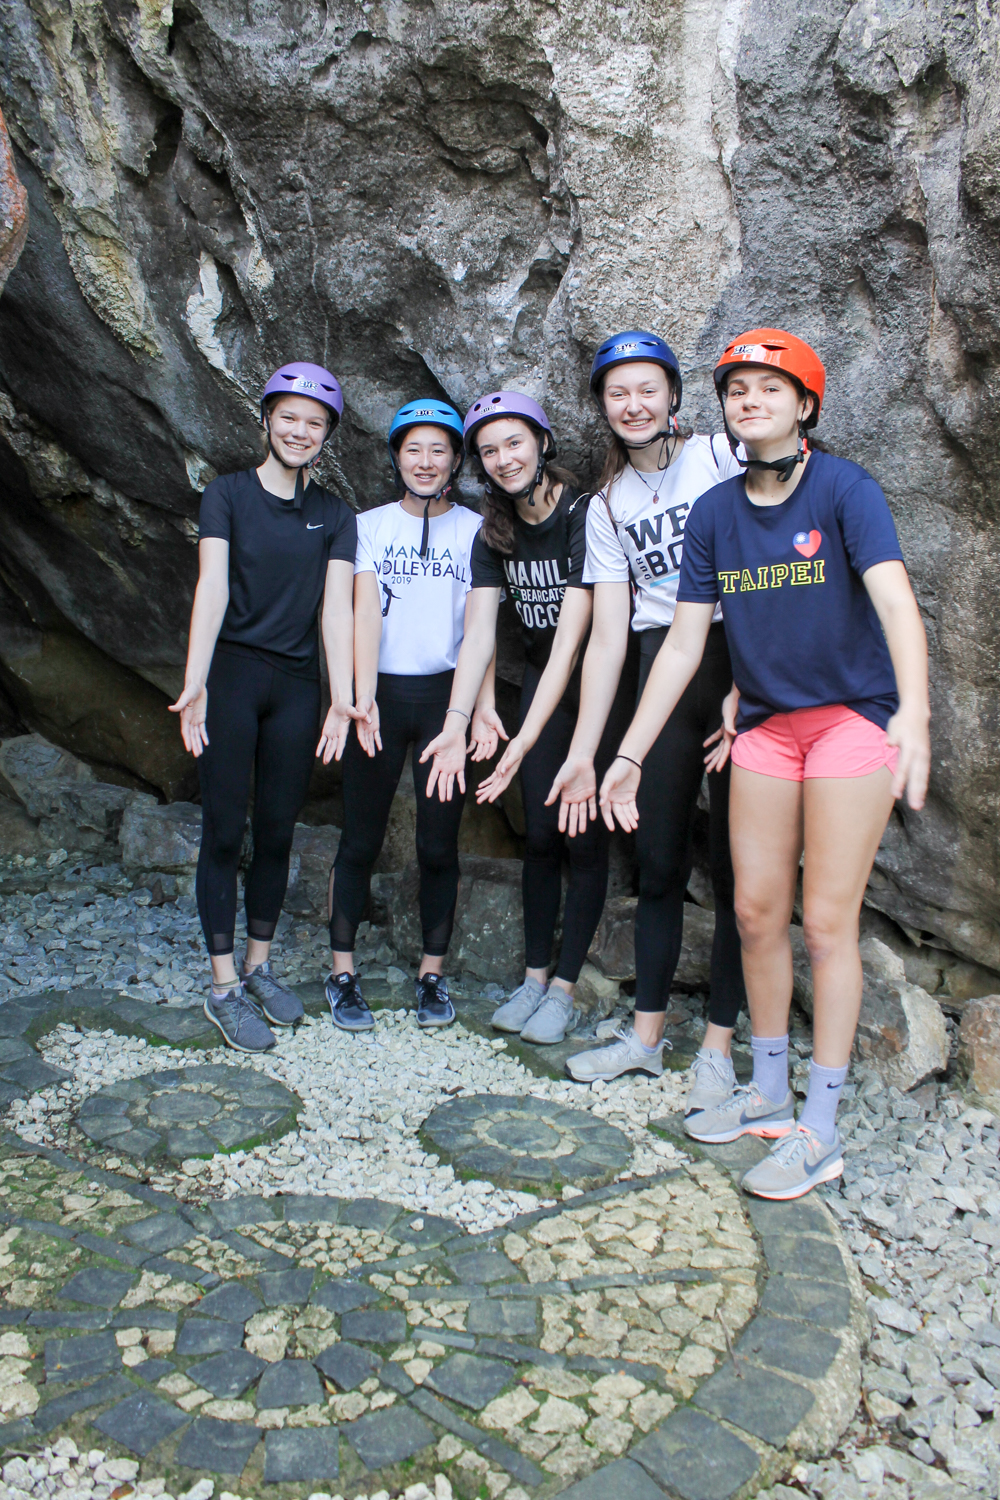
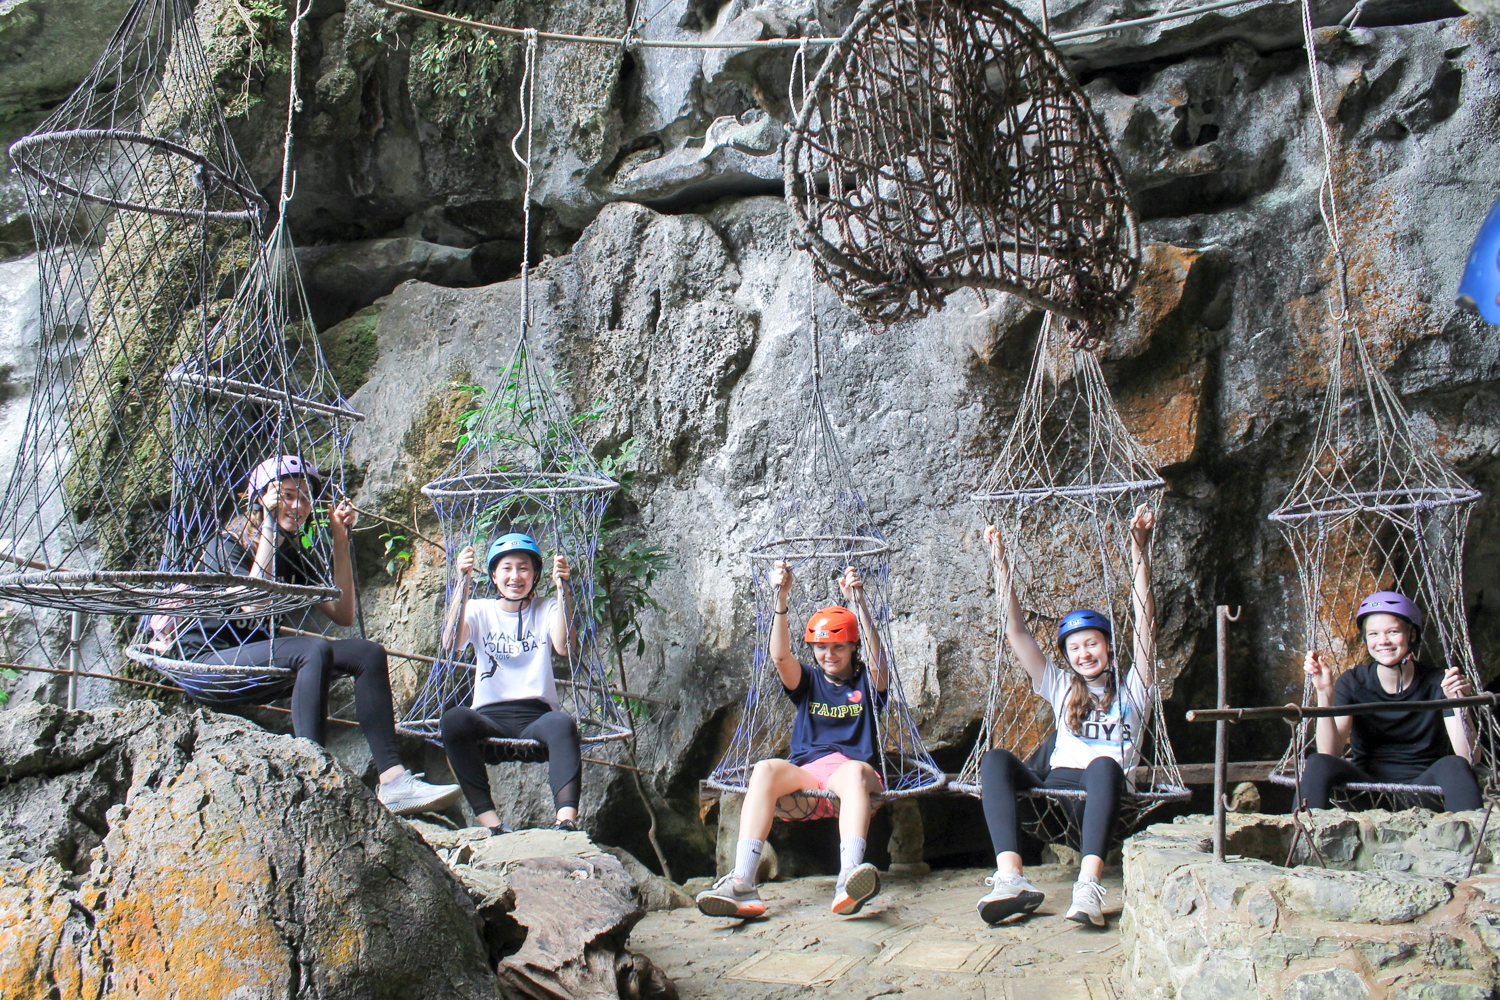
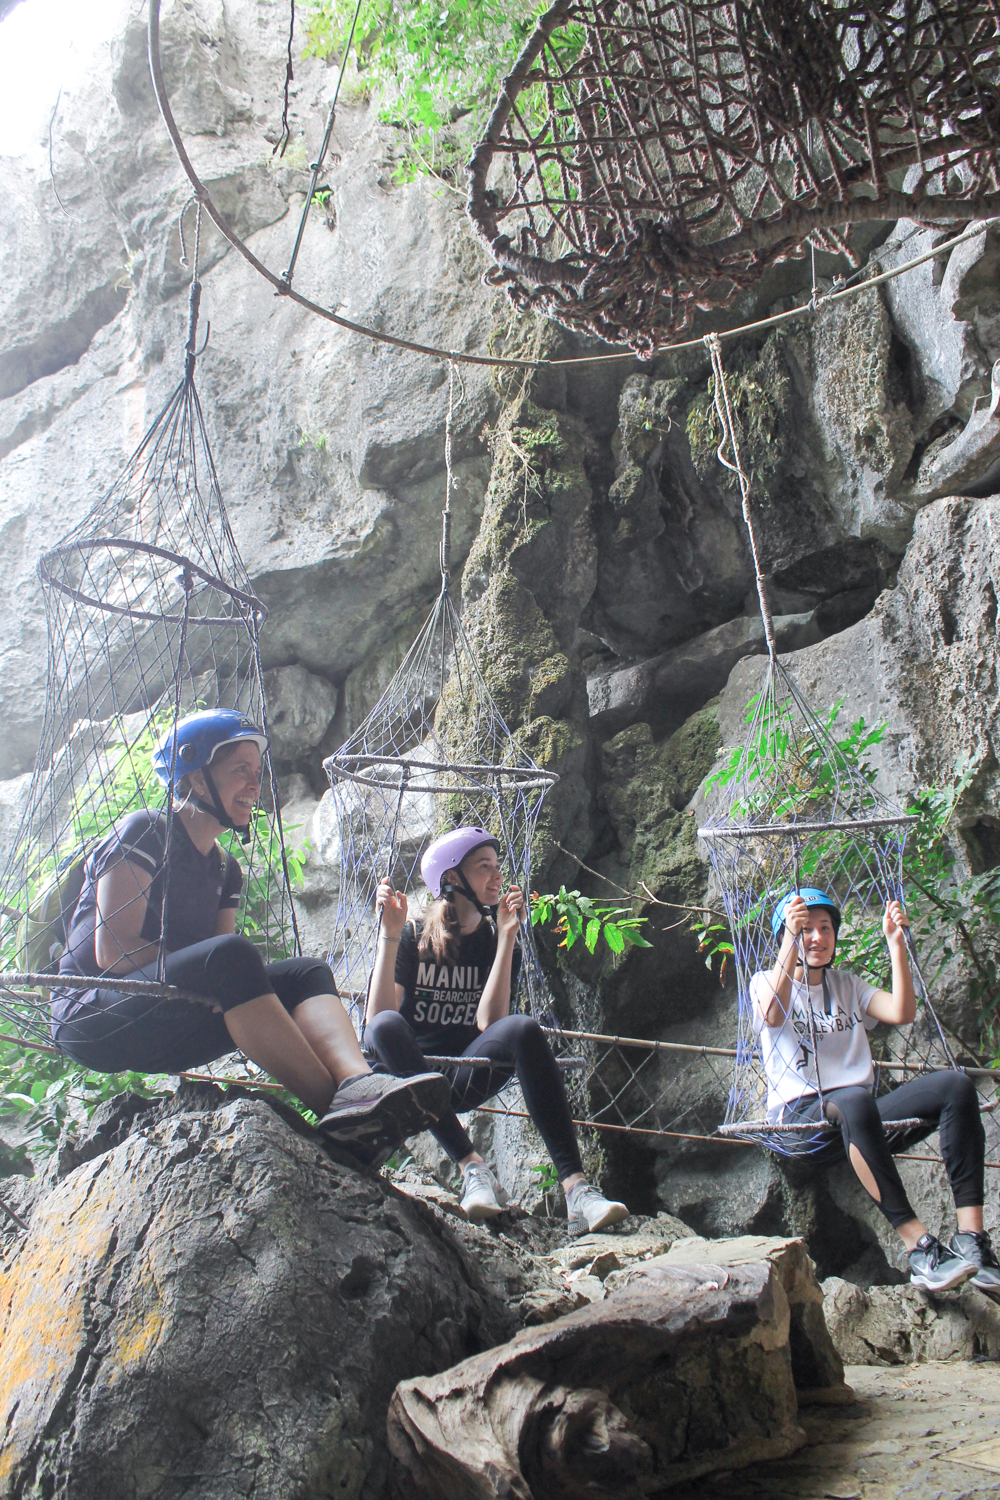
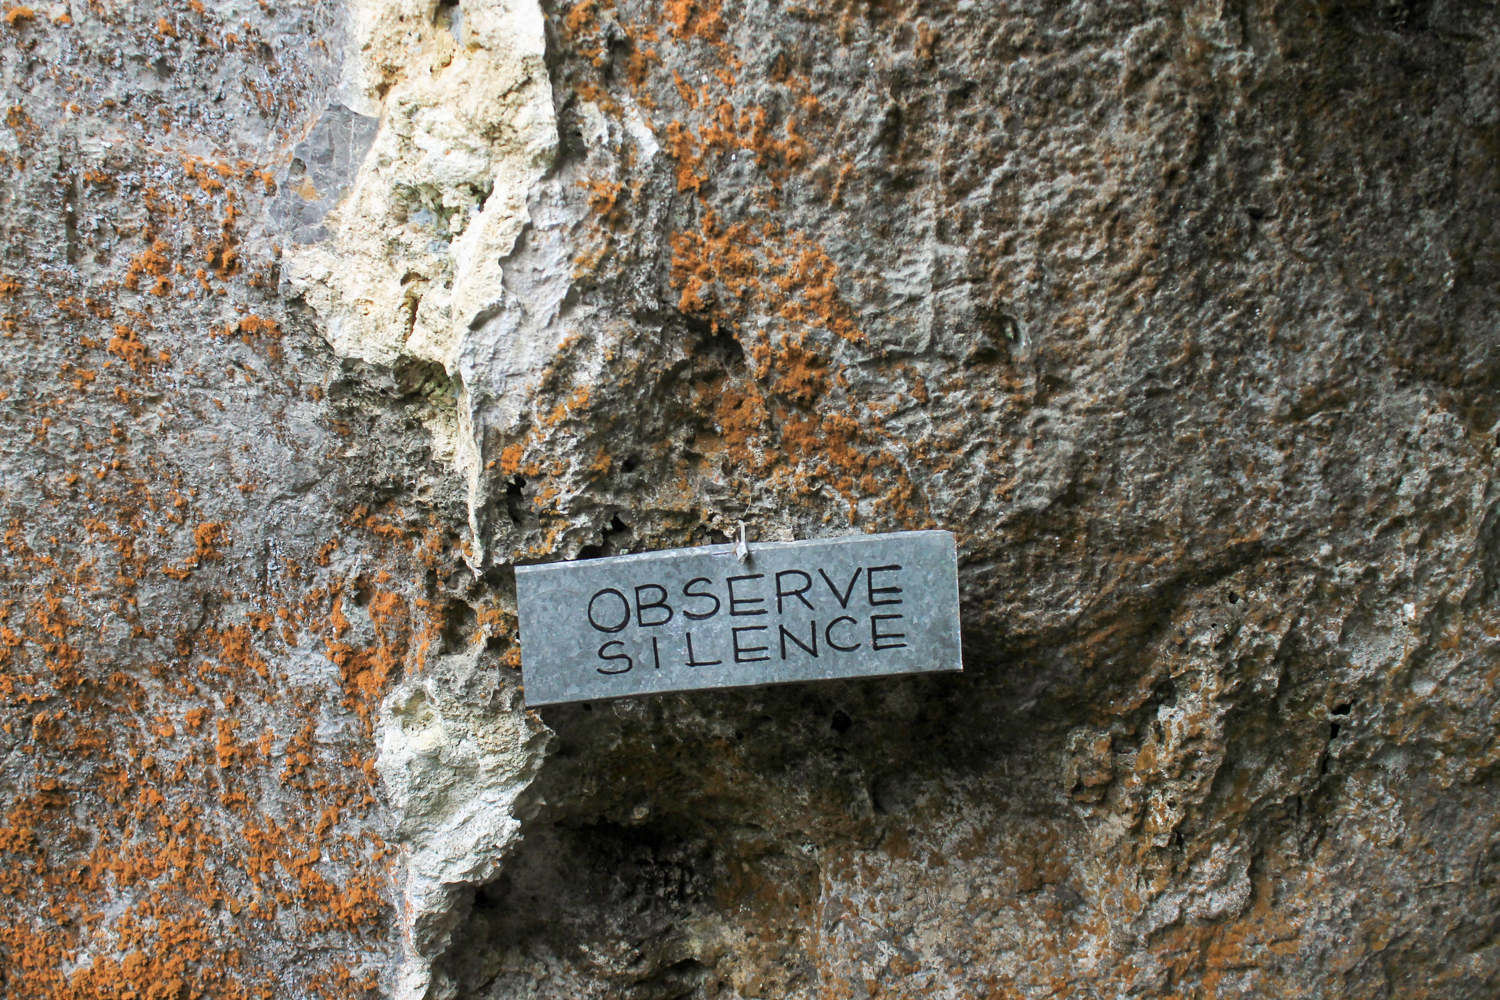
8. SILENT WALK
There was one section of the hike where we were asked to remain silent and not speak. The silent walk was actually really nice. You’ll realize that you pay more attention to the things that you might not otherwise.
9. DESCENDING MAY LOOK WORSE THAN IT ACTUALLY IS
When I saw the rope courses from up above to go down, I was like…
OH
HOLY
COW
I wasn’t 100 percent certain how I would do at some places.
All the rope courses seemed very well made. As long as you secure your foot right each time you climb down and grip the ropes well, you can climb down fine. Just don’t look down too much.
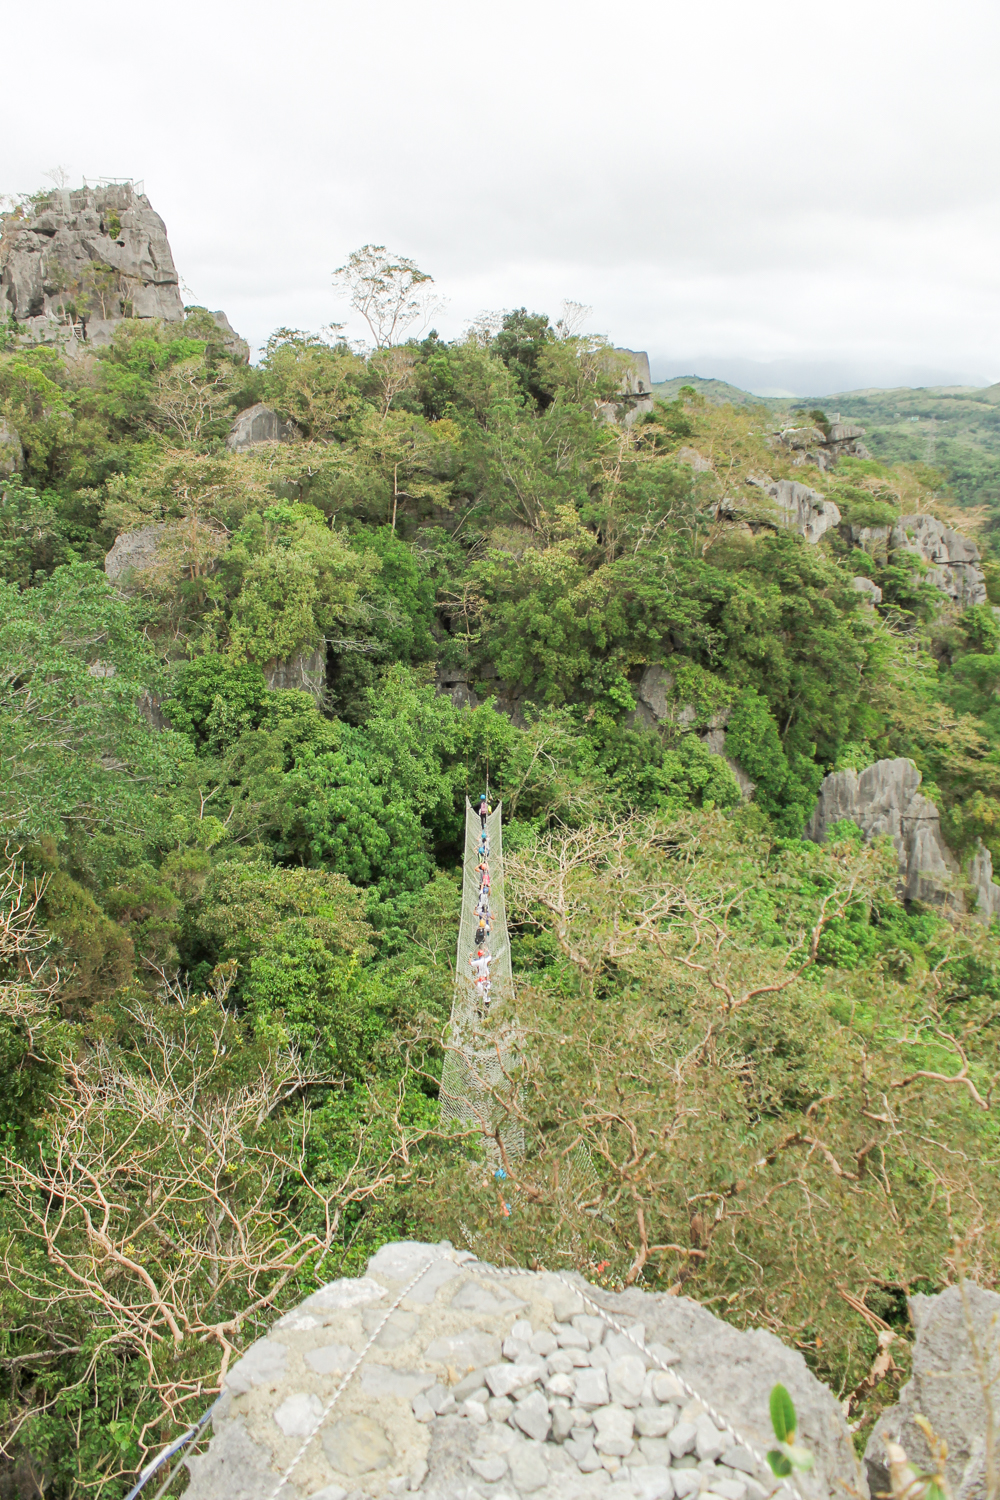
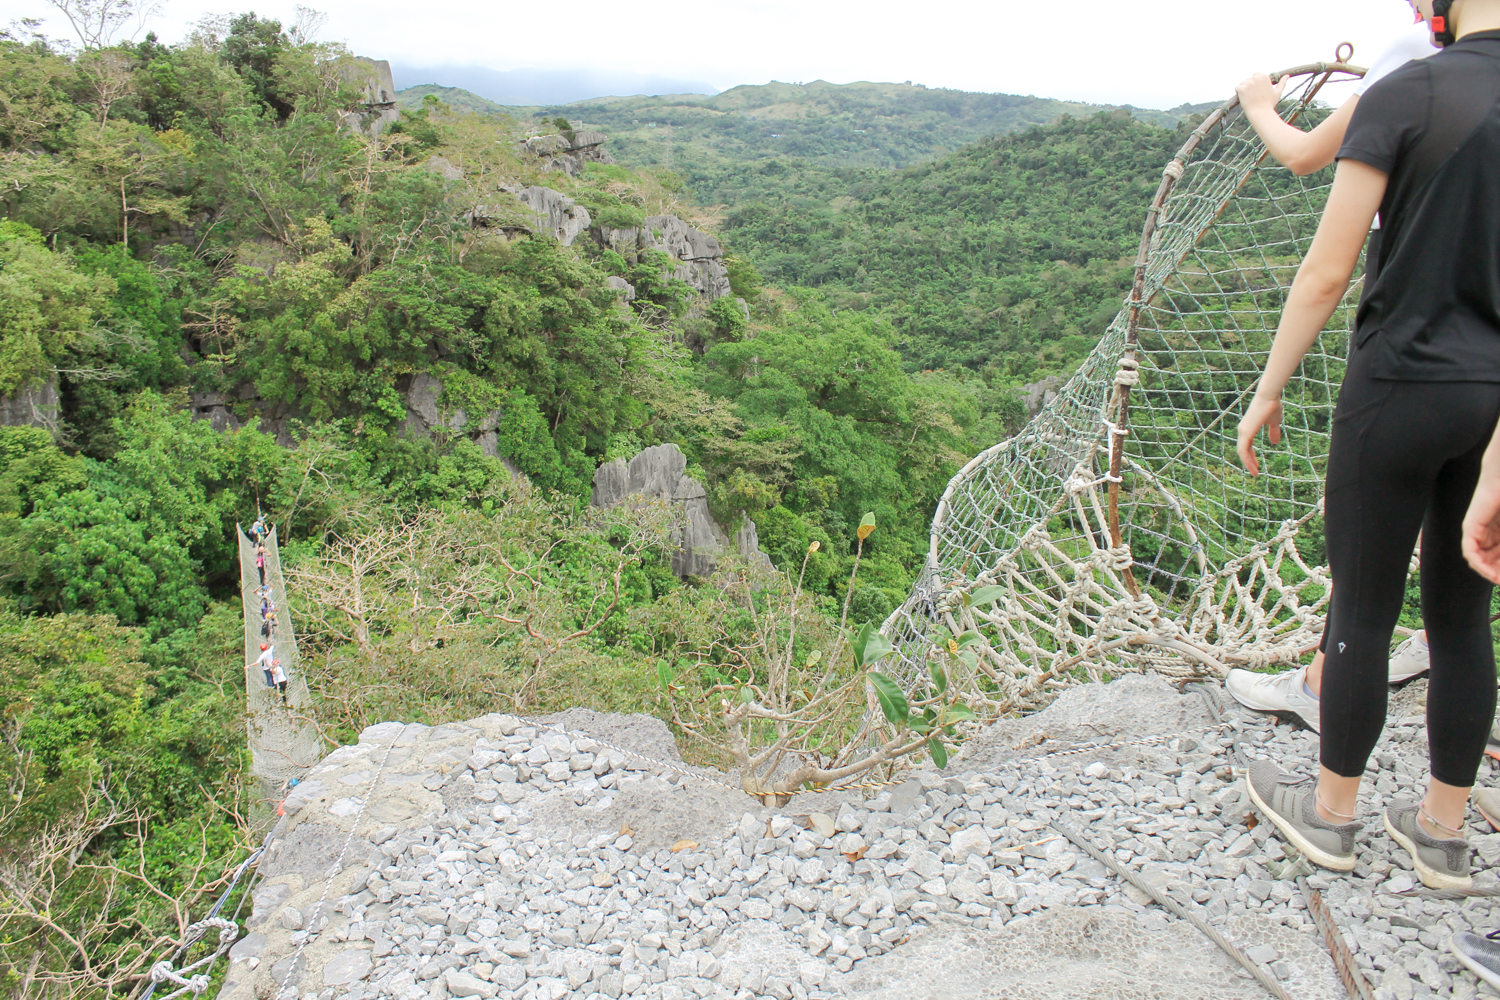
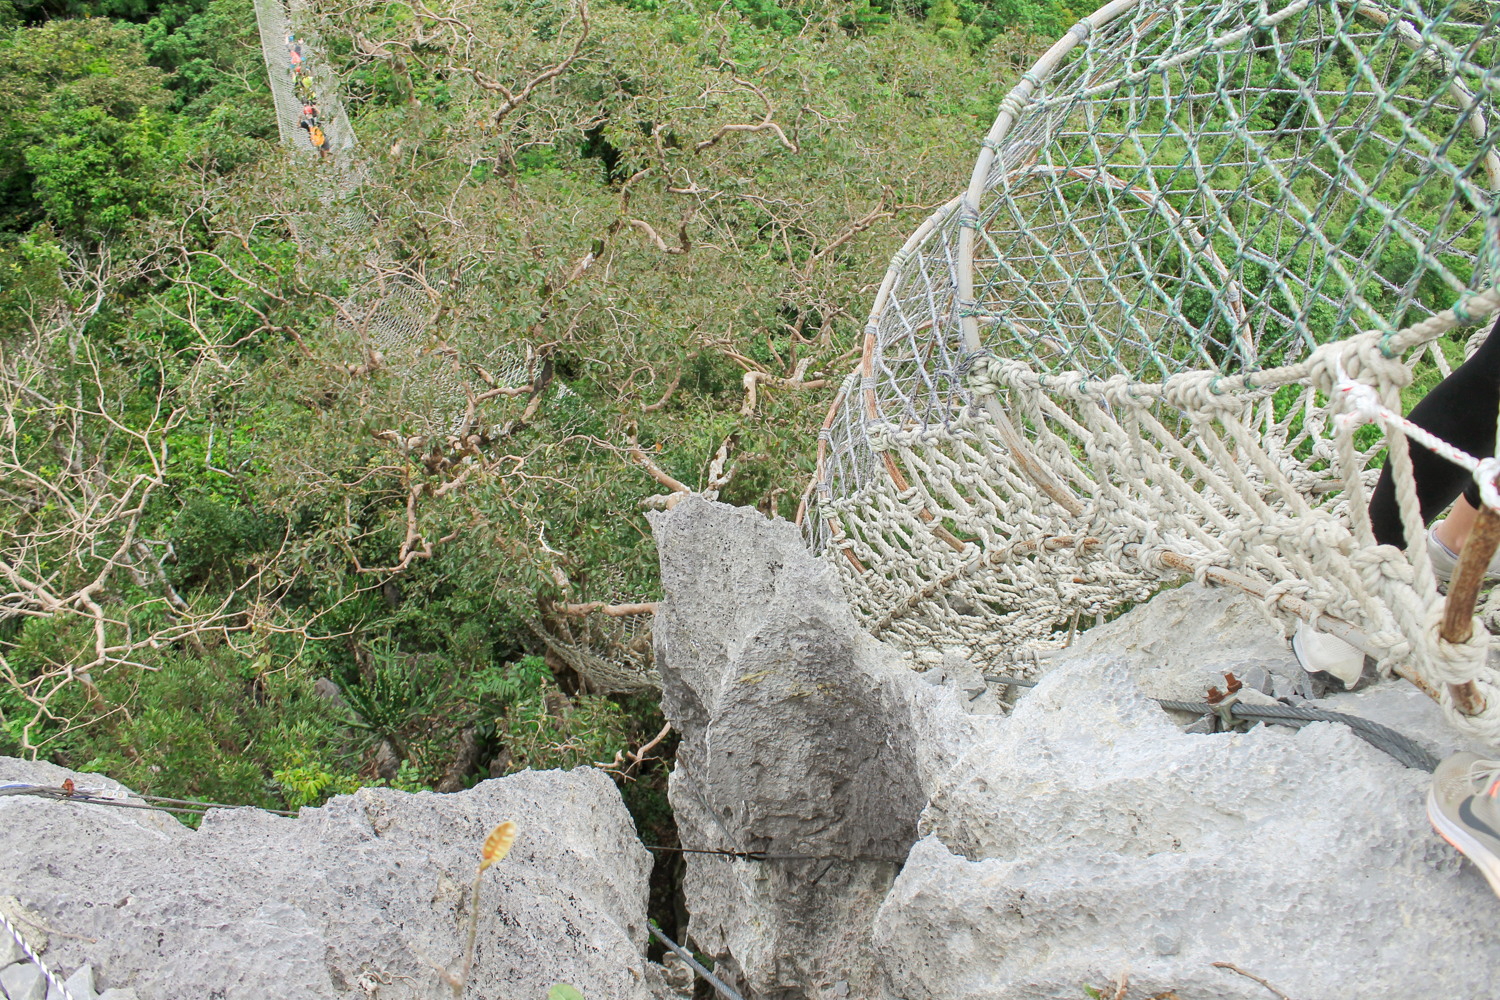
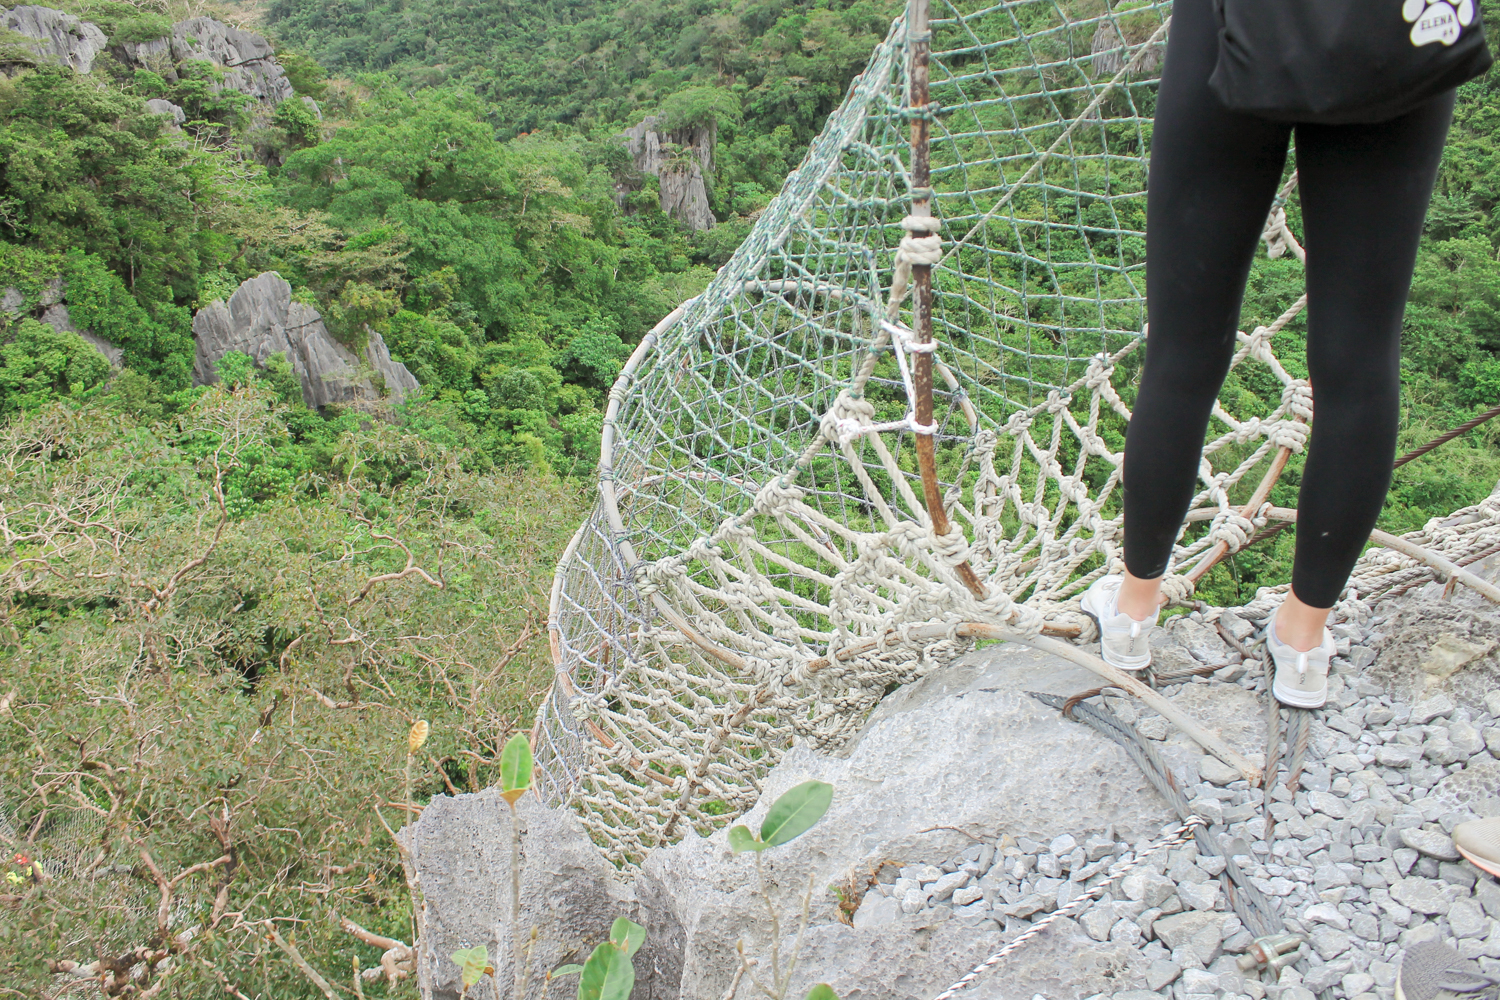
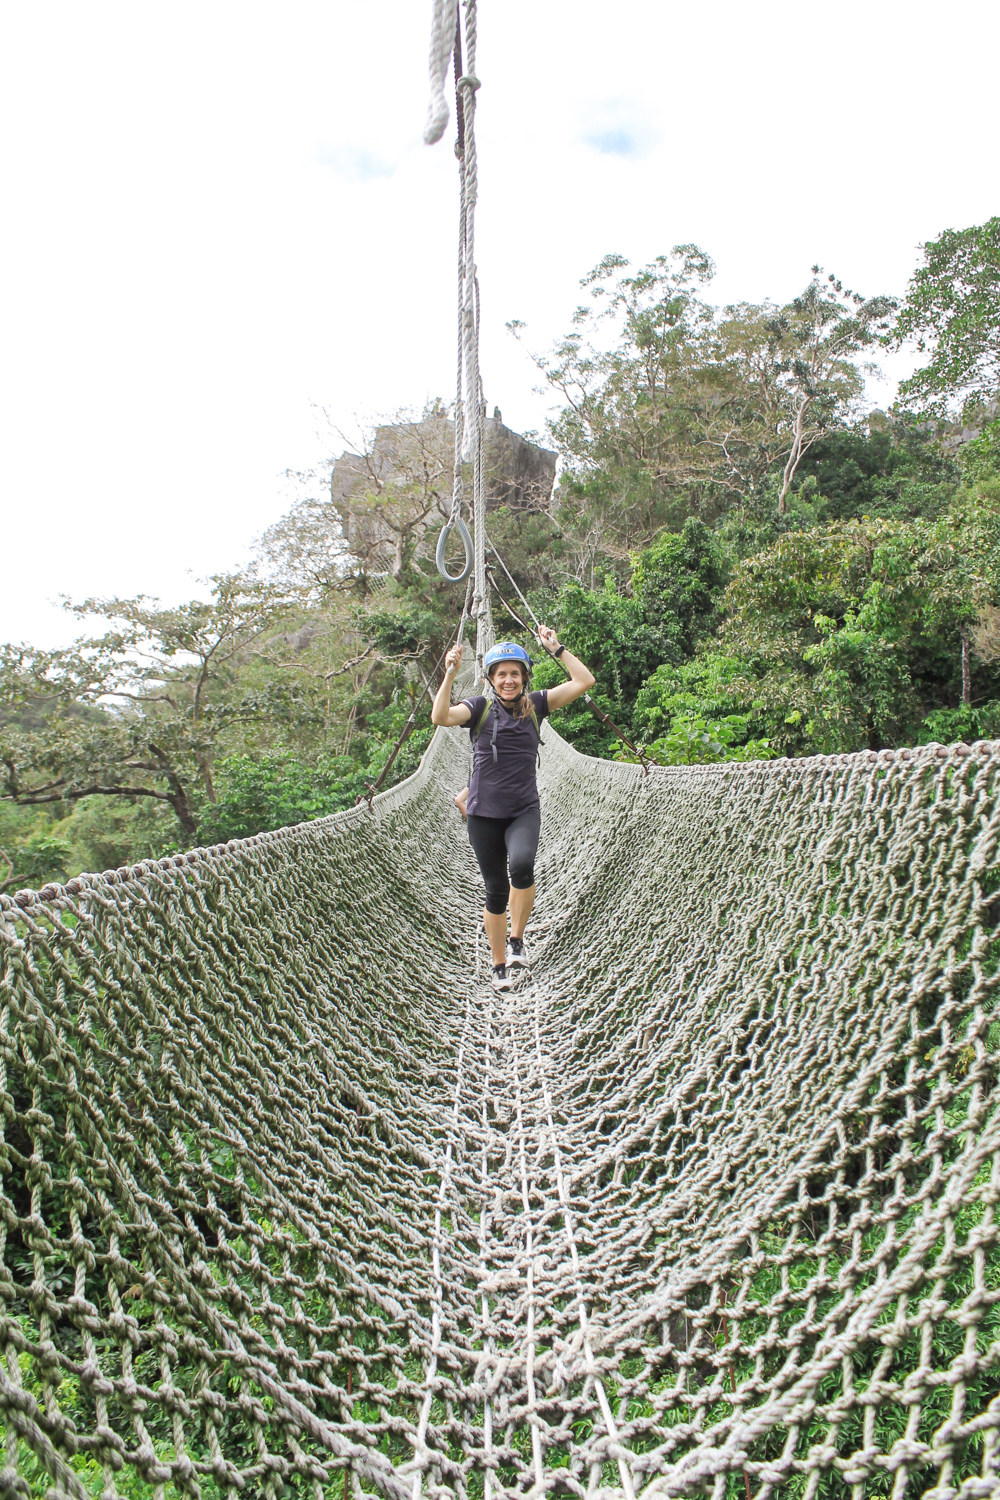
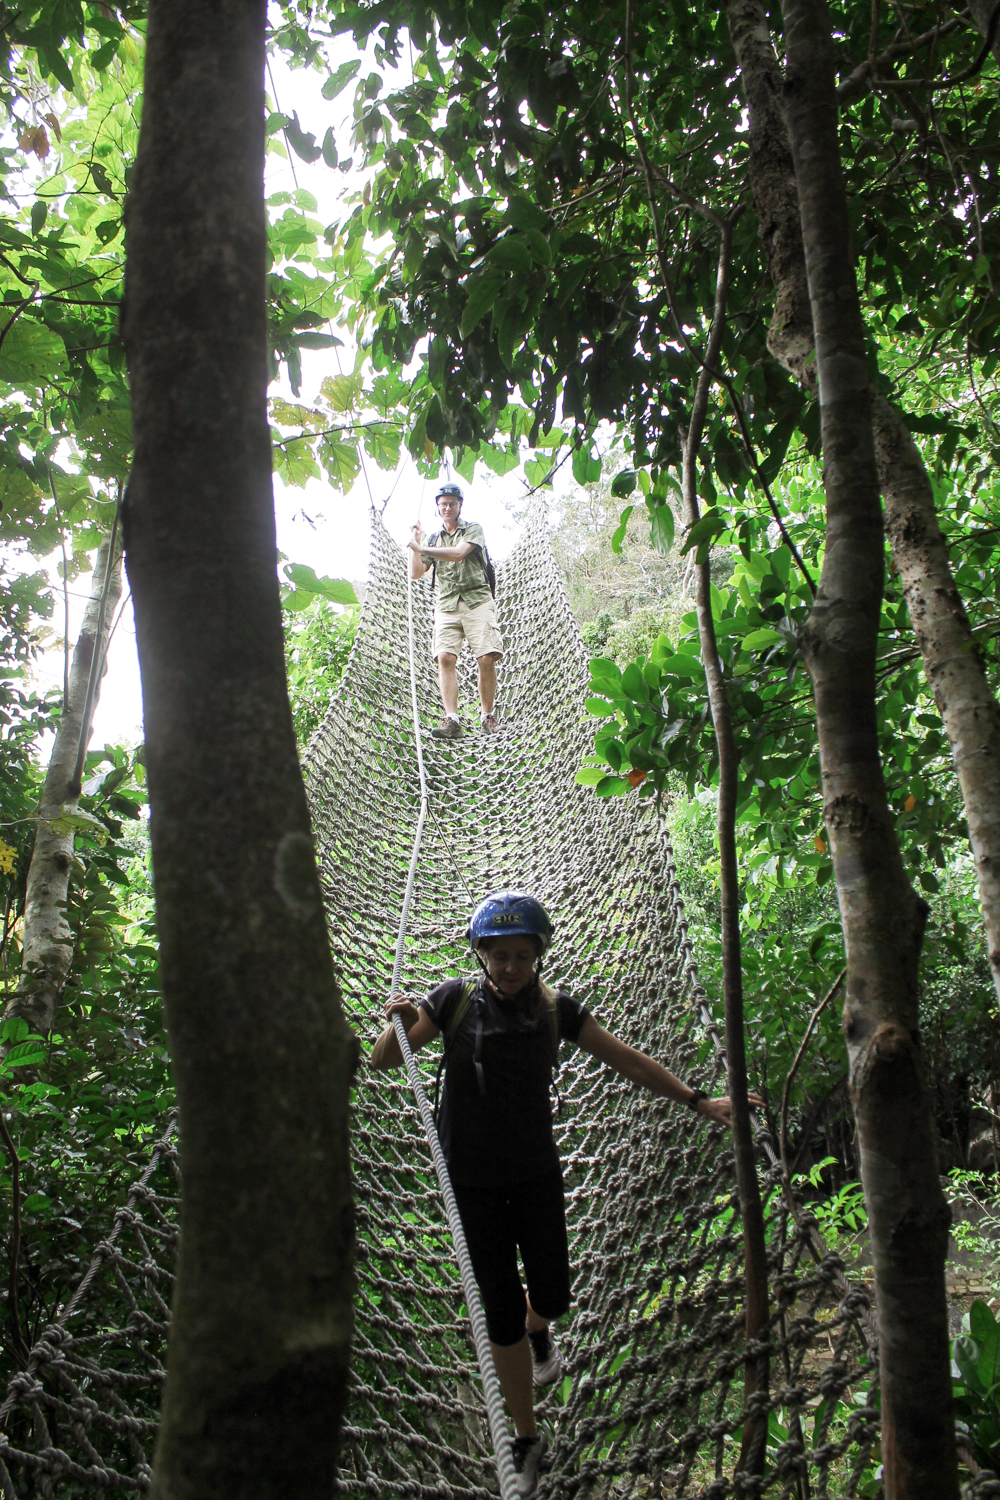
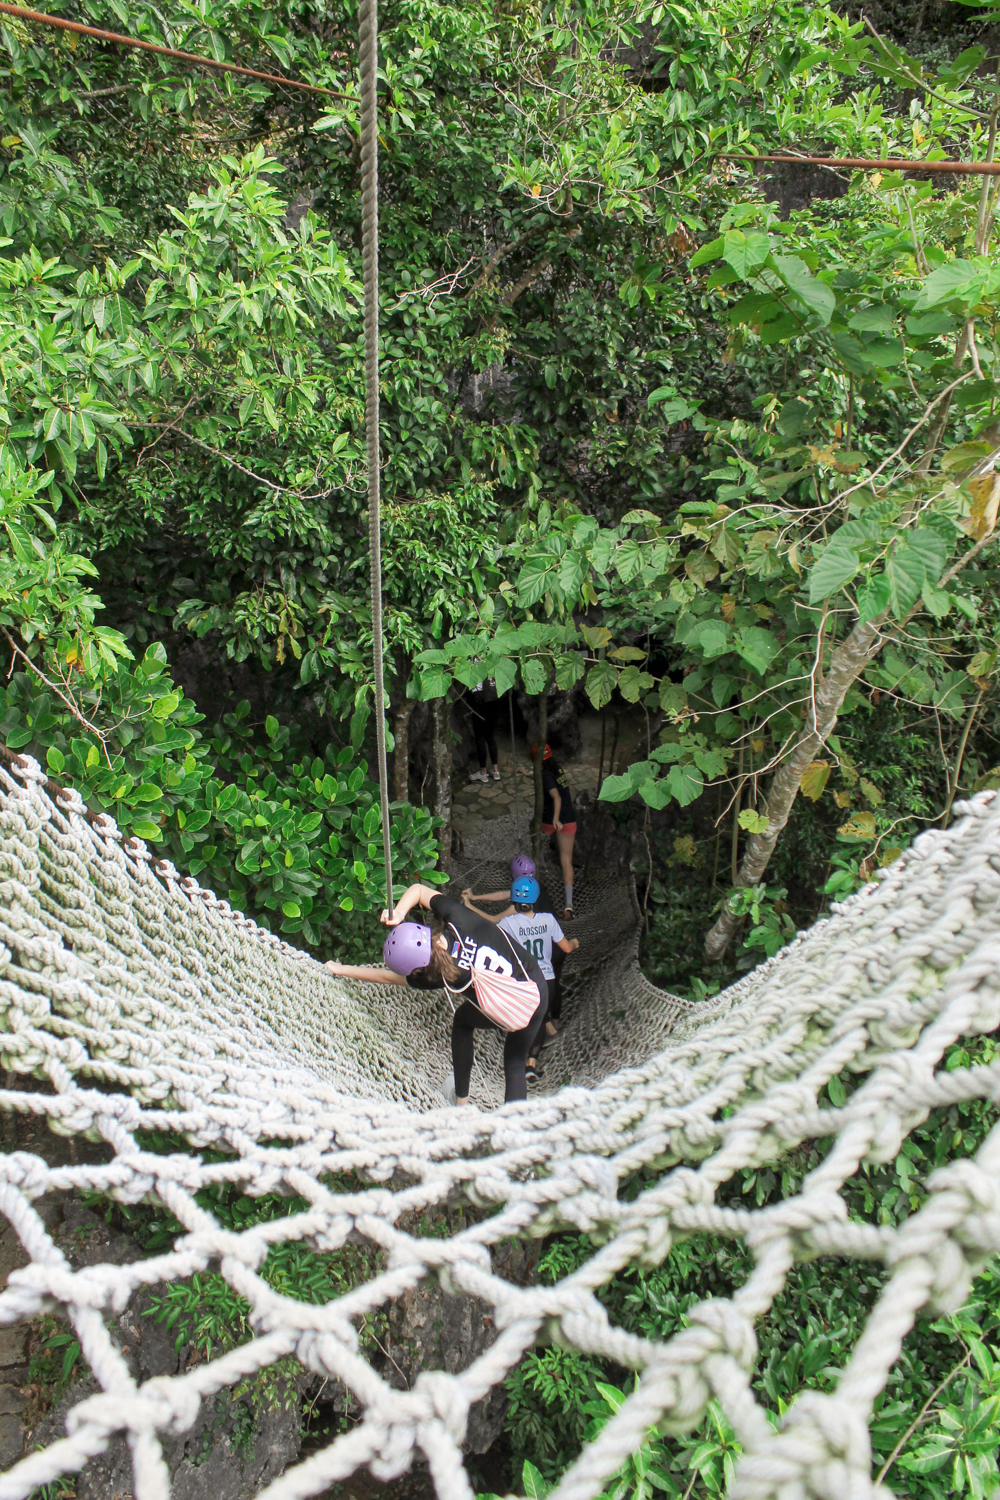
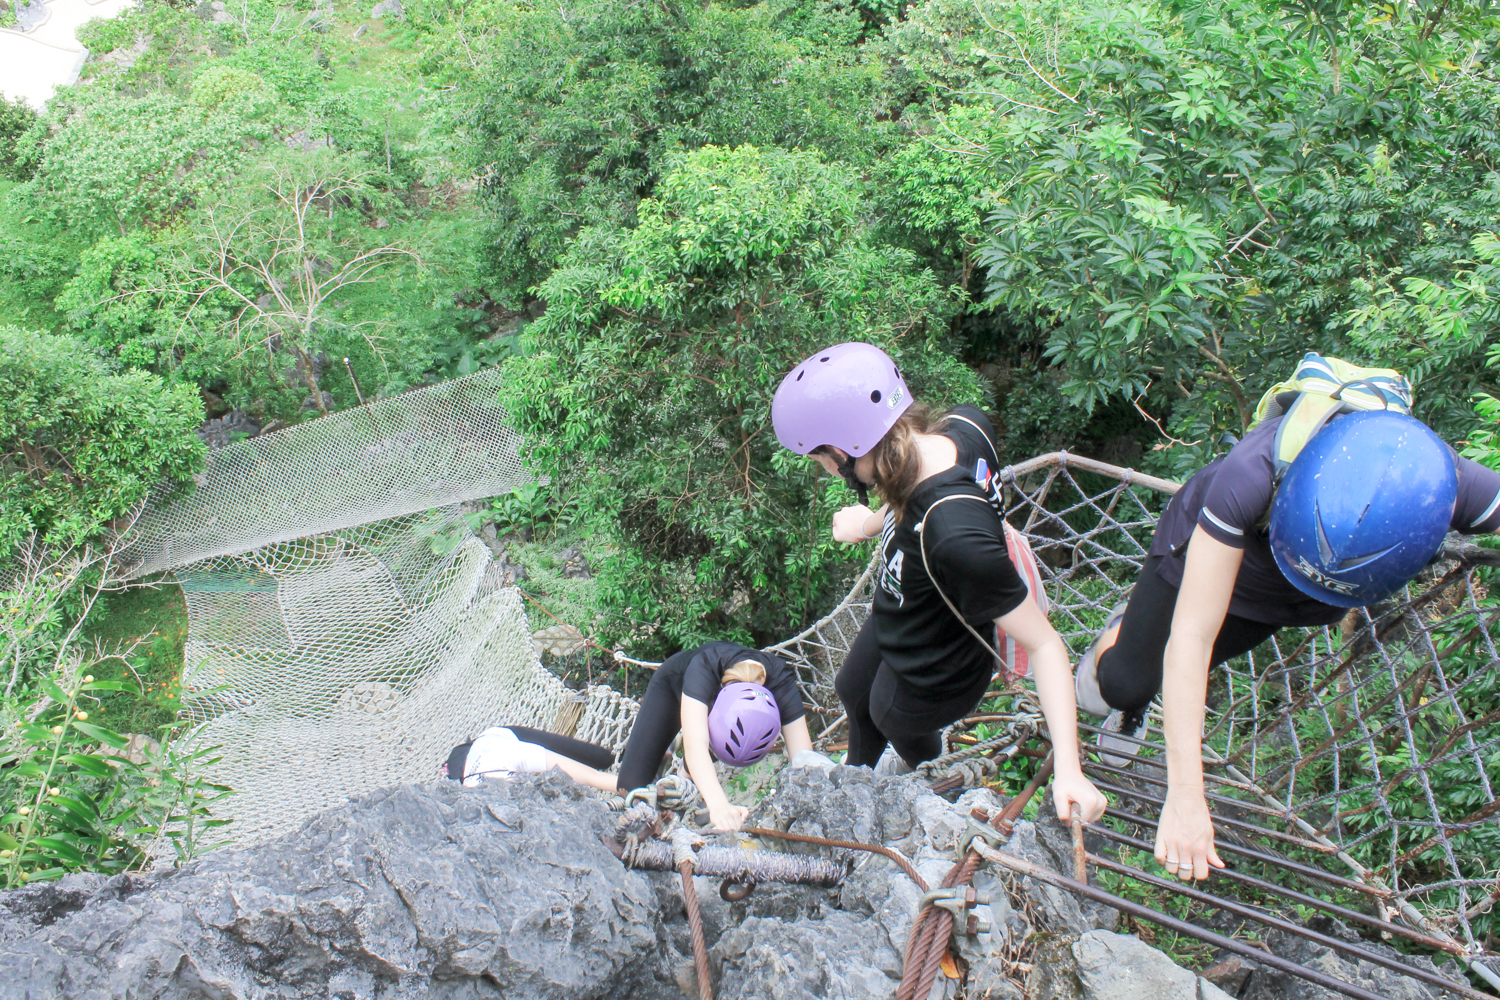
I definitely felt this one in my pelvic floors (in the yogic term!).
BREATH
DEEPLY
AND
CALM
YOUR
MIND
10. CAVE
I’m claustrophobic.
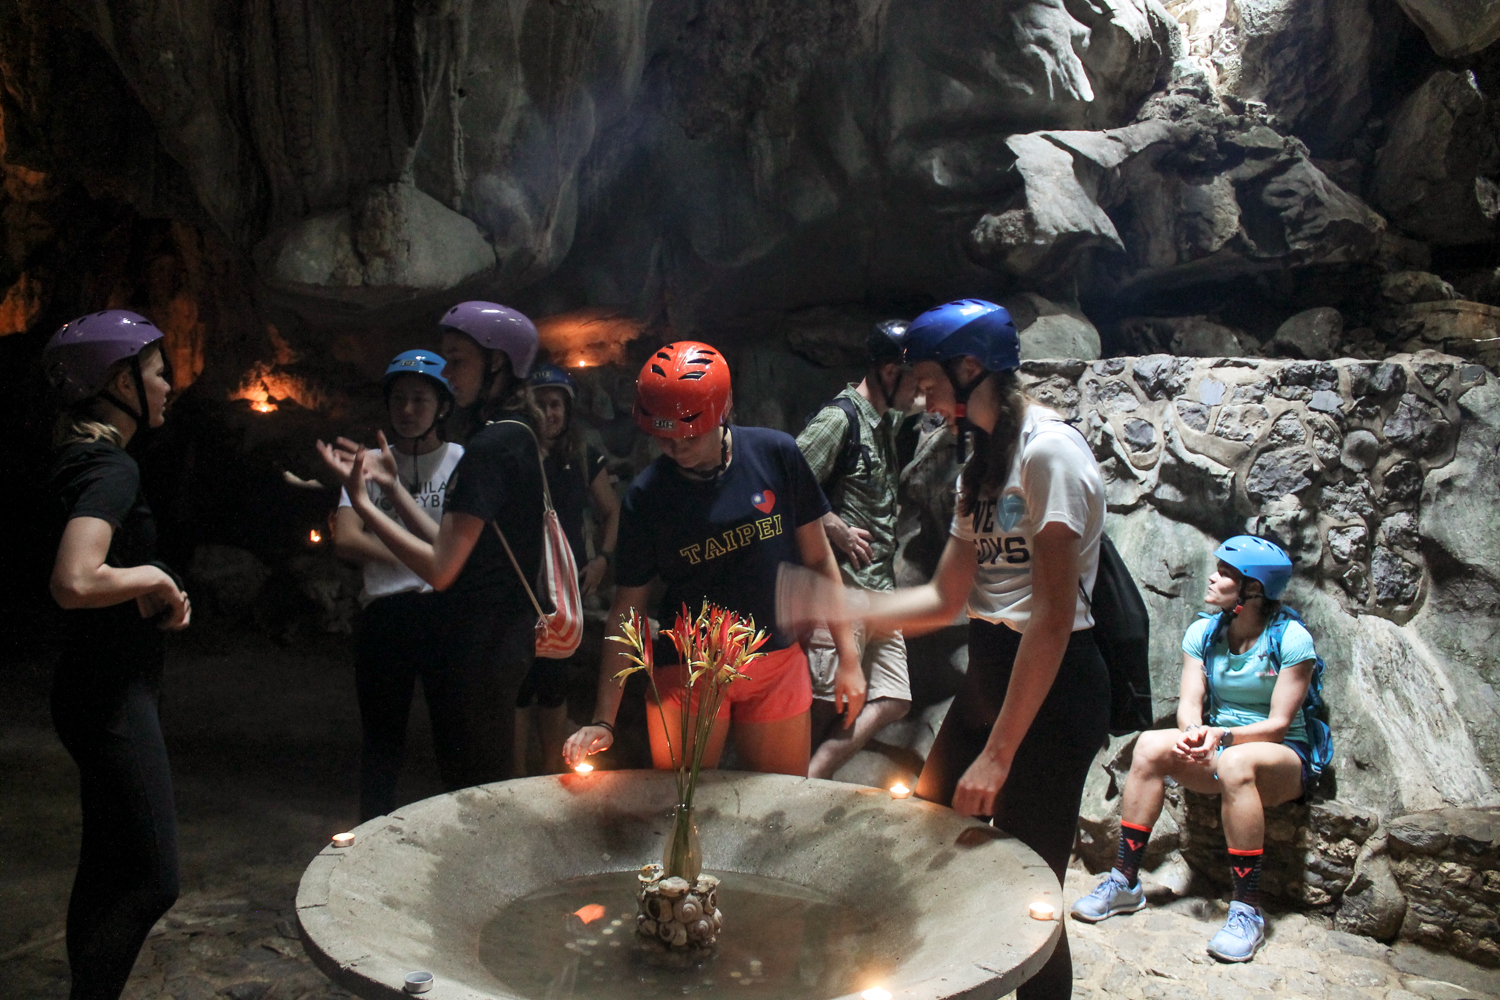
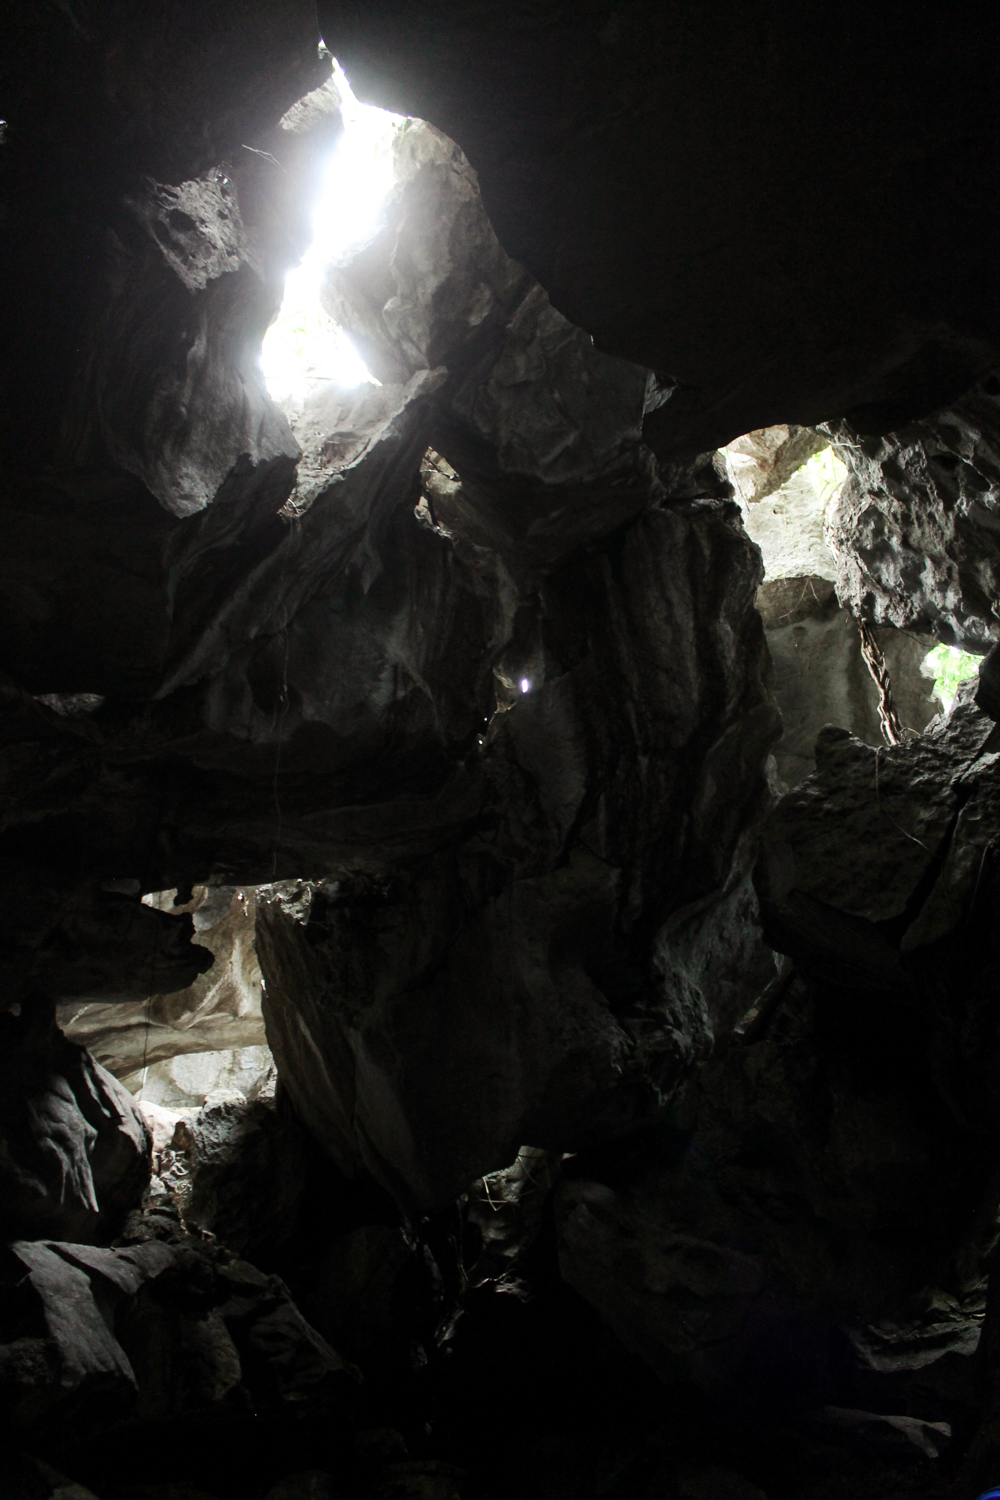
I do not feel comfortable in closed areas. However, this was totally fine to me. The pathway to the cave was tall enough that I could duck and walk. Watch your head on the way, though. There are some pointy rocks. Thus, wear a helmet!
This was the only cave we went in. Inside the cave was pretty and nice.
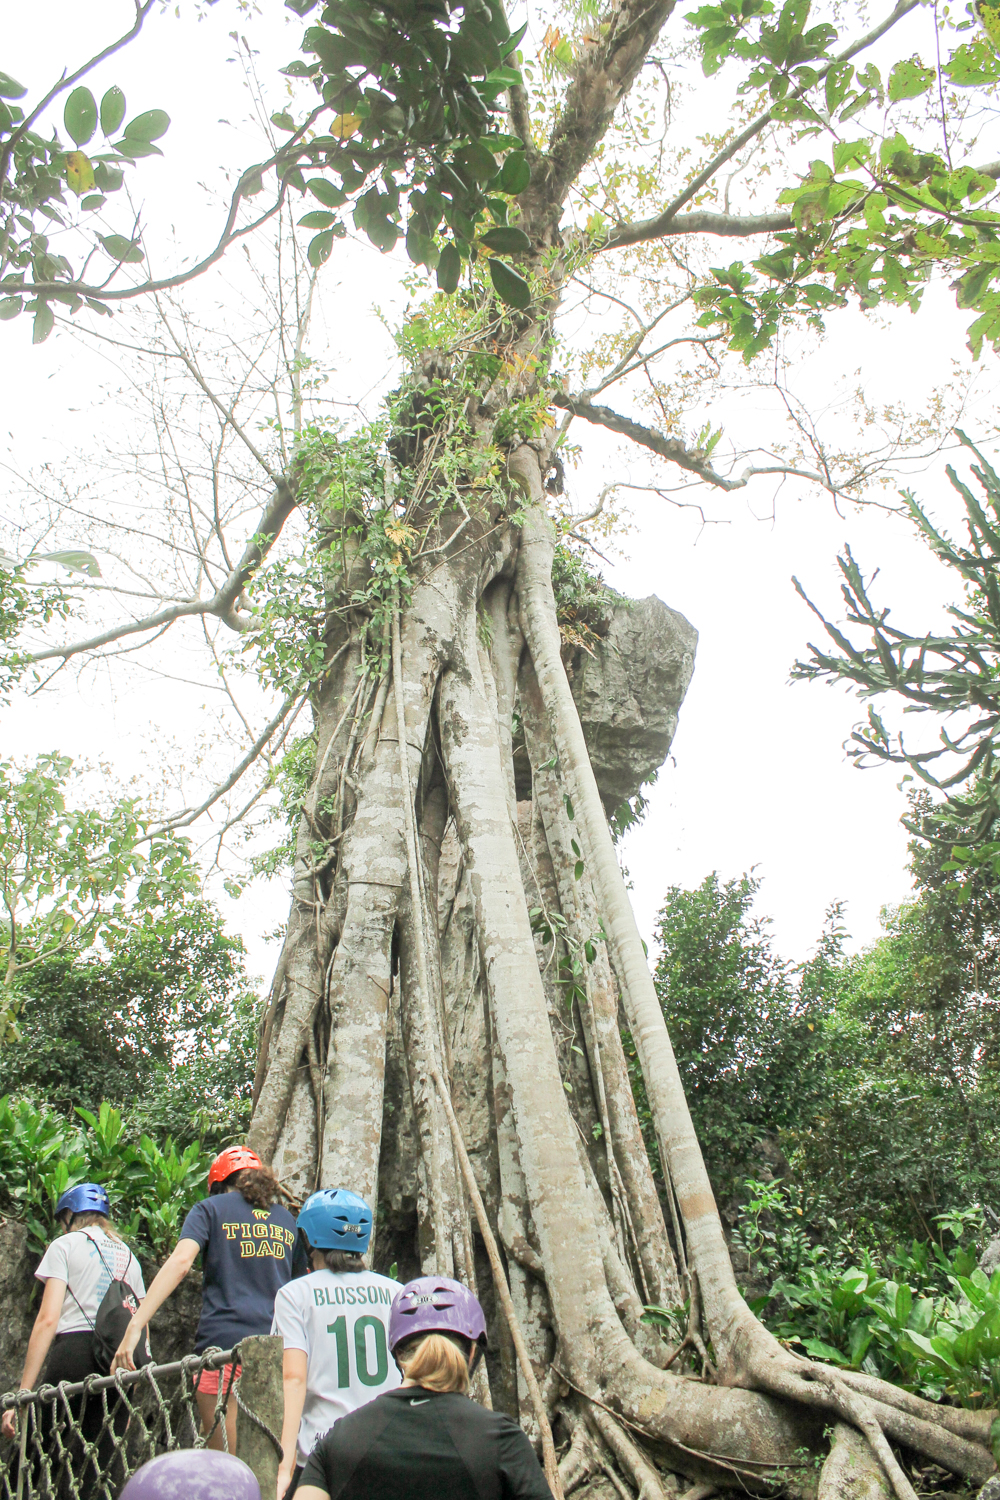
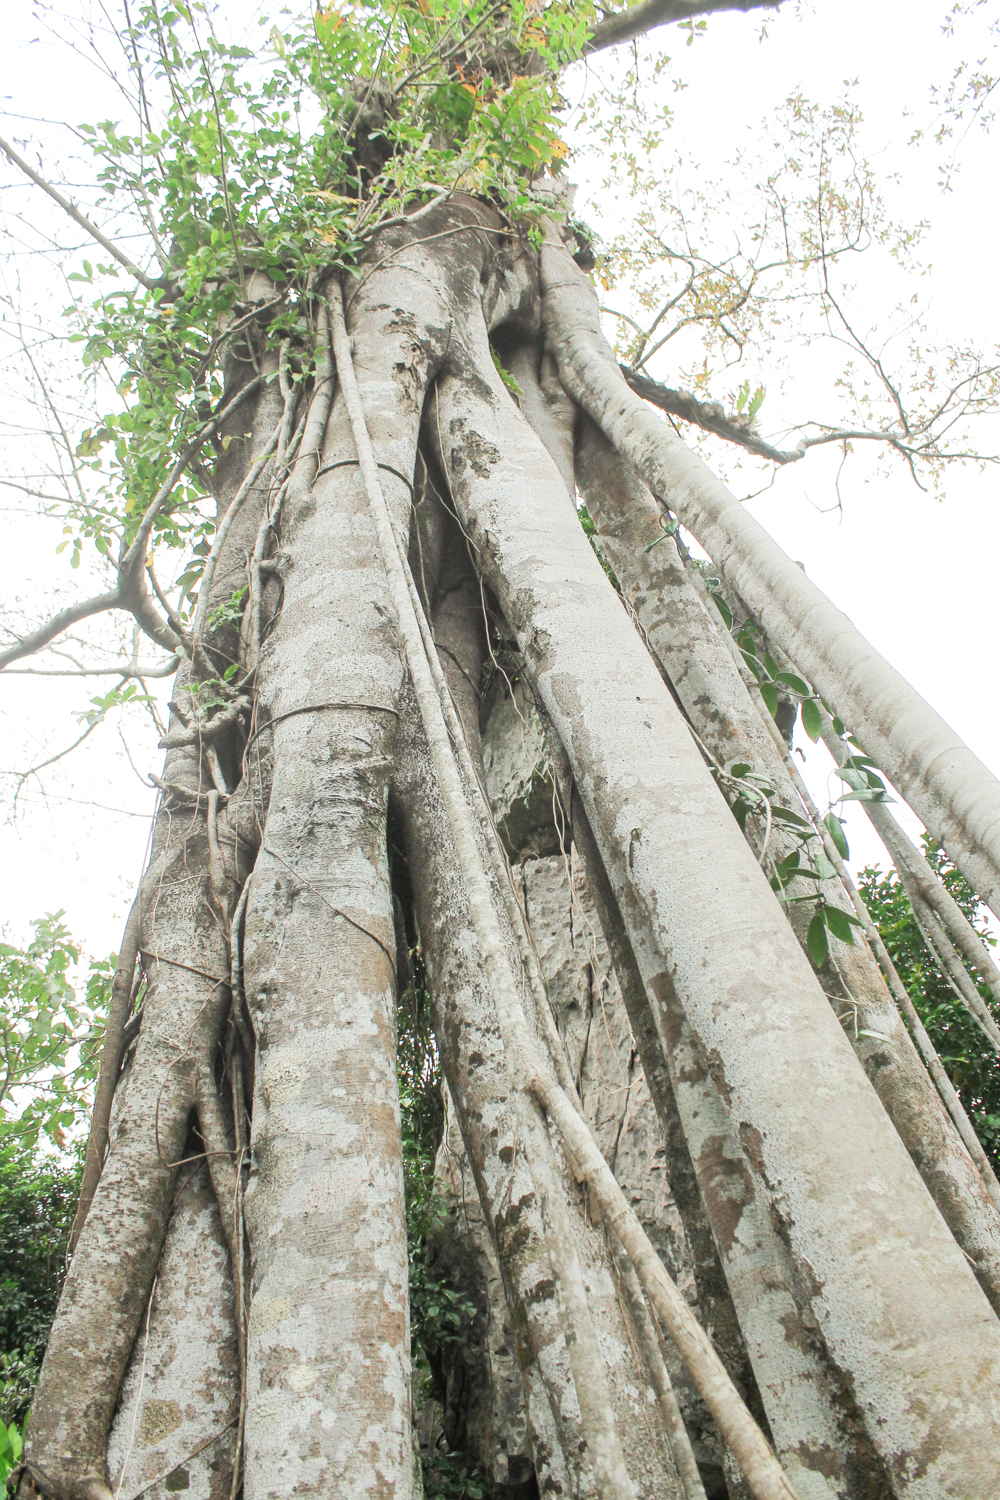
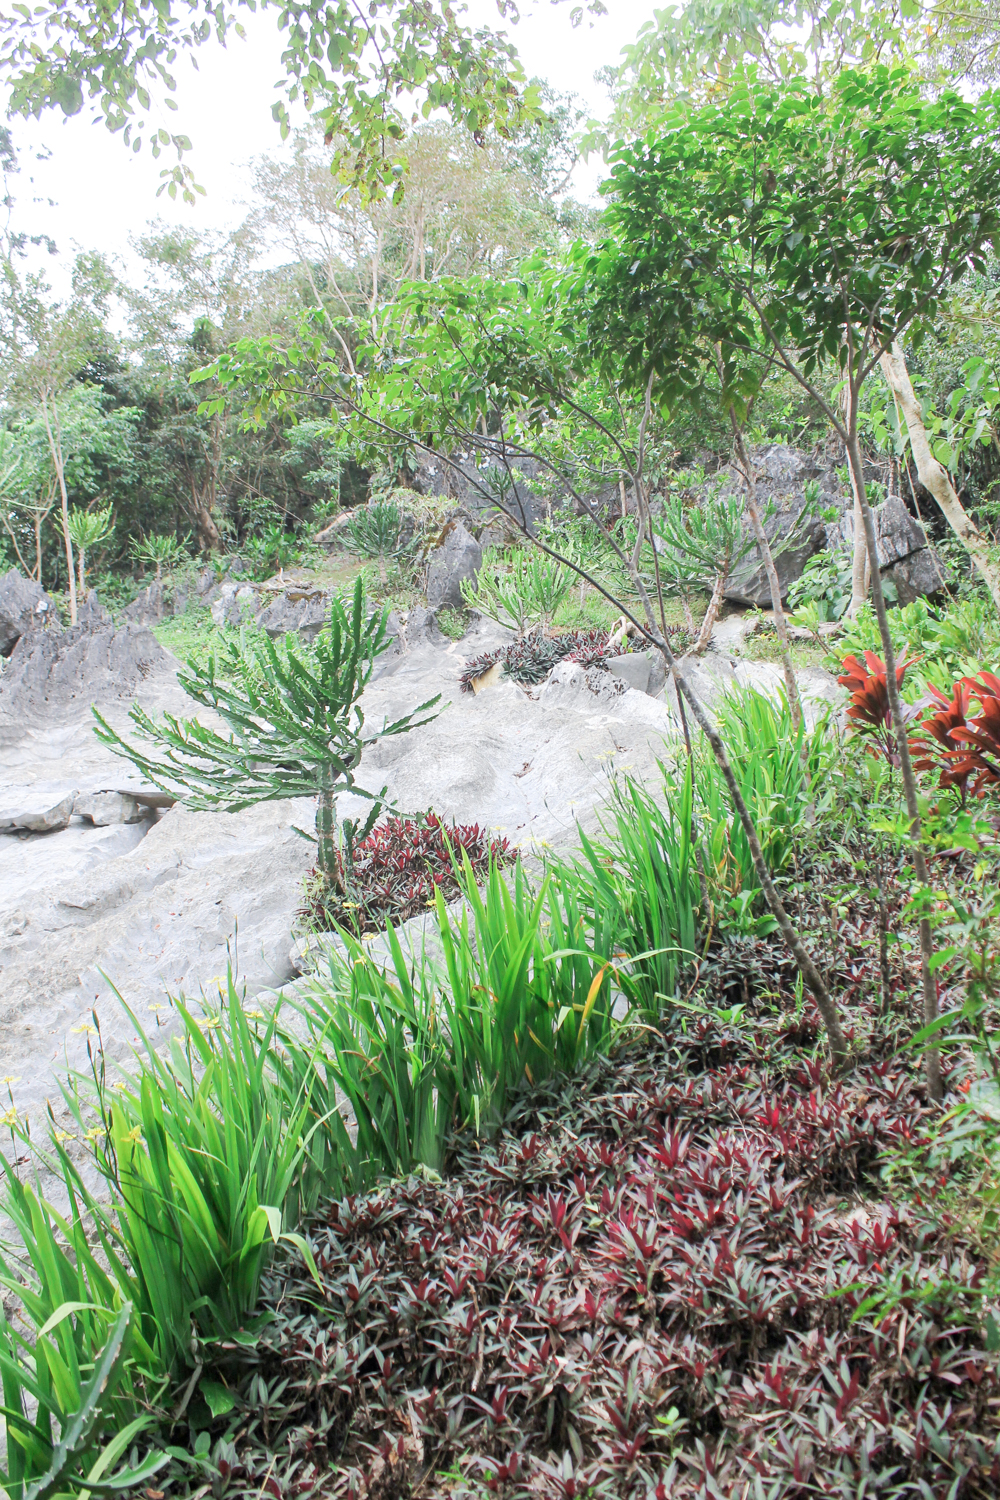
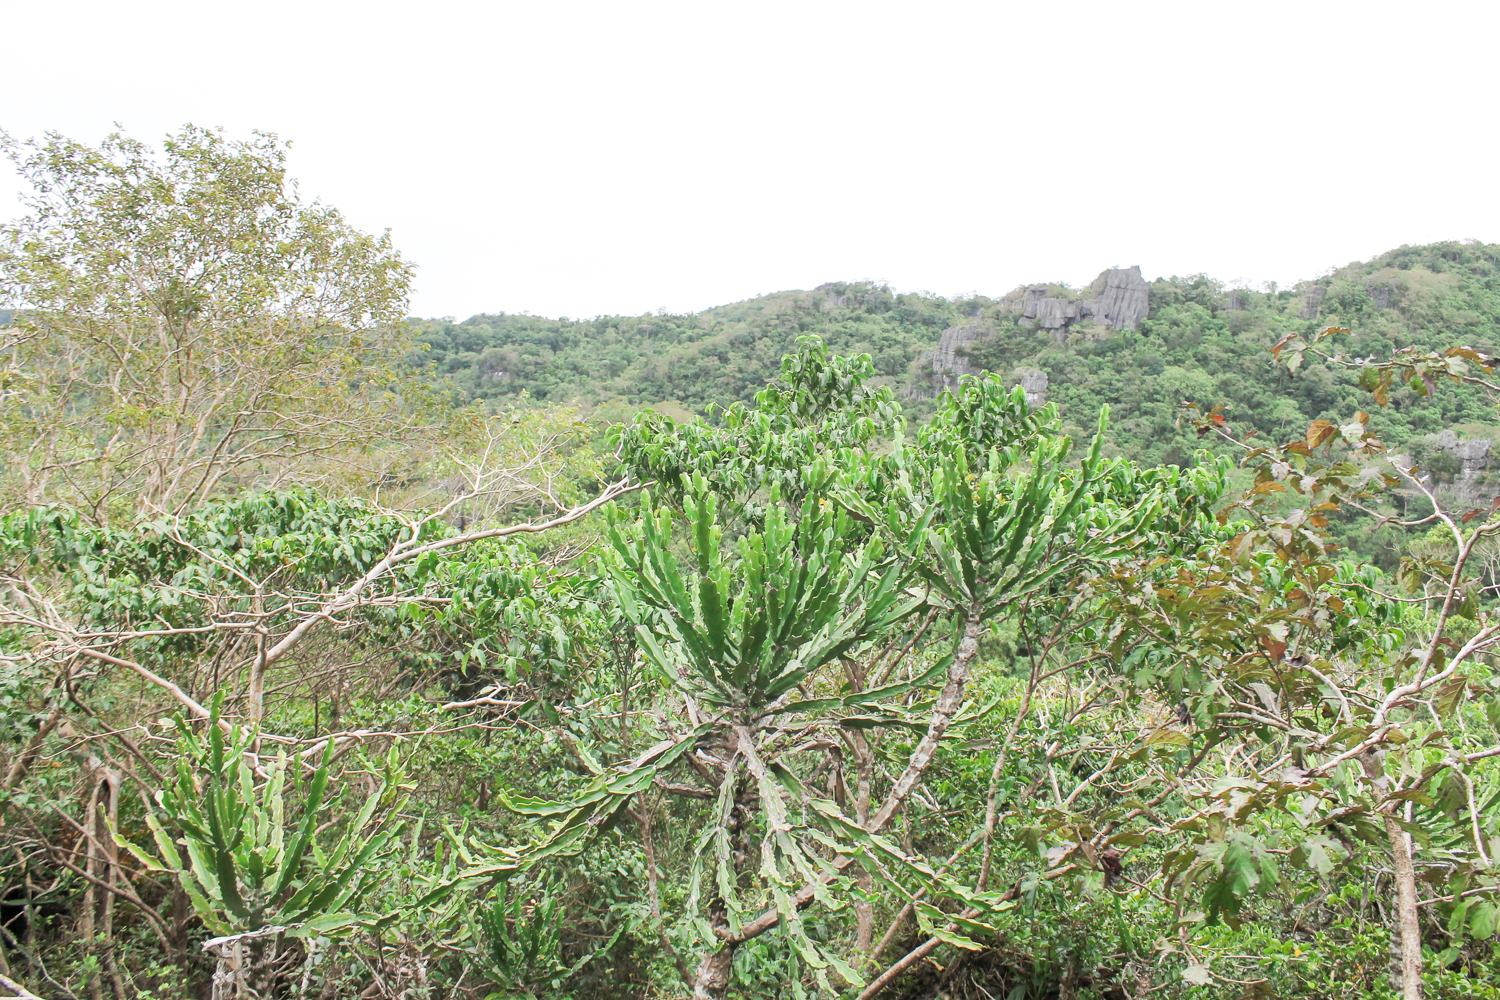
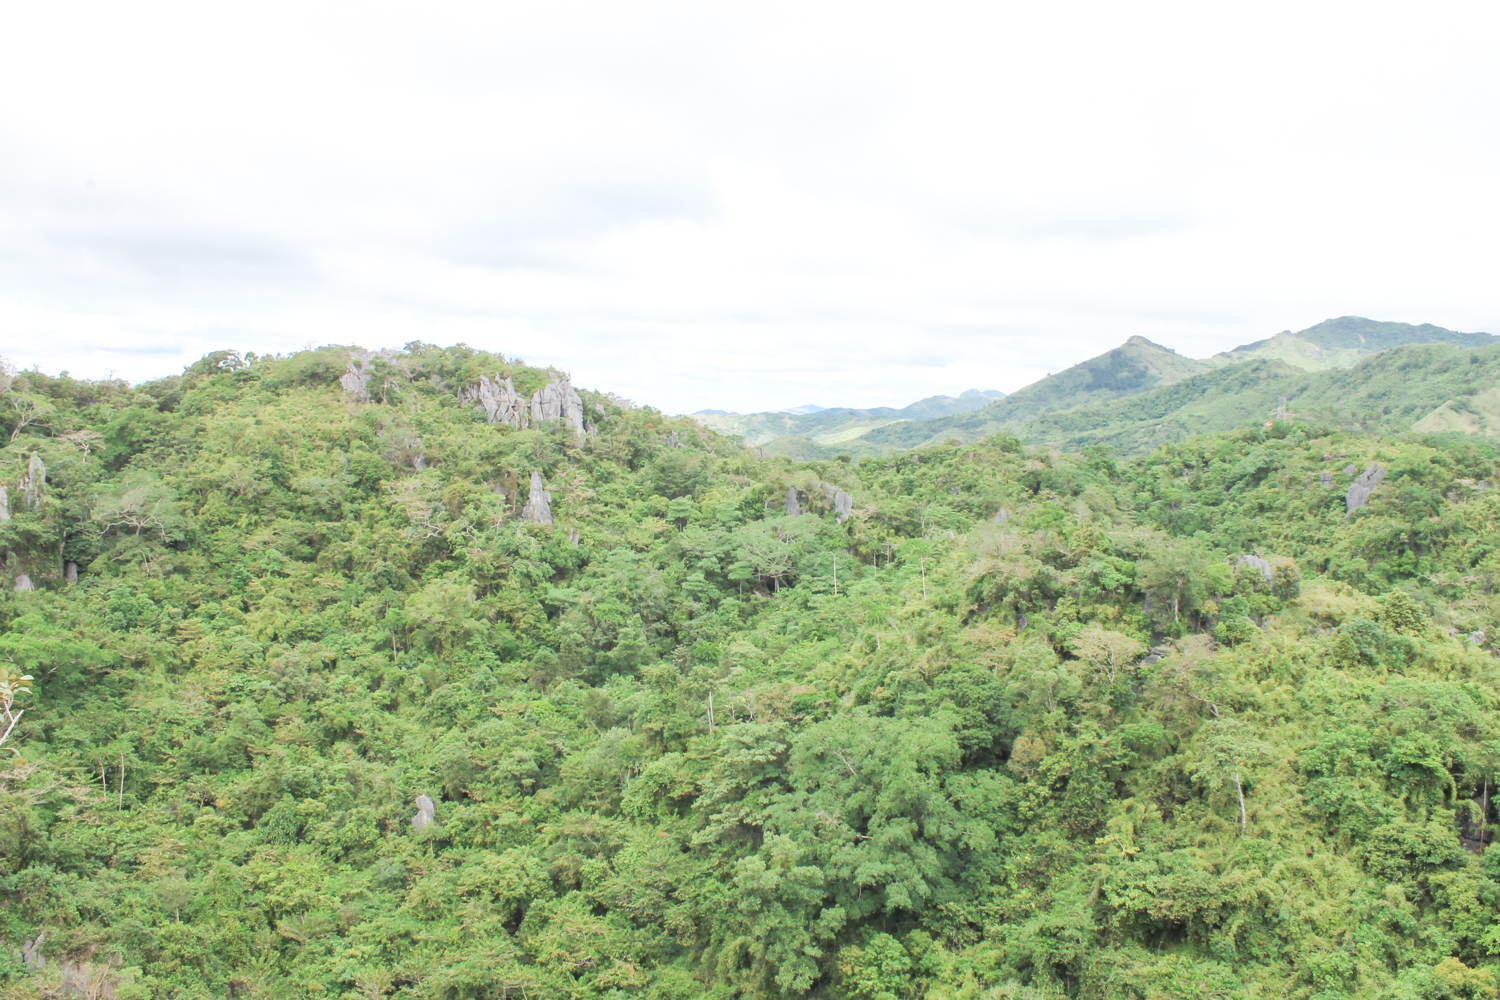
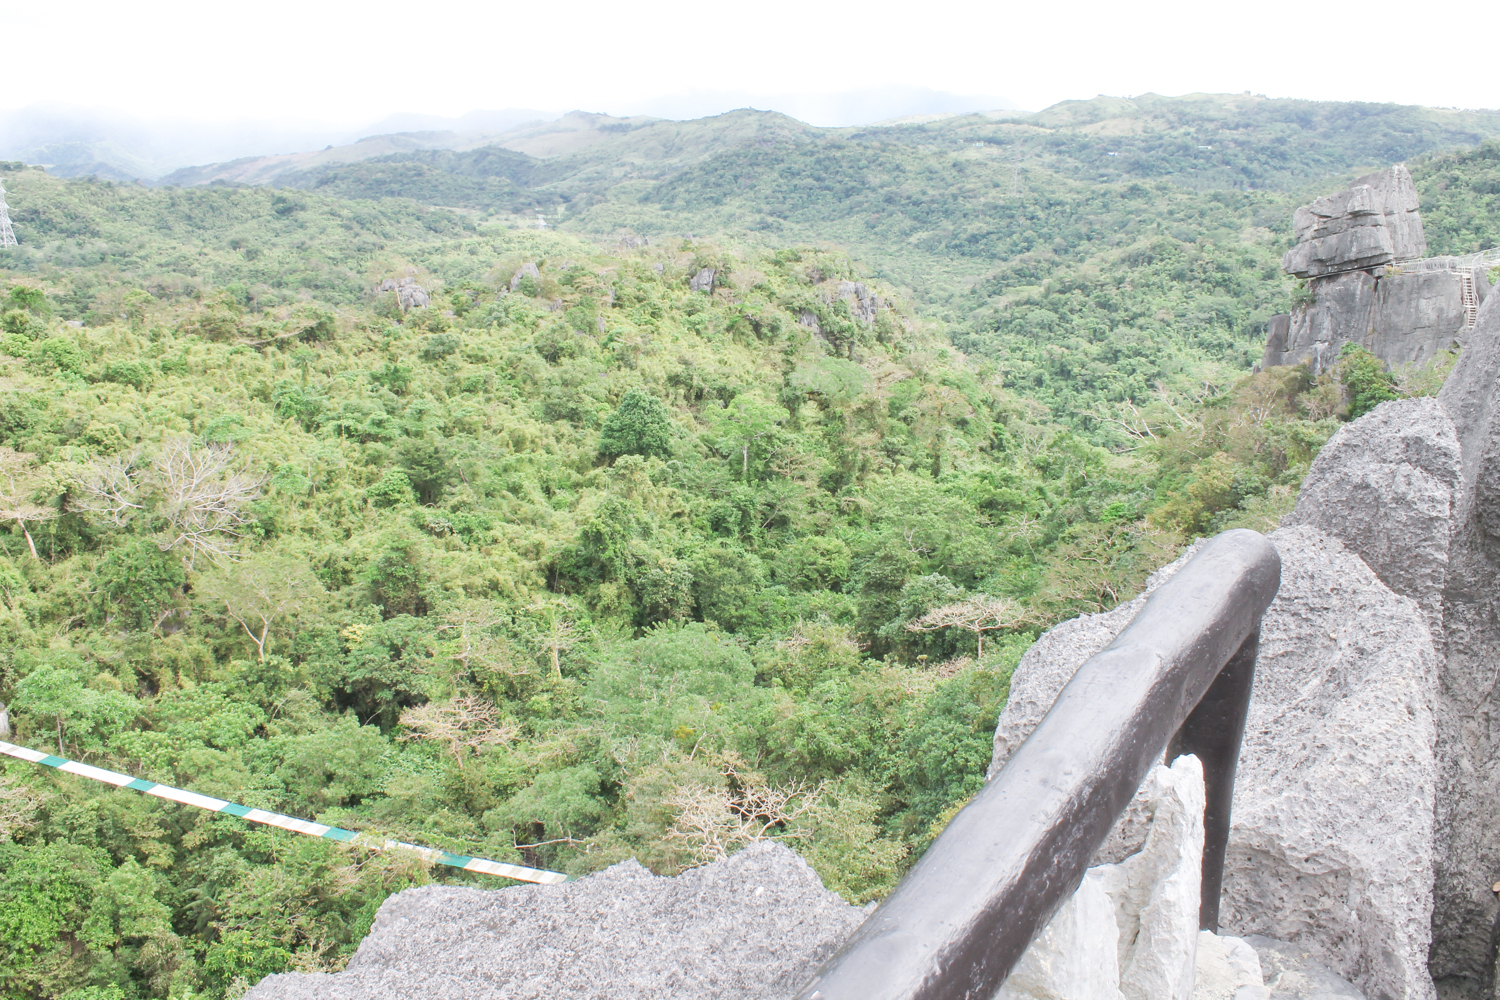
11. BEAUTIFUL NATURE
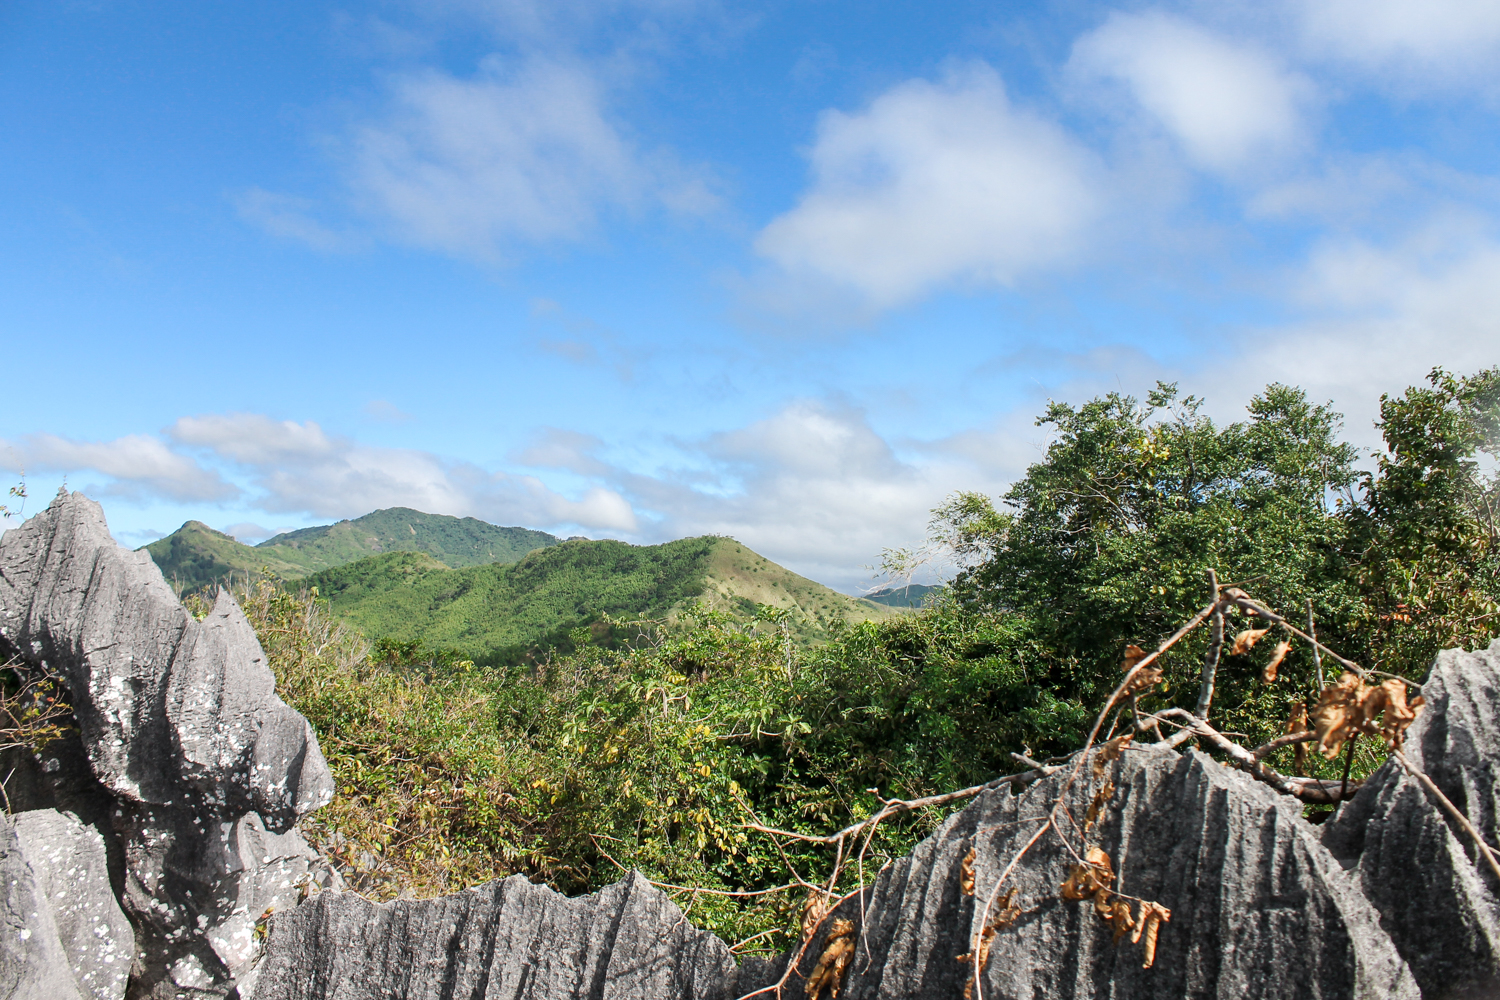
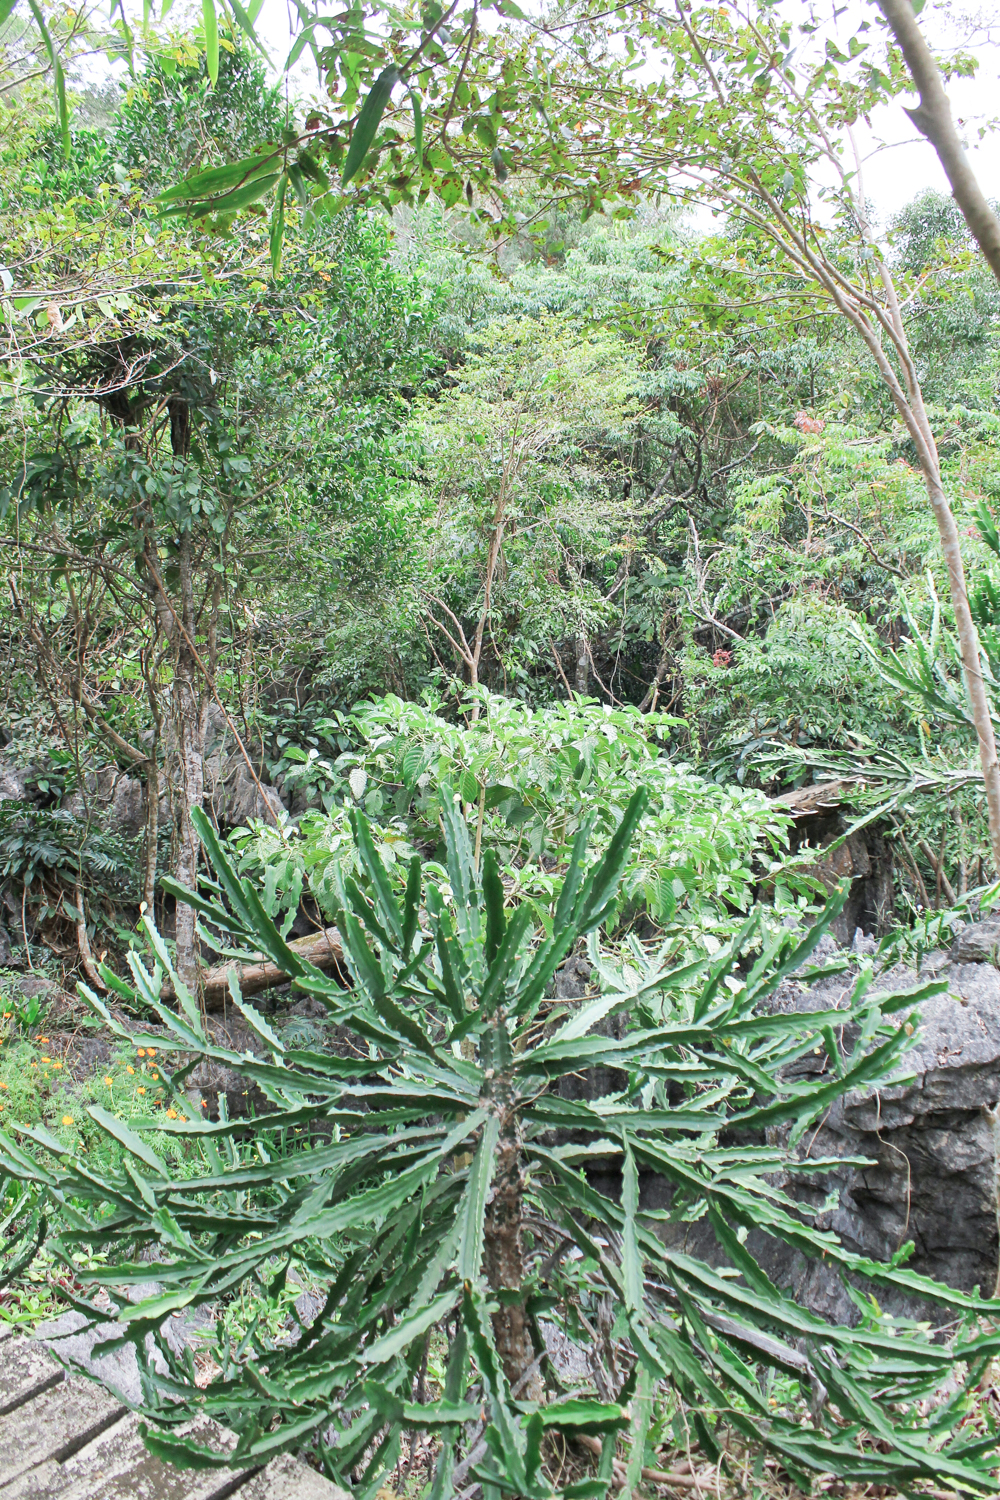
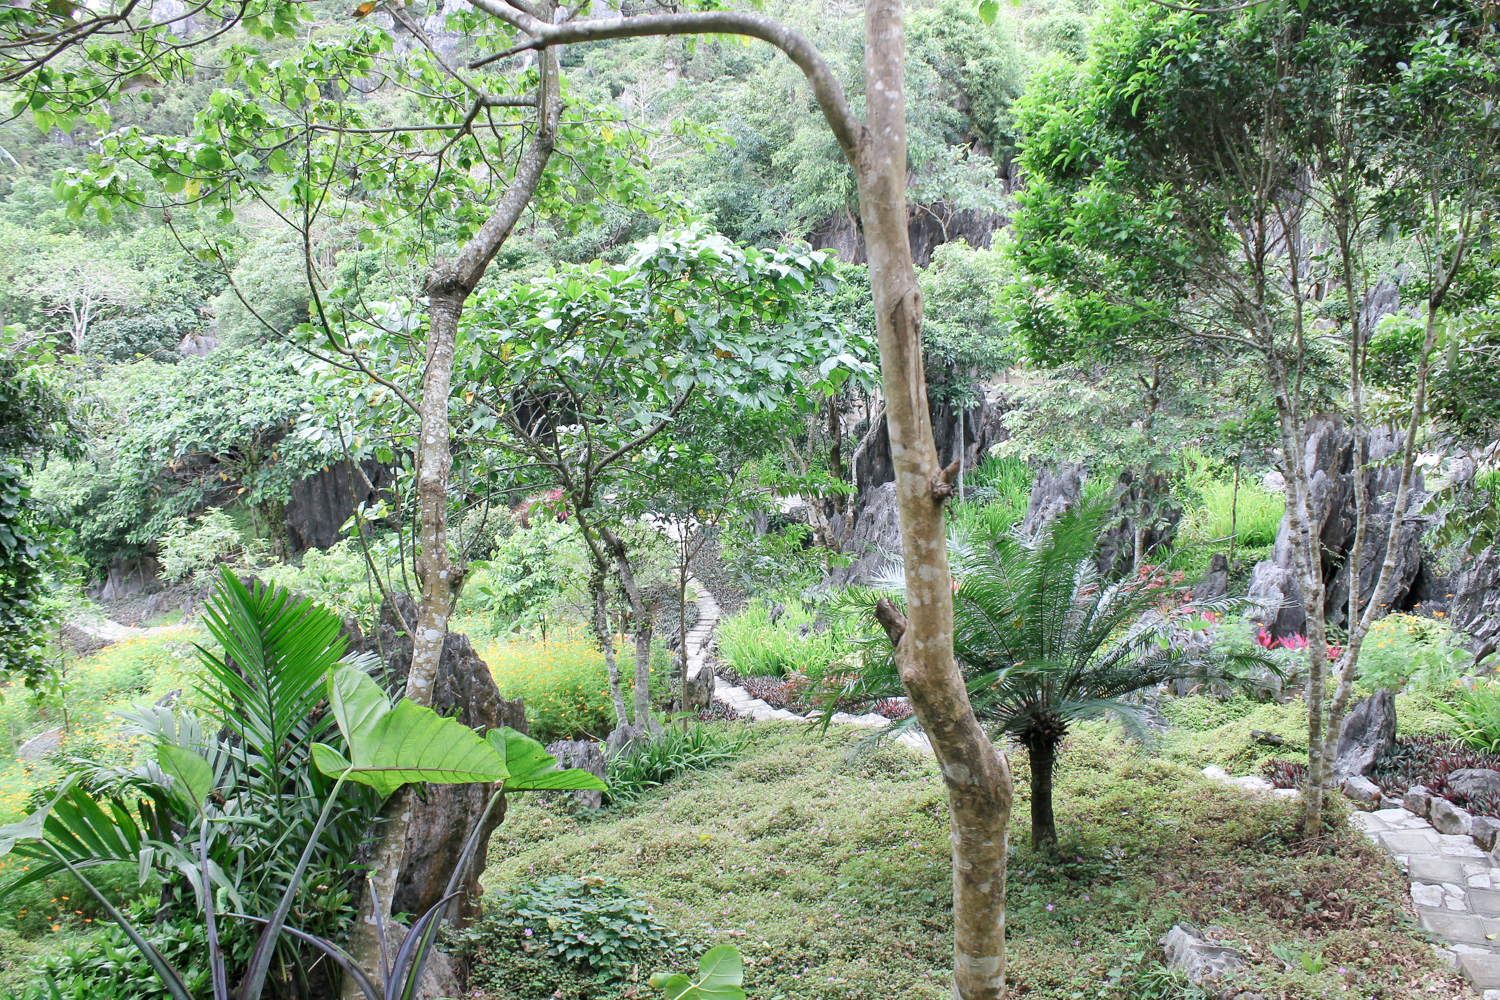
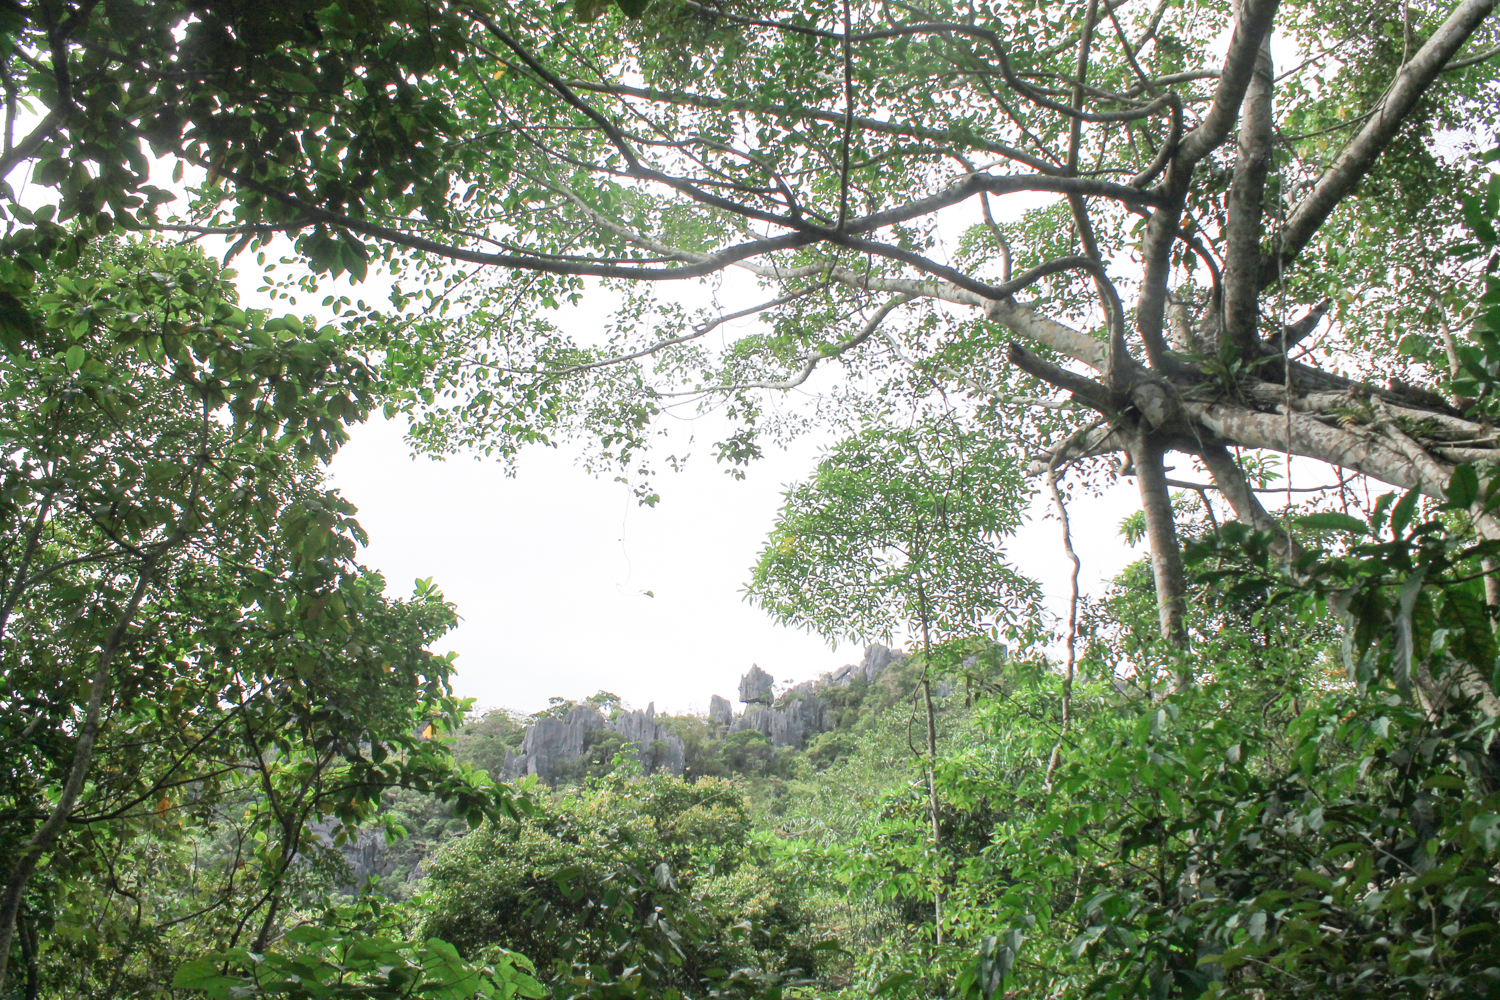
My photos did not do it justice. I couldn’t capture the scale of the beauty of the nature reserve in my lens. However, I believe no words are necessary to explain. You will have to see it yourselves.

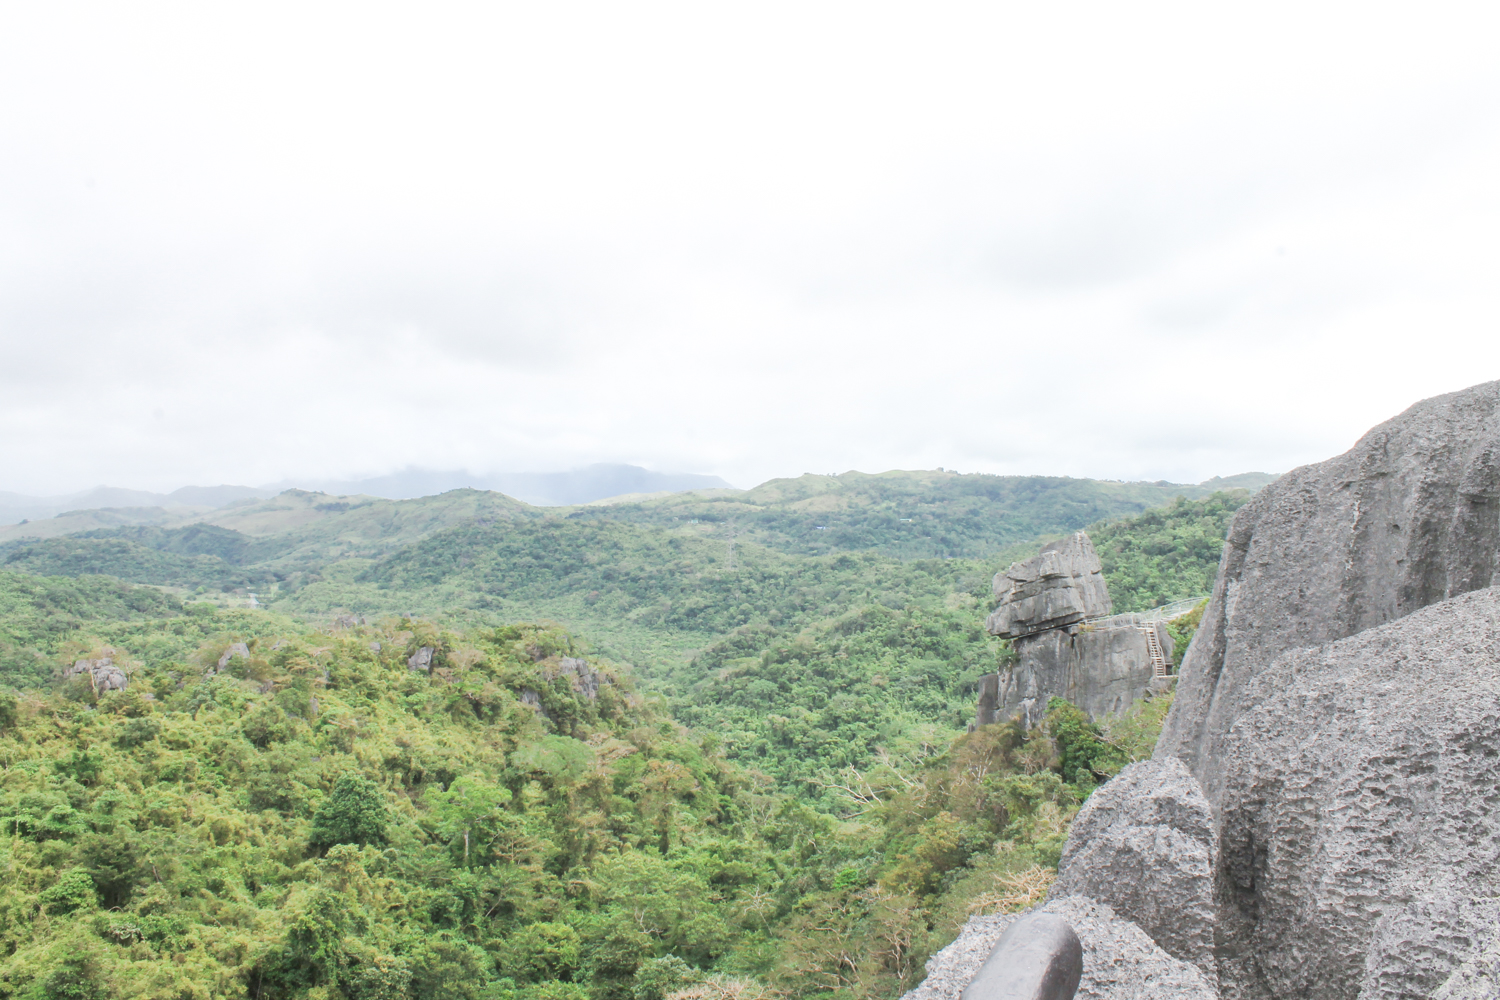
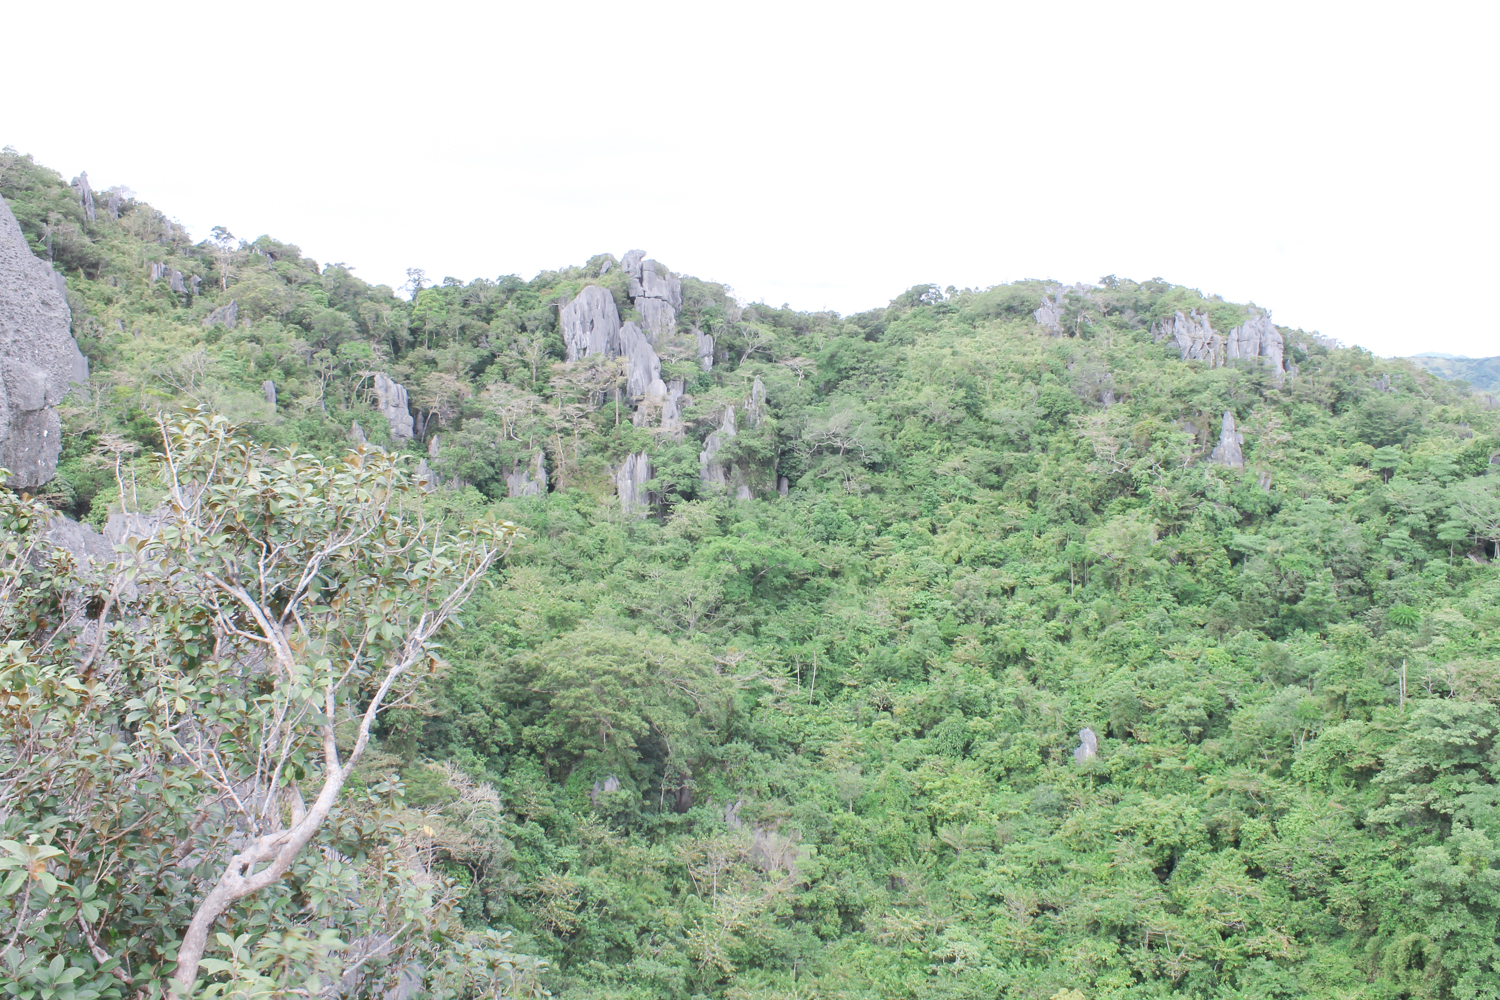
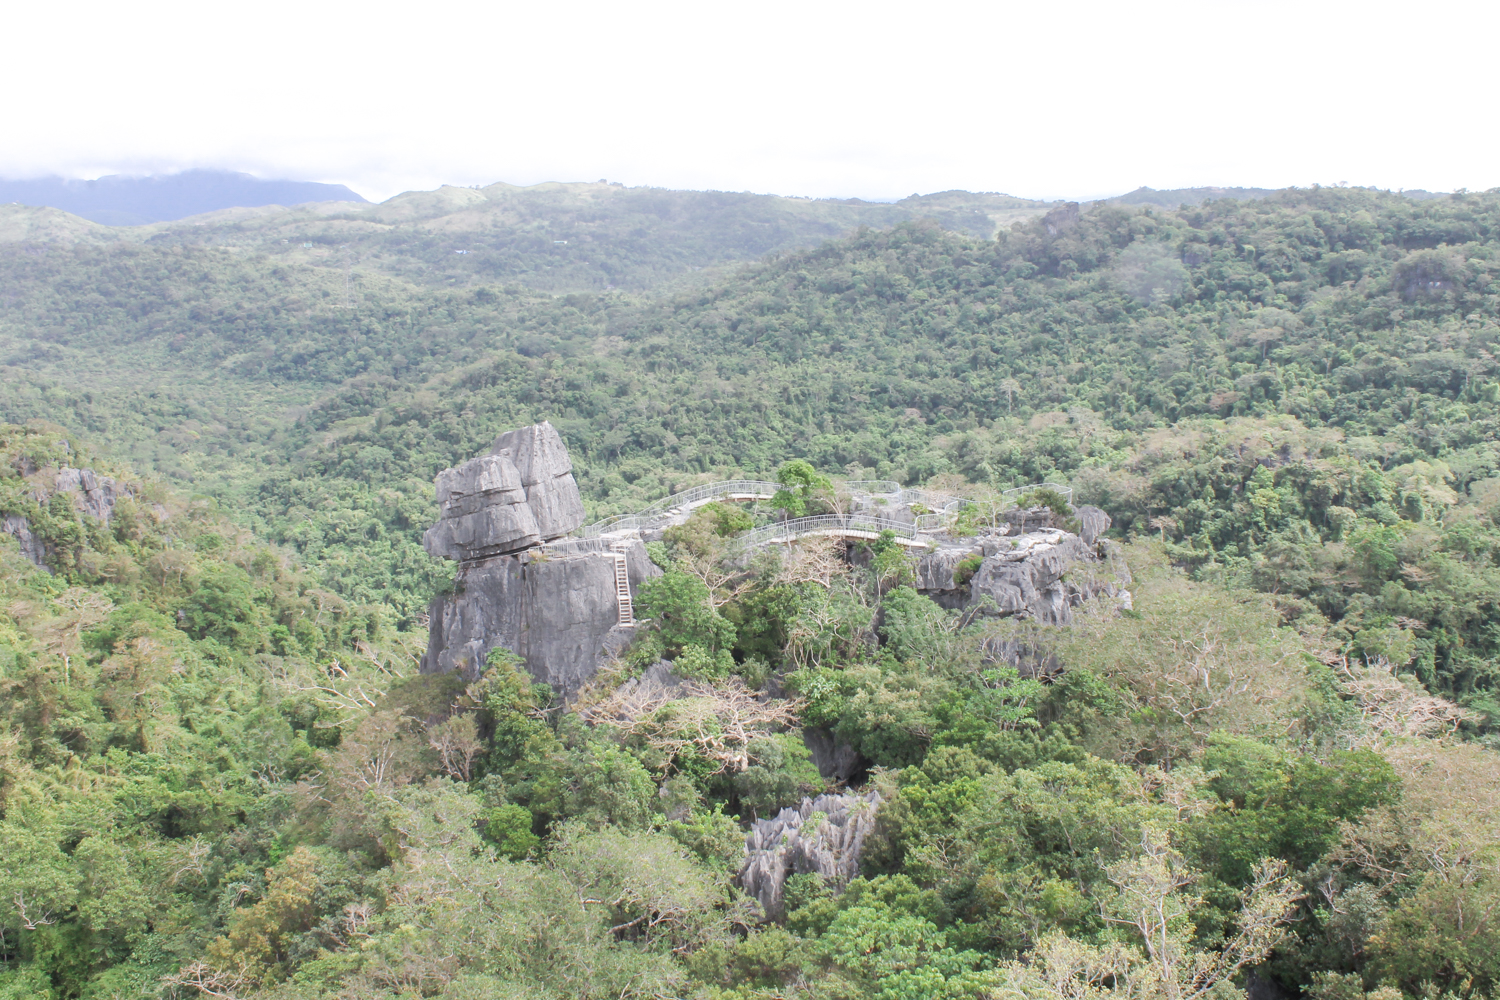
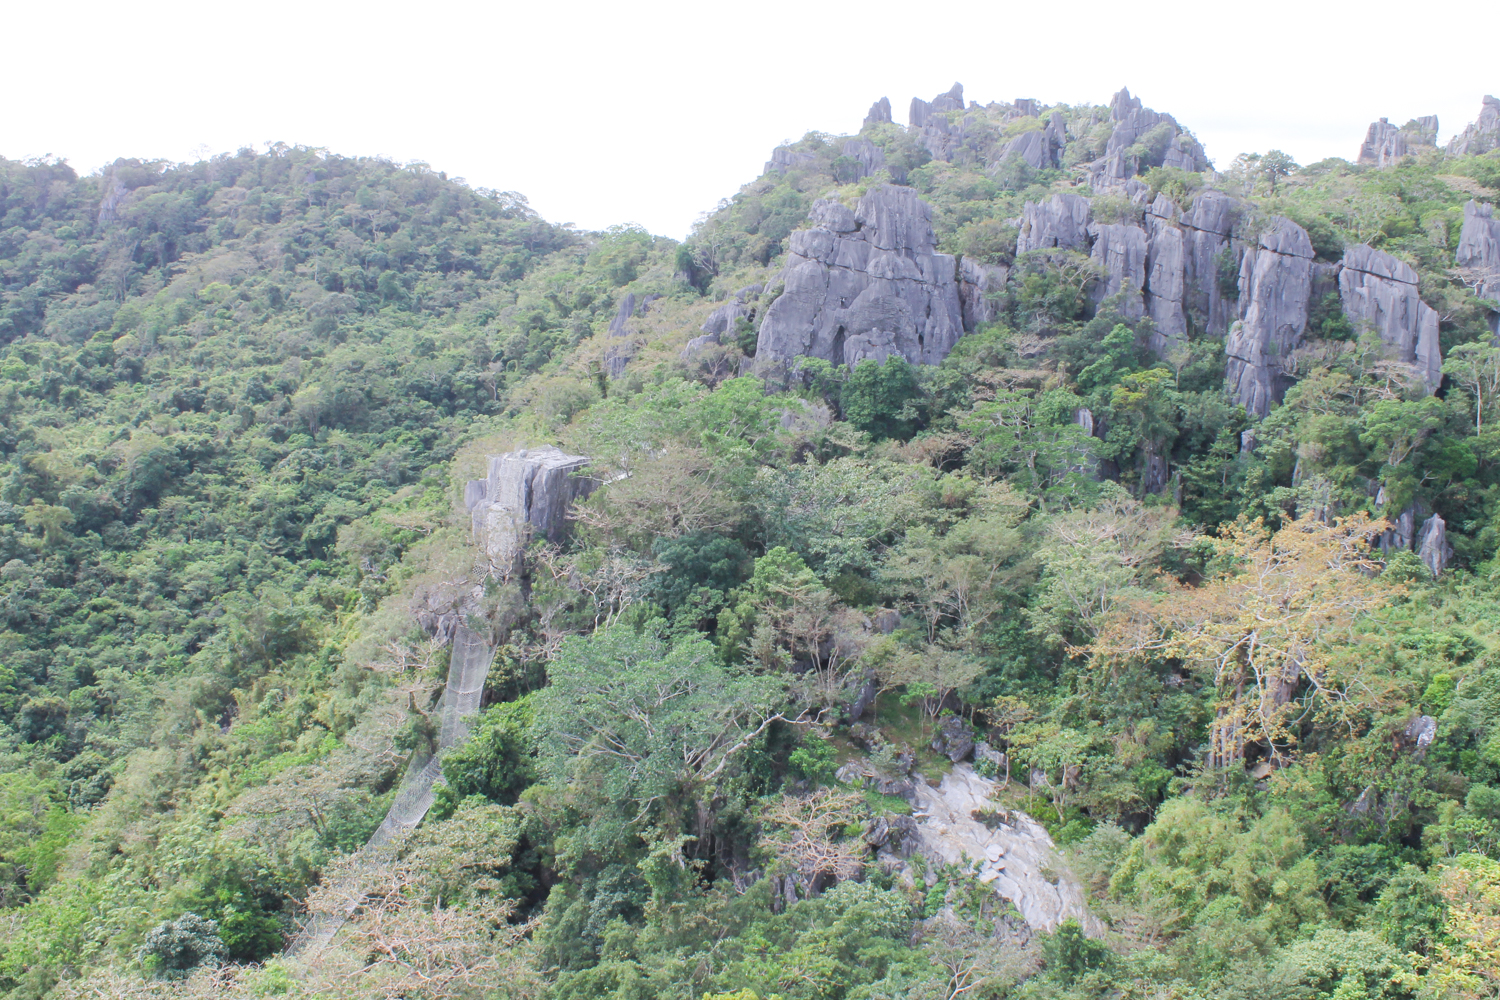
13. PHOTO TIPS
You will have cool photo ops at each place.
What I didn’t realize until after the fact was that you had to keep a good distance to really get the scale of the place with human subjects in it.
For example, the photos I have taken of the girls on the spiderweb design net do not look as cool as some photos you can find on internet.
1. It’s better for a photographer to let the group members get on the net first and take photos from a distance. If you are too close to your subject, the photos won’t turn out as cool as you imagined.
2. Taking photos from slightly a higher angle than the subject is better than the chest level.
3. If you would like to take photos of people climbing down, instead of taking photos from above, try to descend first and take photos of people from below. Just be careful not to take too many of the behind shots and try to get the sky in the photo.
4. If you use your cell phone to take photos, be careful. It’s better to use a cell phone with a finger ring. If you drop your phone, you may not be able to retrieve it.
5. If you have time, search some photos online first and study them. Just put “Masungi Georeserve” in a search engine and you will find loads of photos. Try to study where some photos were taken.
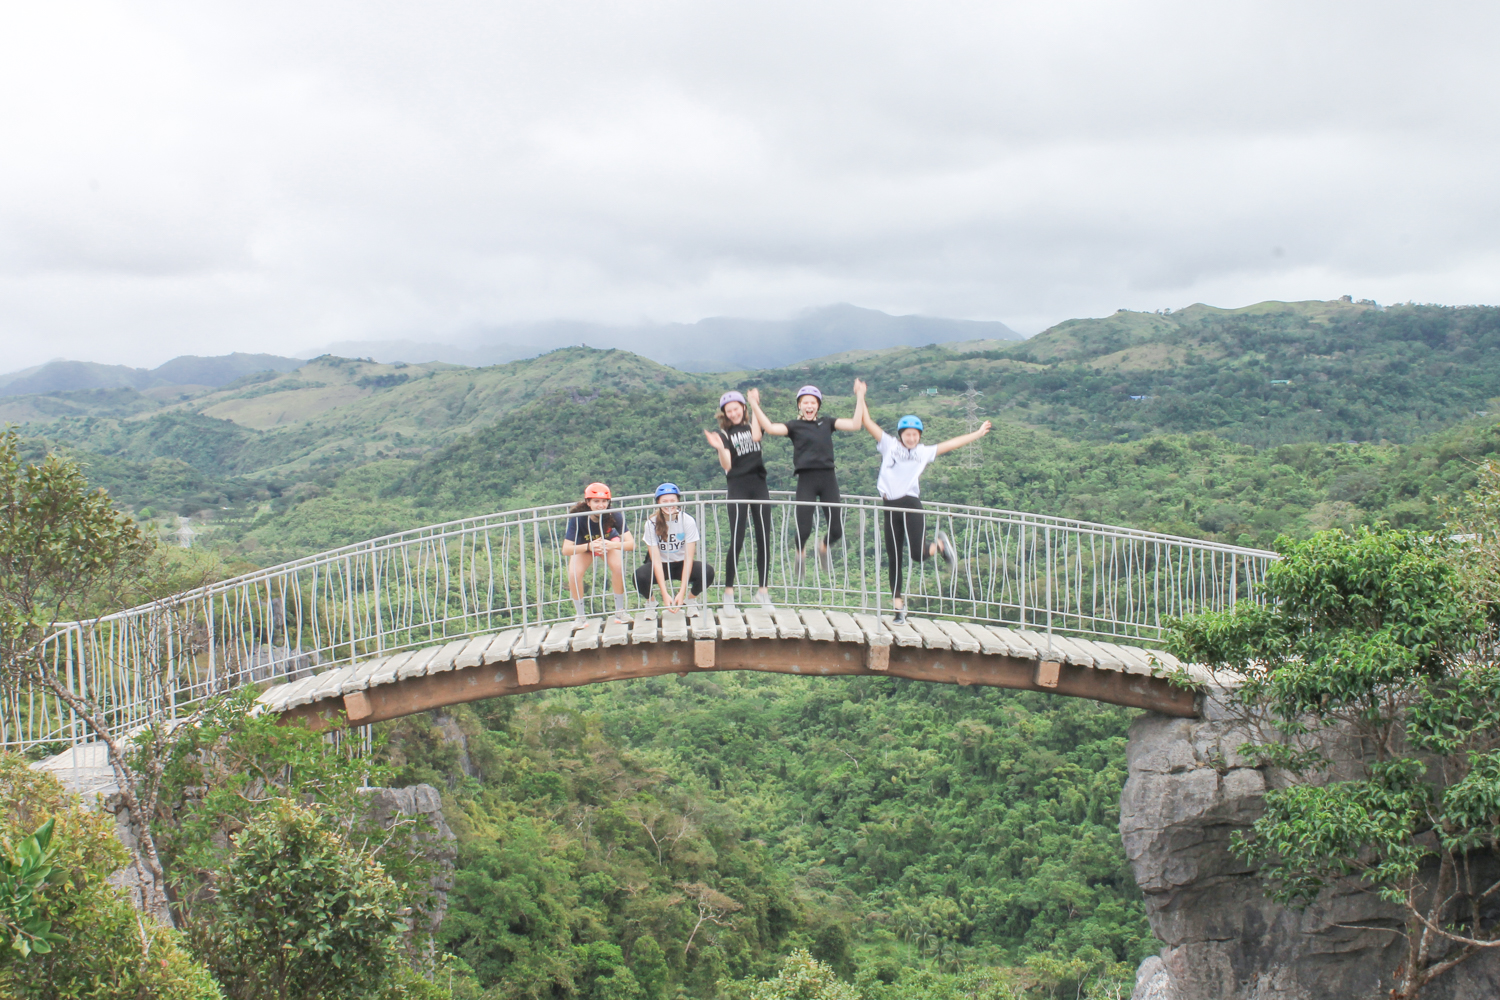
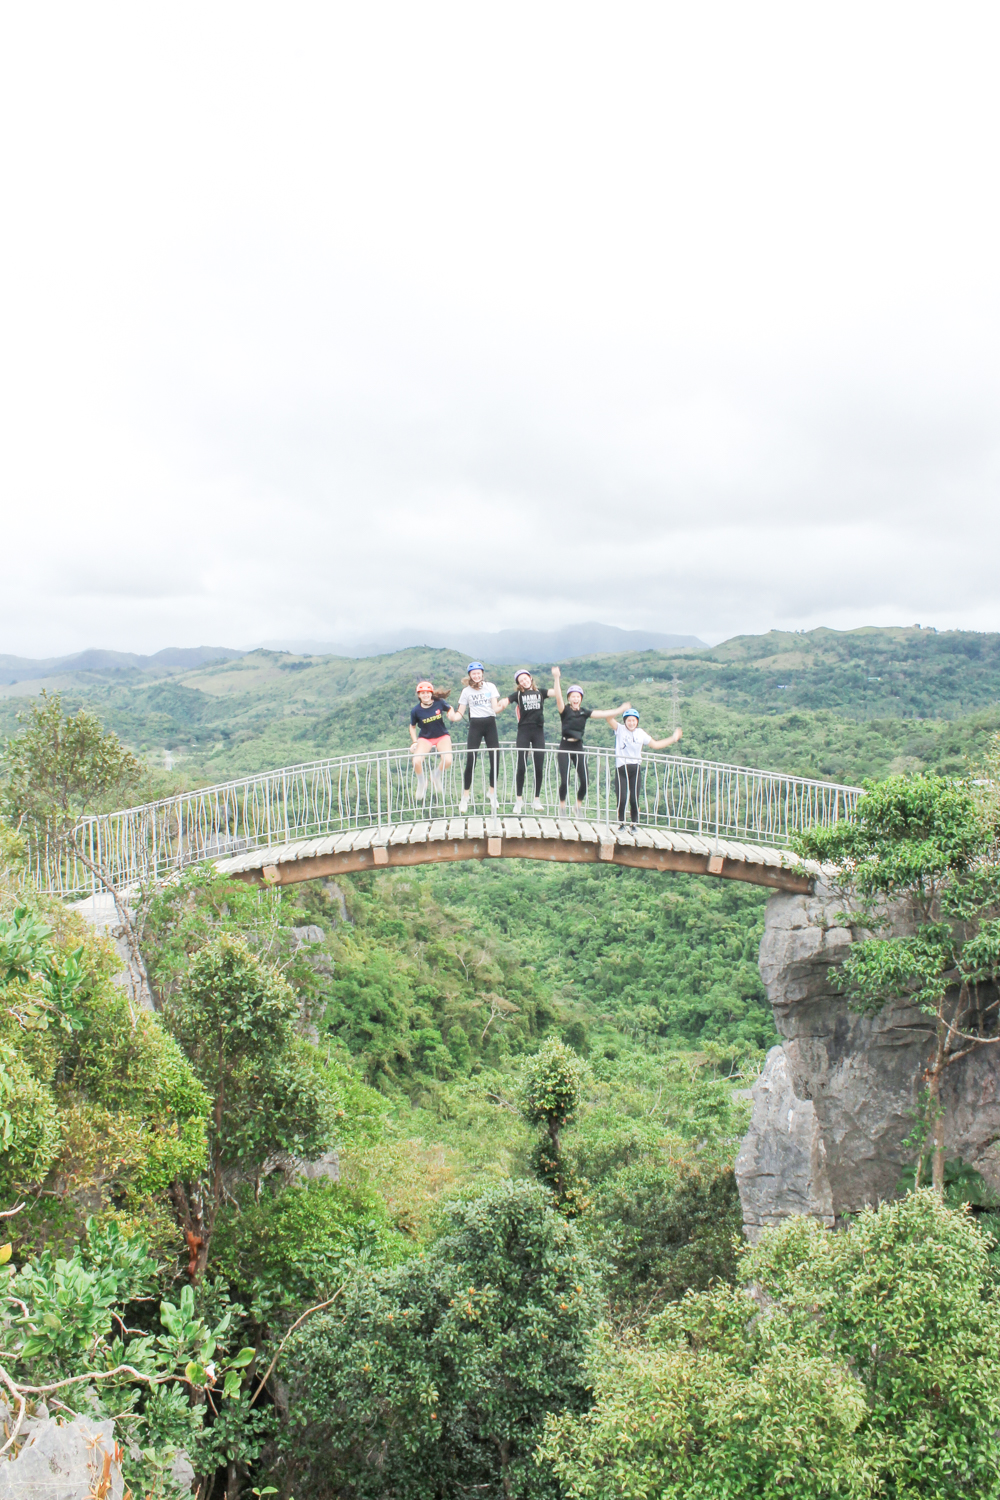
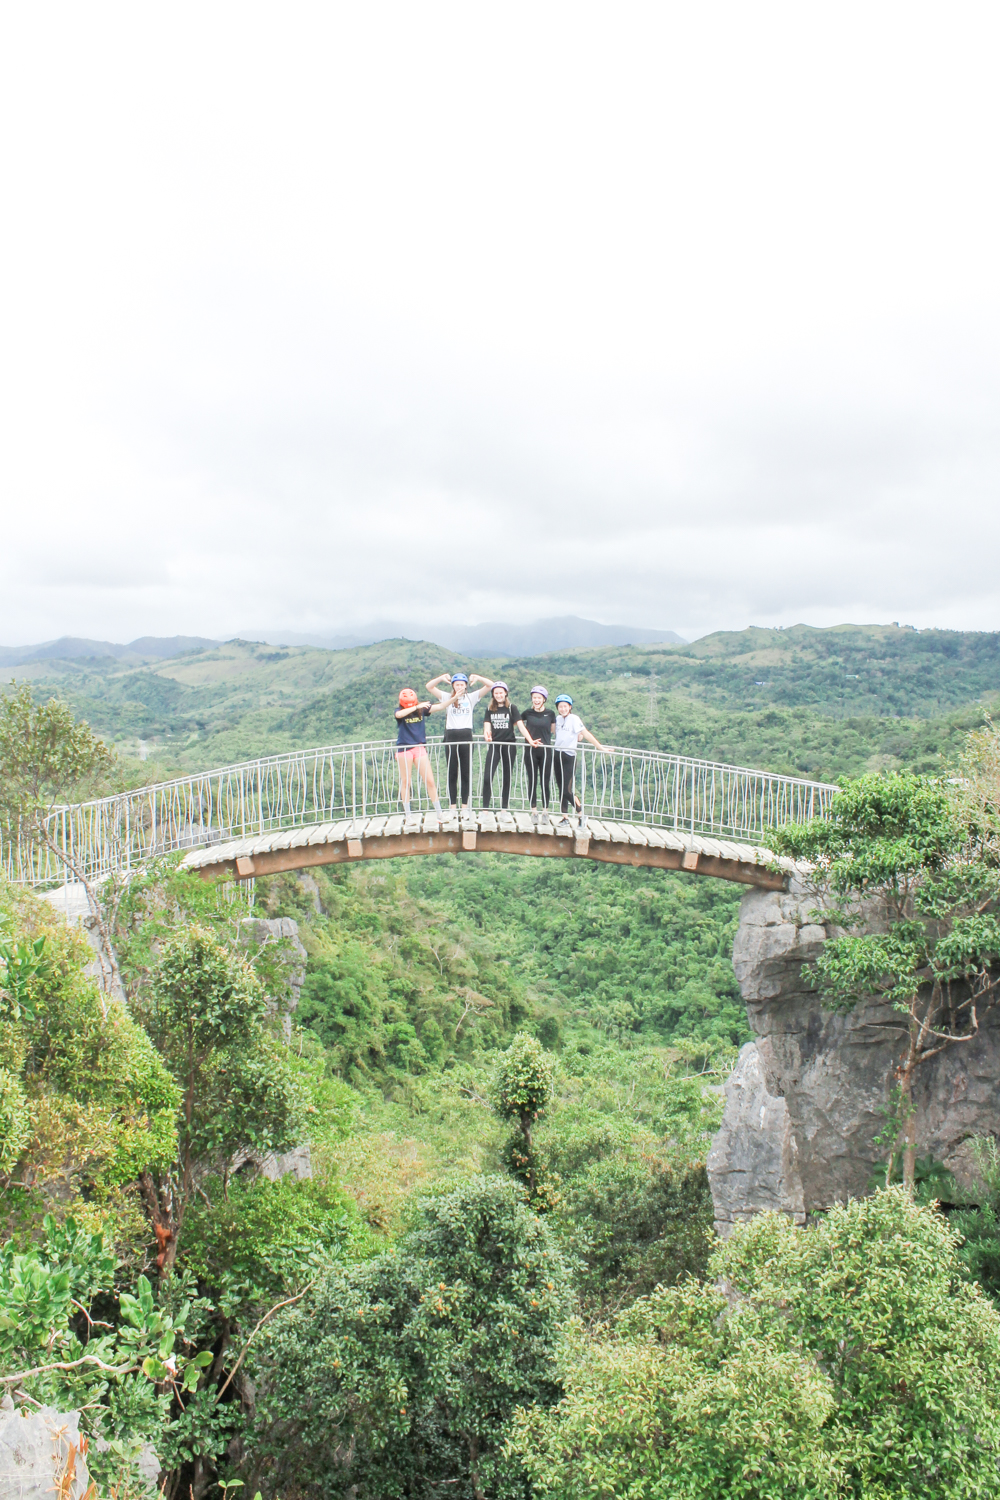
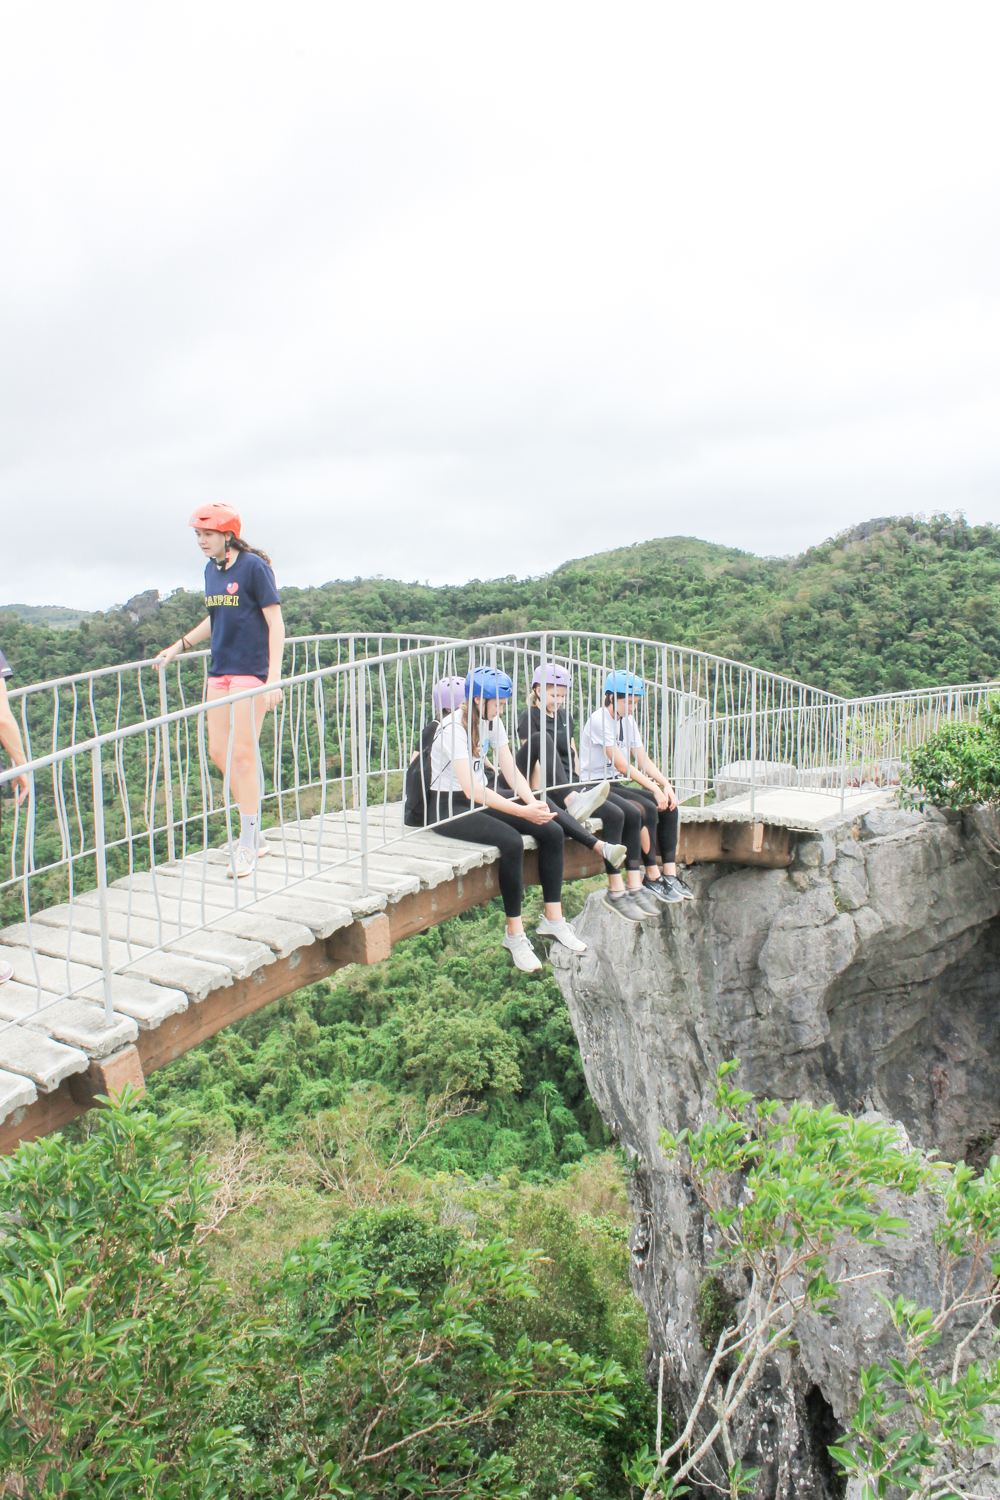
The timing did not work out well for the photos below… Oh well. I didn’t set up the right shutter speed on my DSLR camera. Thus, the jumping shots of the girls did not turn out well. The girls look blurry! Oh man!
14. SNACK TIME AT THE END
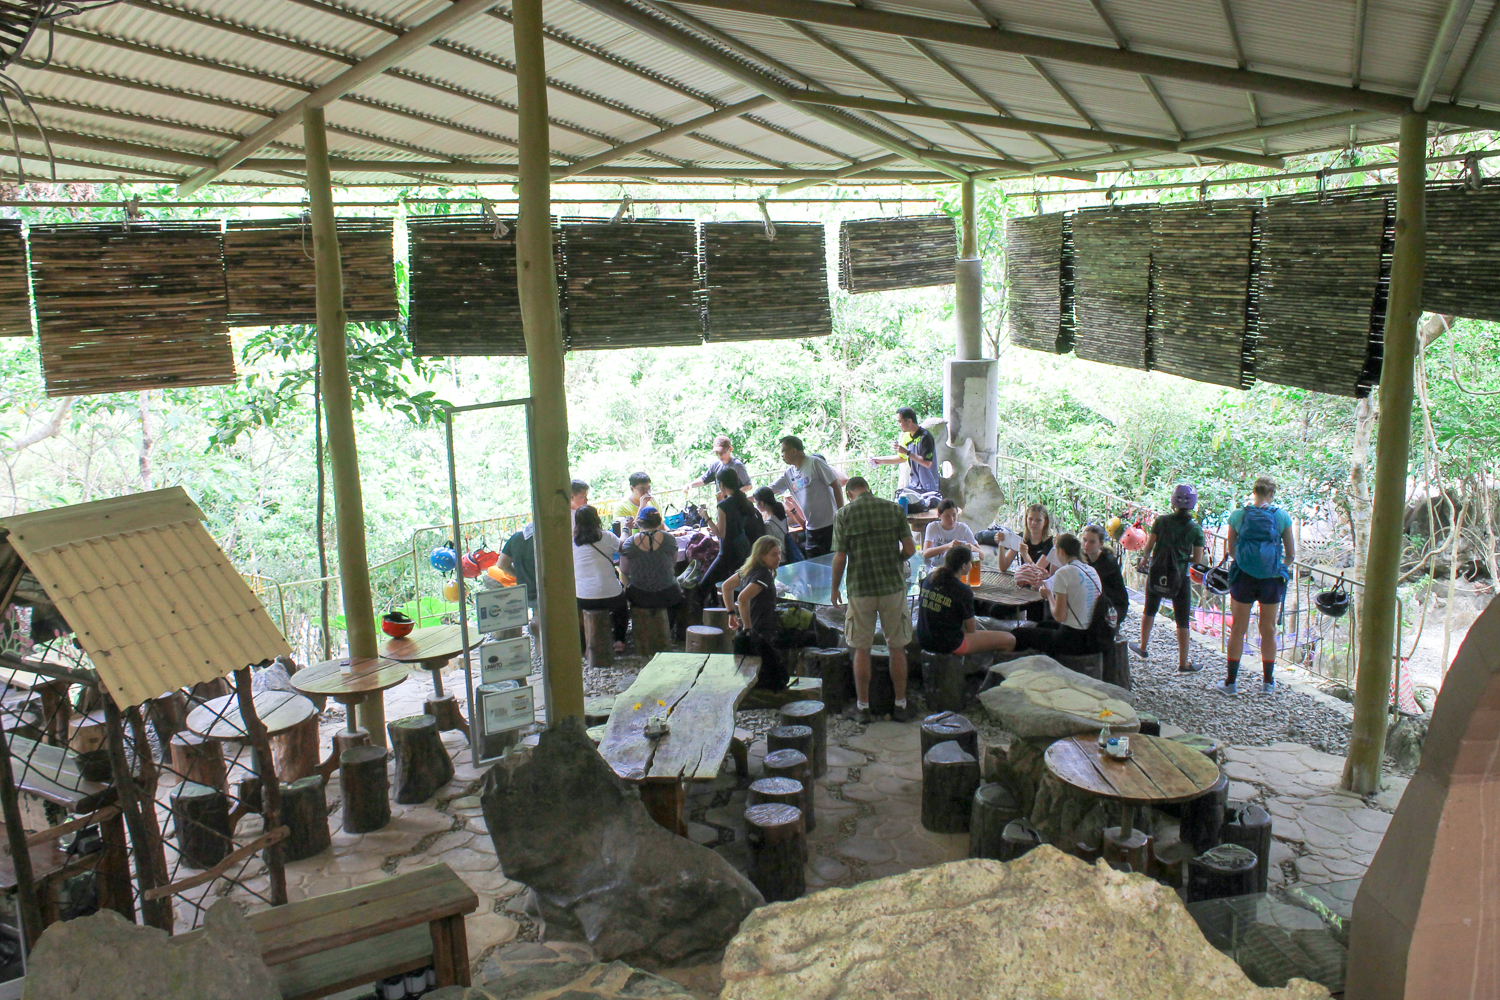
We ate some tuna sandwiches and bananas. Apparently bananas were boiled. You are supposed to dip bananas in the honey that was on the table. They were so popular at my table that they were gone by the time I thought about trying one. I heard that they were delicious!!
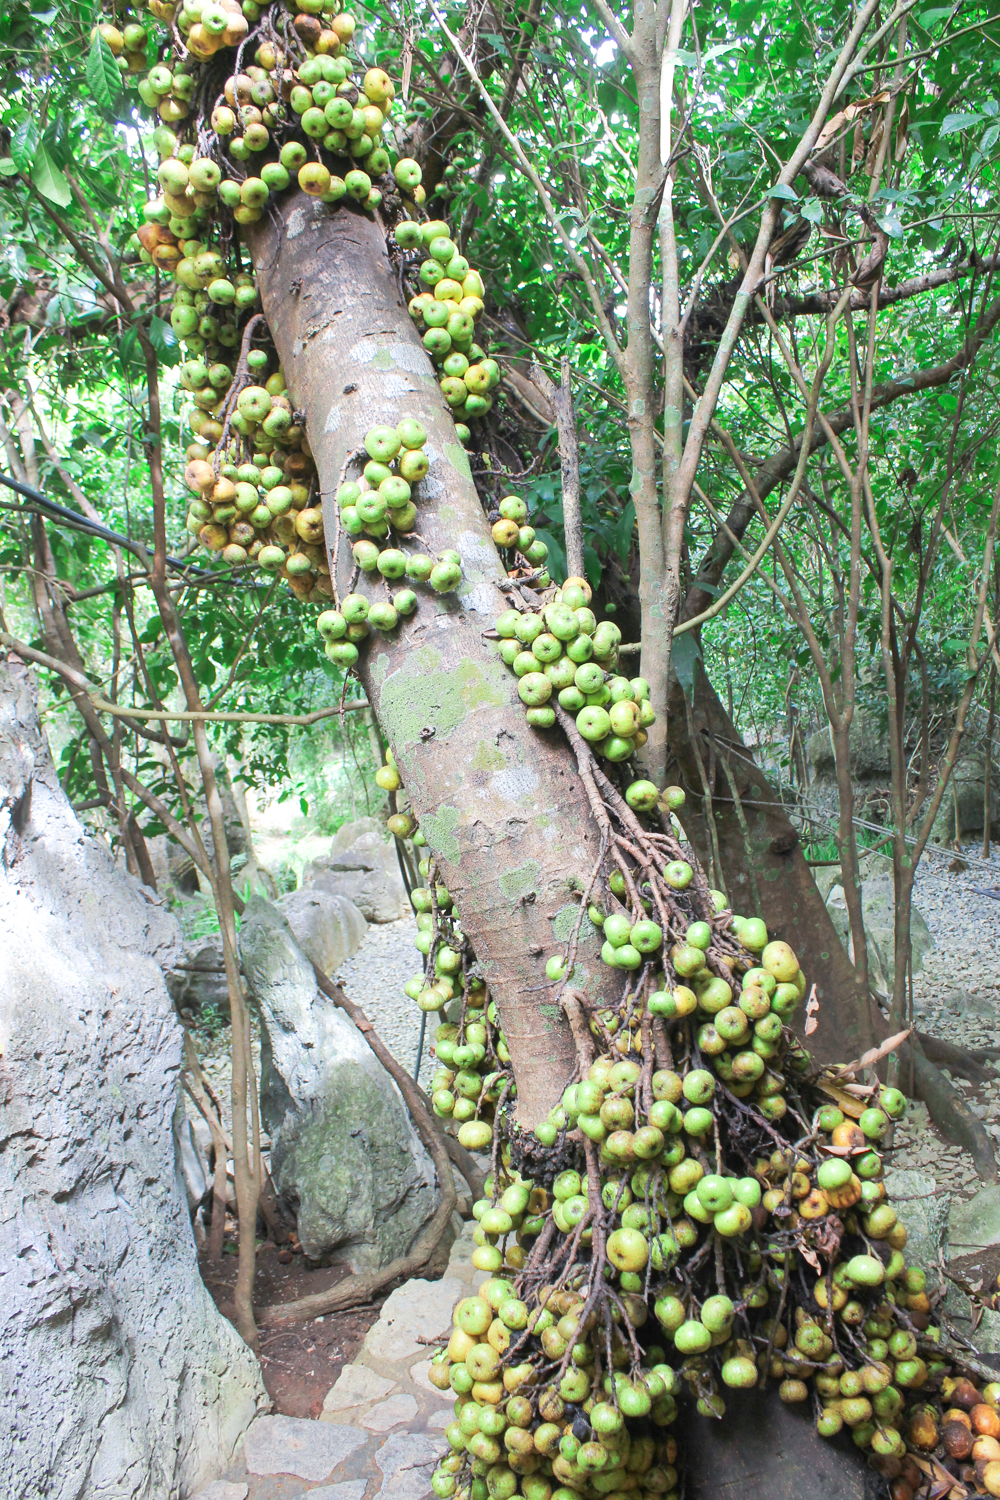
15. A WALK BACK TO THE PARKING
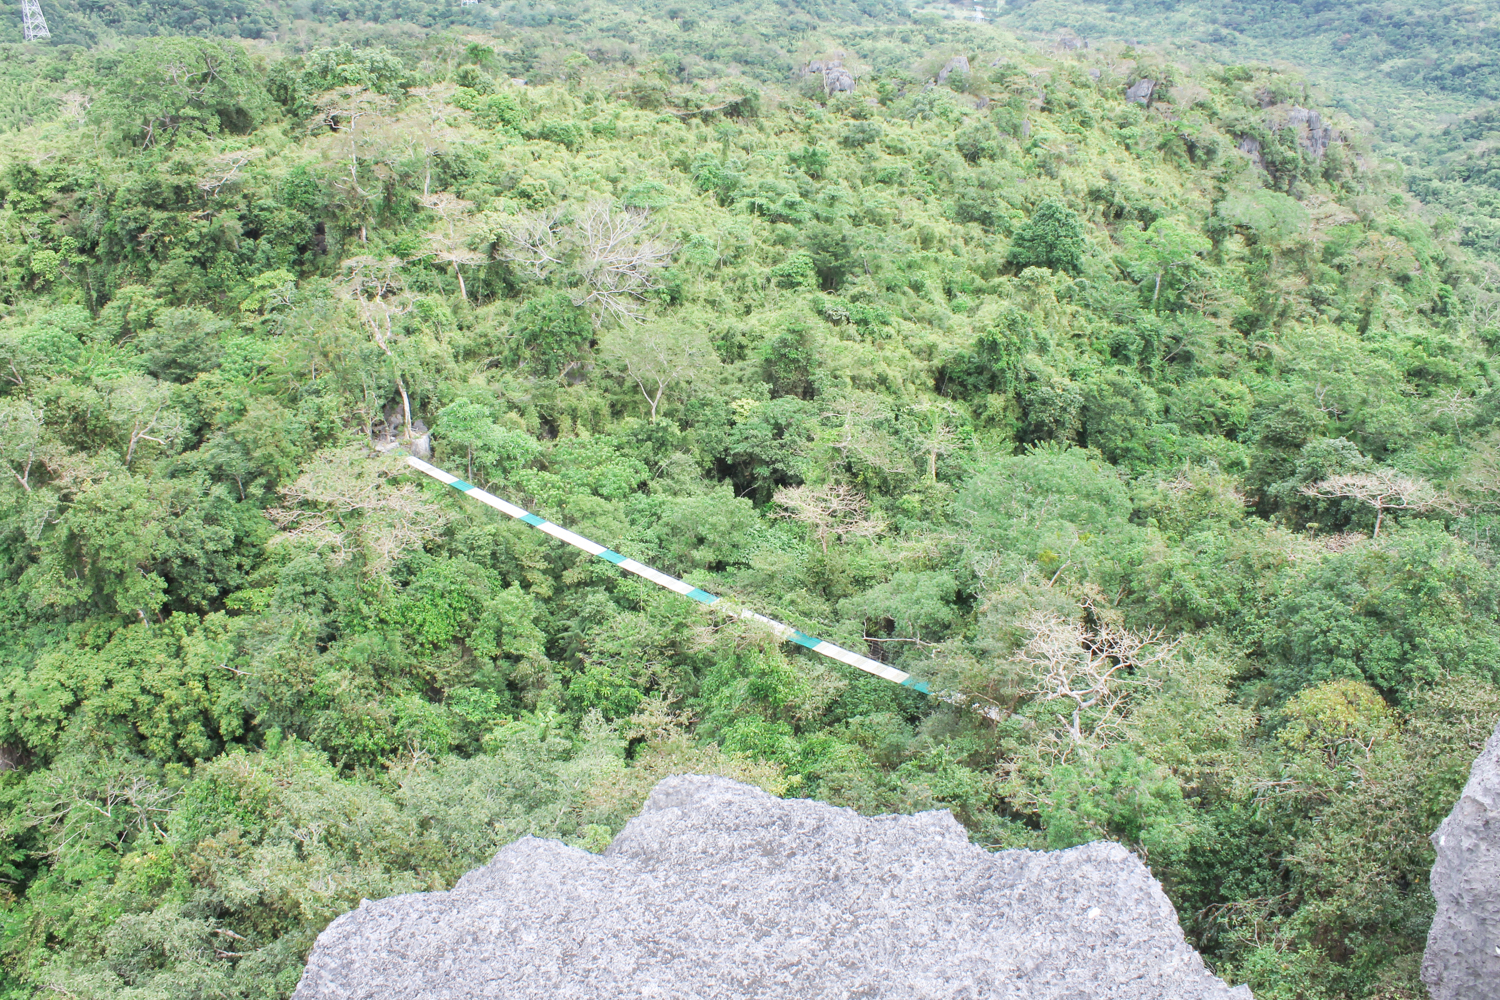
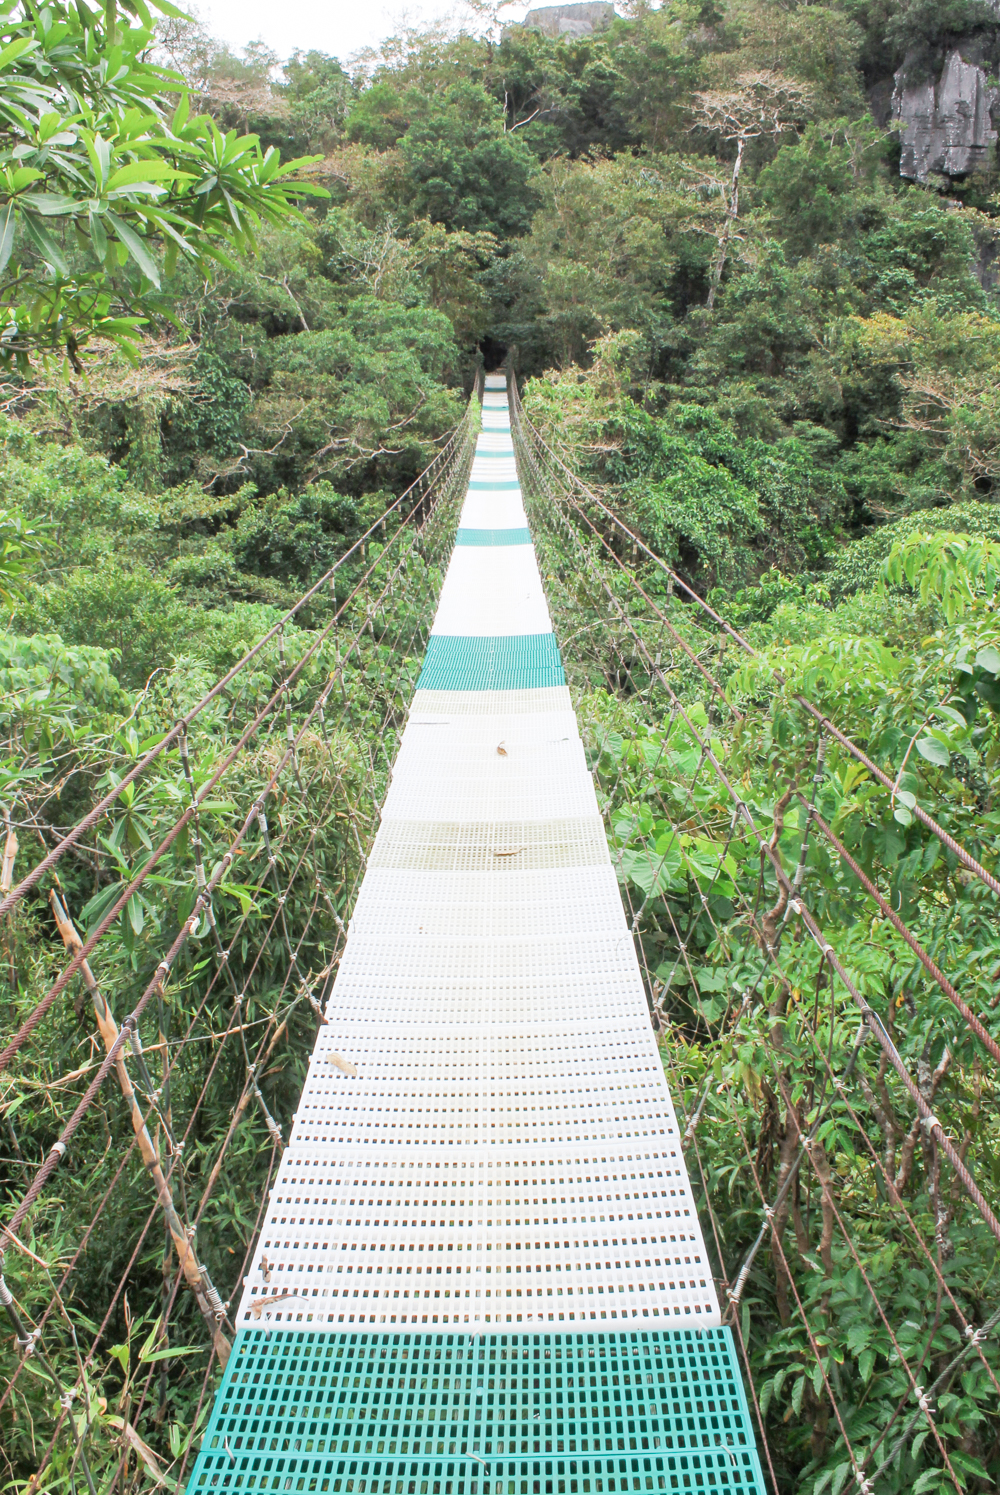
I thought that the hike was over before the snack time. However, you have to go through one more suspension bridge before you get back to your car. It’s not a big deal and it’s fun. However, it’s a bit long. If your mind was ready to be done, you might get a bit surprised. So, here it is. Enjoy the last bit of the adventure! It’s a nice gift from the georeserve!
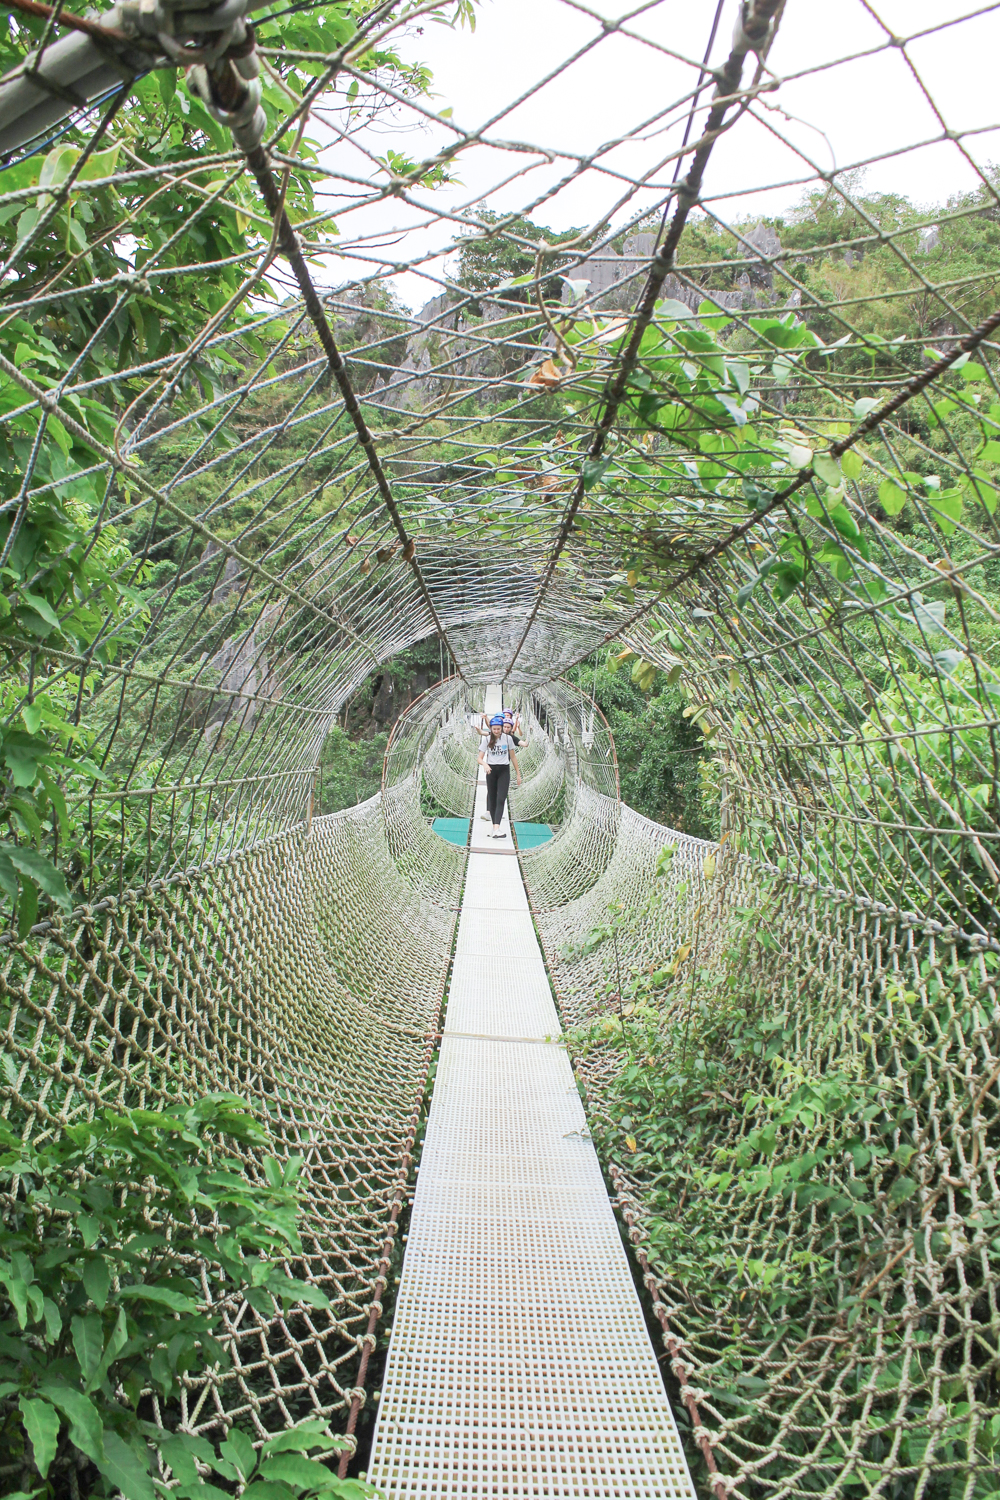
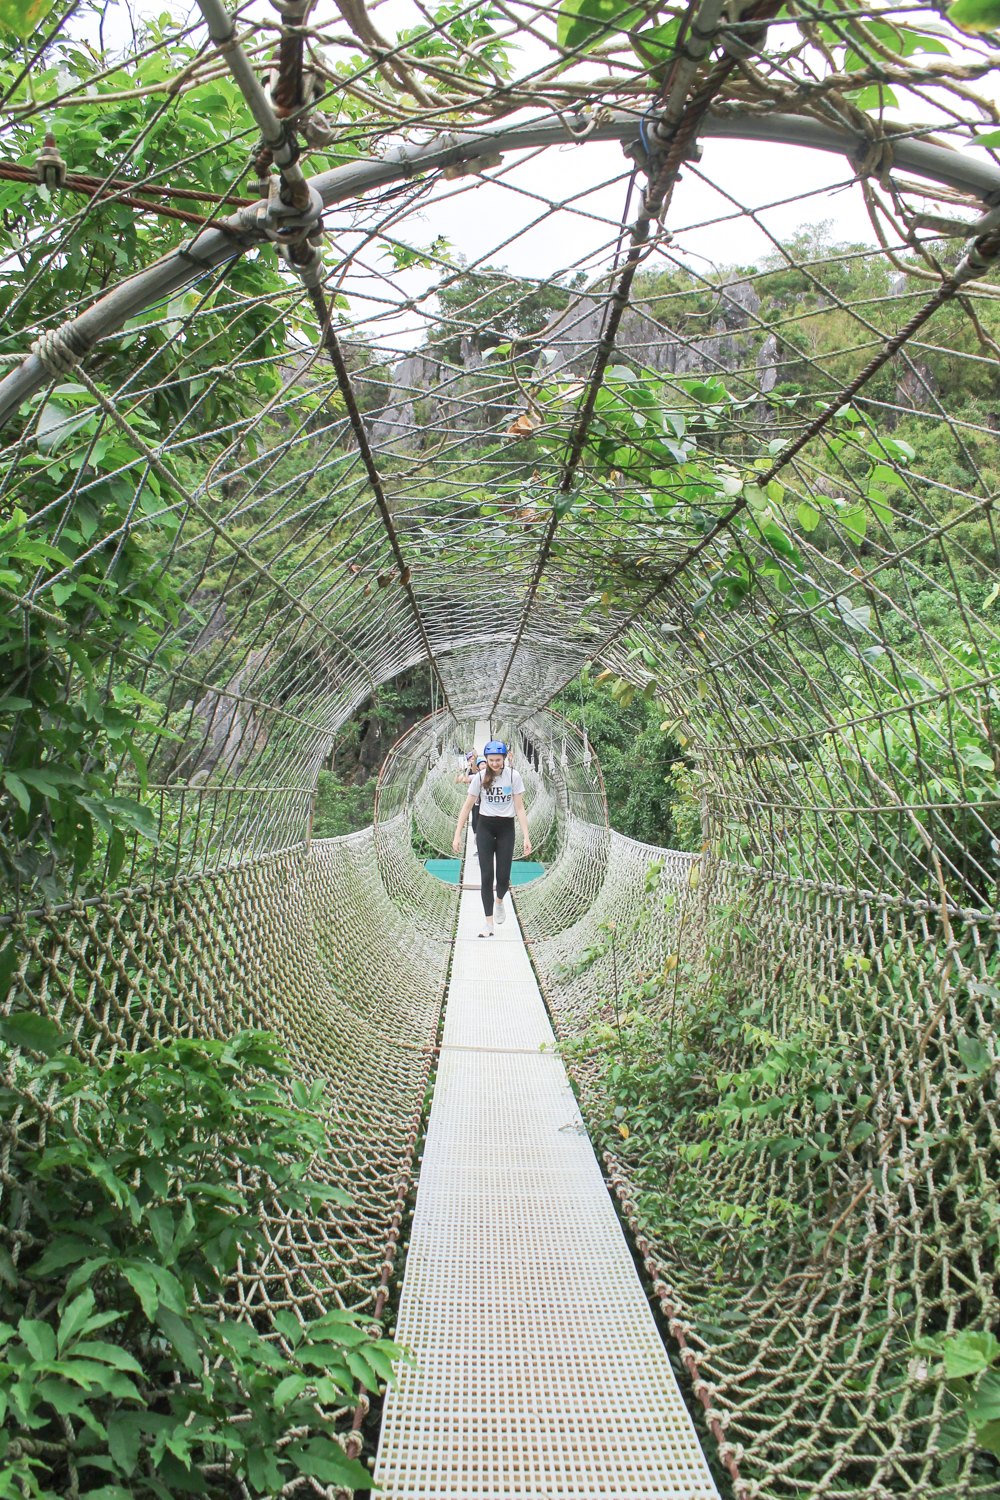
I found a good article written for the first time visitors in Masungi Georeserve. Please click the link below for the article.
A first-timer’s guide to Masungi Georeserve, where adventure awaits
I hope you enjoyed the photos and my 15 things to expect at the Masungi Georeserve article!
MASUNGI GEORESERVE
Kilometer 47, Marcos Highway, Baras, Rizal, Philippines, 1970
PHONE: +63 908 888 70 02, +63 995 186 99 11 (MON-SAT 8:00 am-5:00 pm)
EMAIL: trail@masungigeoreserve.com
RESERVATION
Leave a Reply