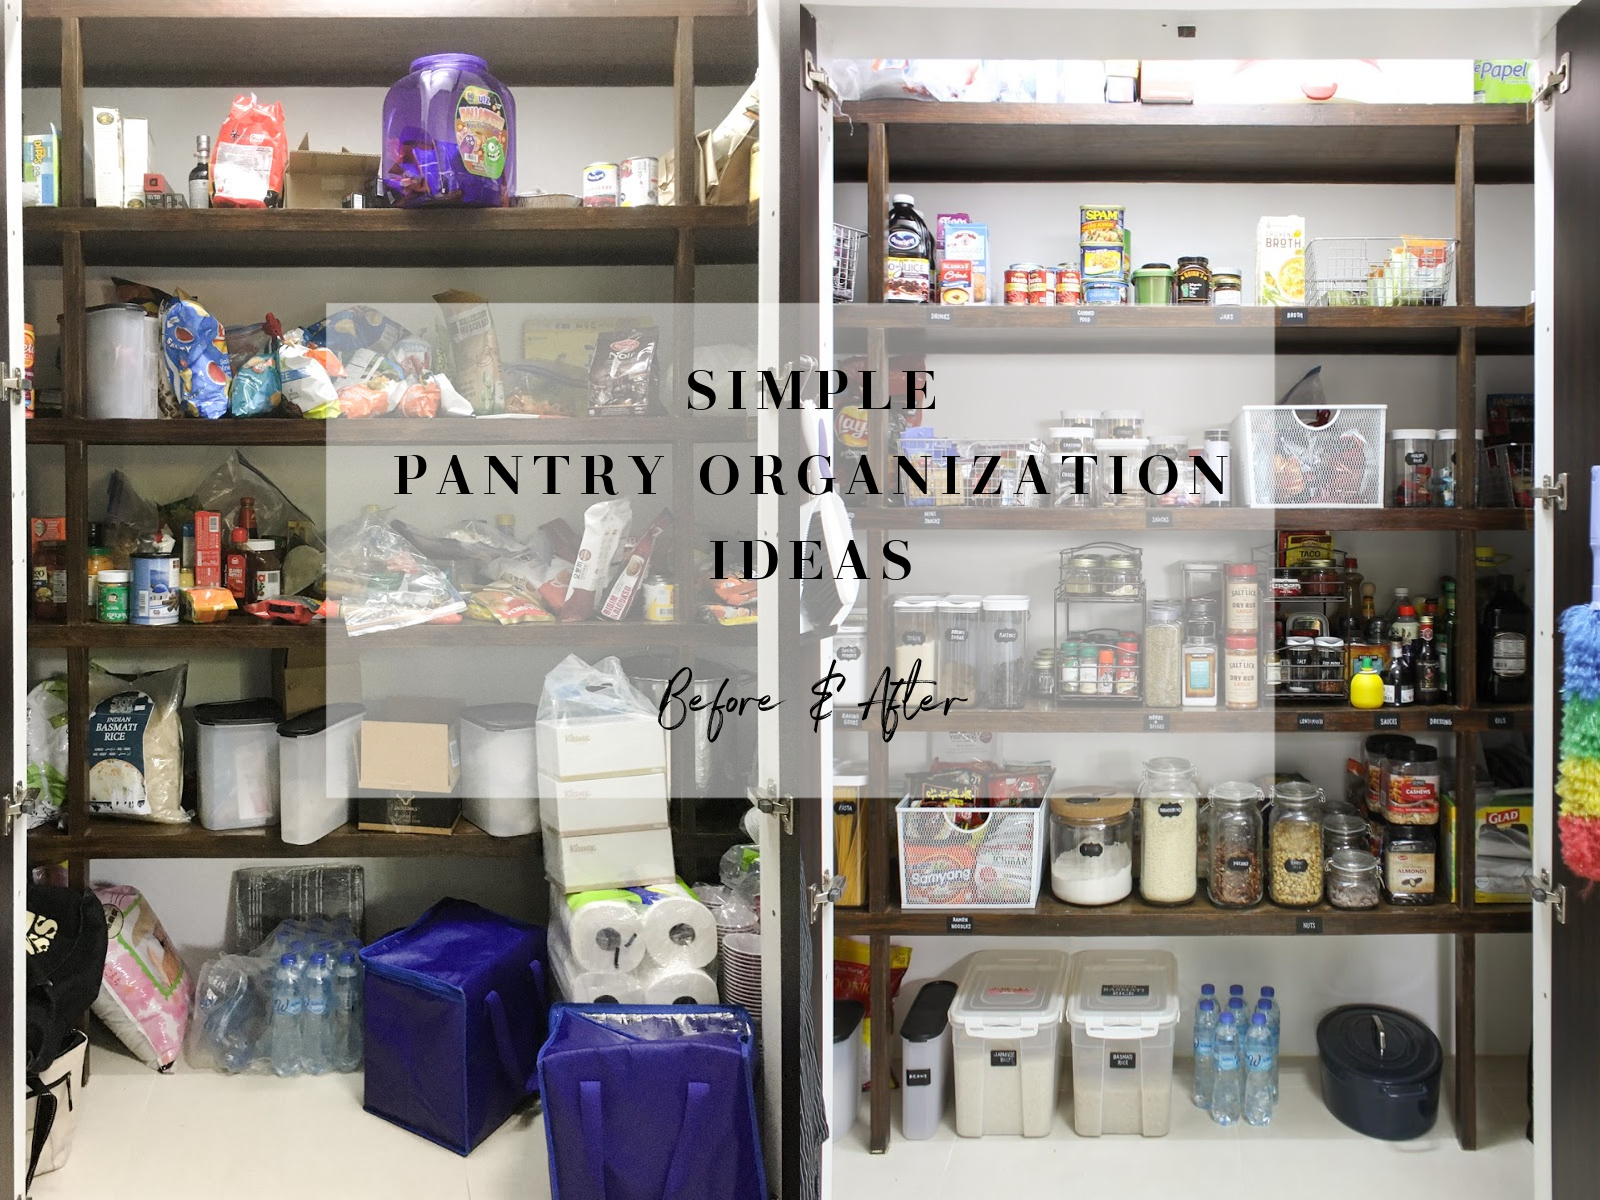
I would like to walk you through the process of organizing a pantry at my friend’s.
My way of organizing is not the same as some organization work done by professionals out there. You may see pantry organization where everything is in clear containers and baskets on Pinterest and Instagram. They are aesthetically pleasing and photogenic. However, I find it unrealistic to fill pantry with plastic containers for most people. If you buy that many containers and baskets, you will end up spending a big amount of money just for your containers.
At the same time, you can’t organize a pantry without some help of plastic containers and baskets. They will help you maintain the organized look for a long time.
What’s right for you? Figuring out what suits your budget and trying to achieve your ideal pantry within your budget is important.
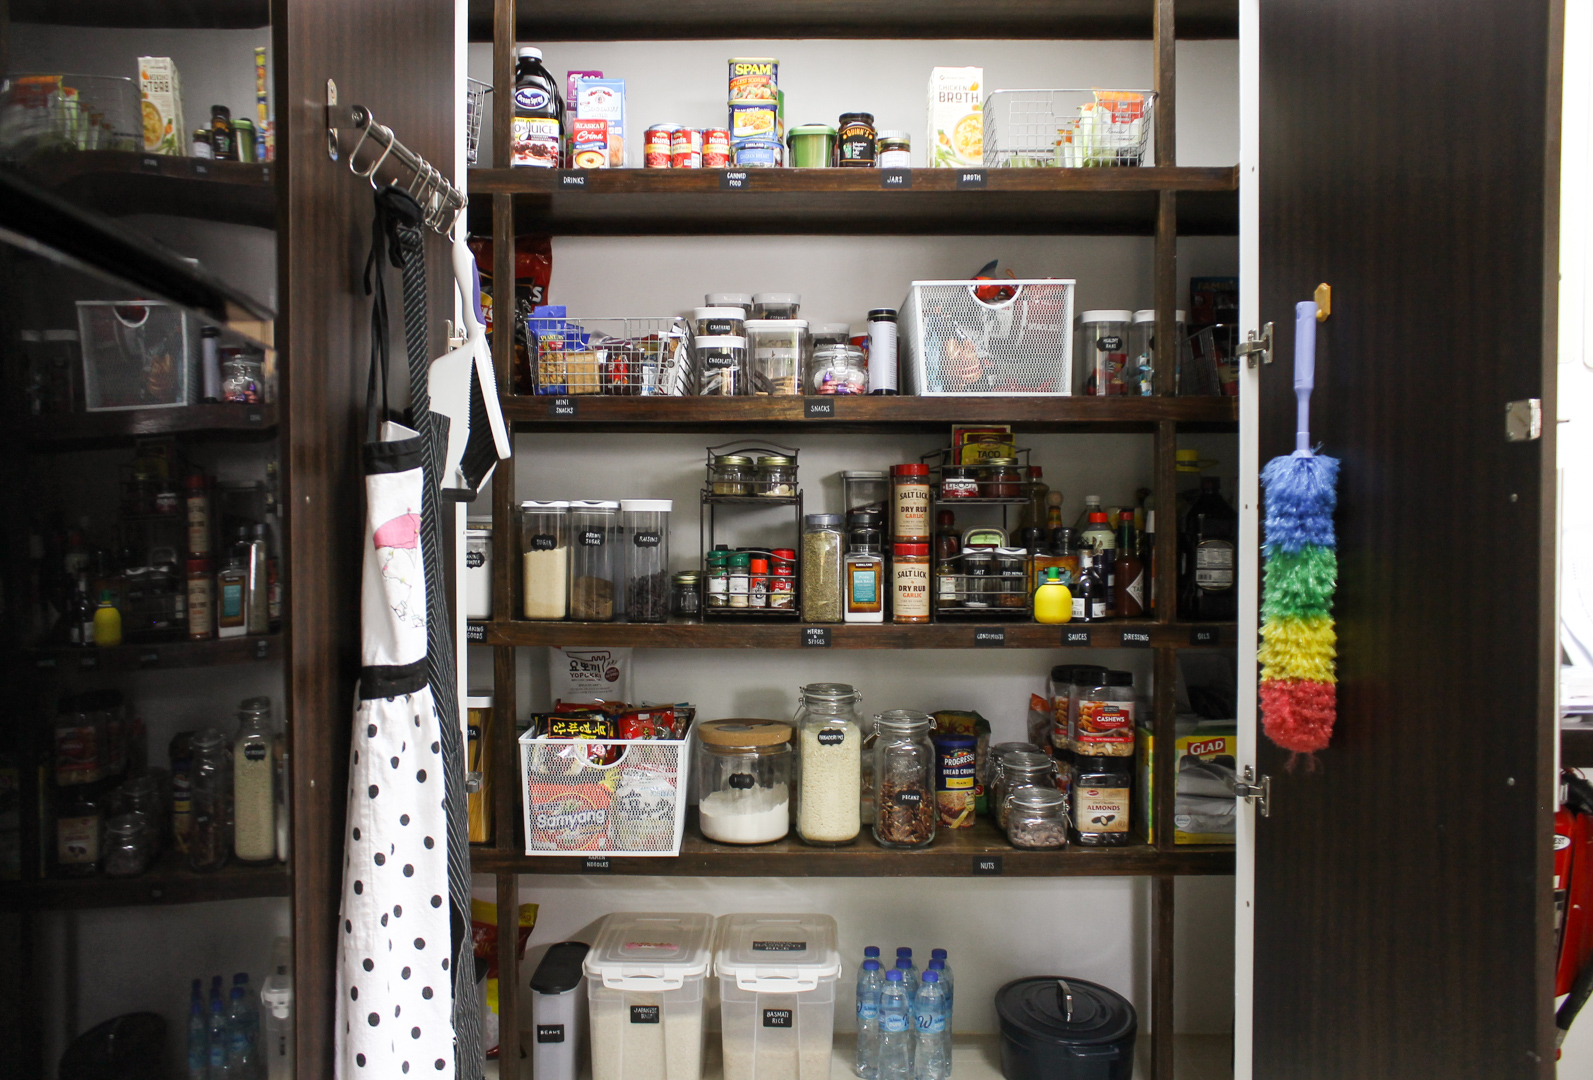
The goals here are the following.
1. Easy to find items.
2. Easy to put things back after use.
3. Easy to do an inventory before shopping.
4. Placement of items makes sense for users.
5. Easy to maintain the organized state.
For that, you need the followings.
1. Plastic containers for some loose products.
2. Baskets to contain small items in the same category.
3. Organizing products that can be stacked and maybe slide to store some short and small items in the same category.
4. Labels to show what are in the containers or indicate categories on different sections on shelves.
You can attain an organized pantry like this at my friend’s with a budget between USD200 and USD300. This is pretty good in my opinion. If you have a small pantry, you may be able to organize under USD100, but that will be challenging. If you are a single person with a small pantry, obviously your budget could be small. It all depends on the size of a pantry and the number of people who use it.
Now let’s get started.
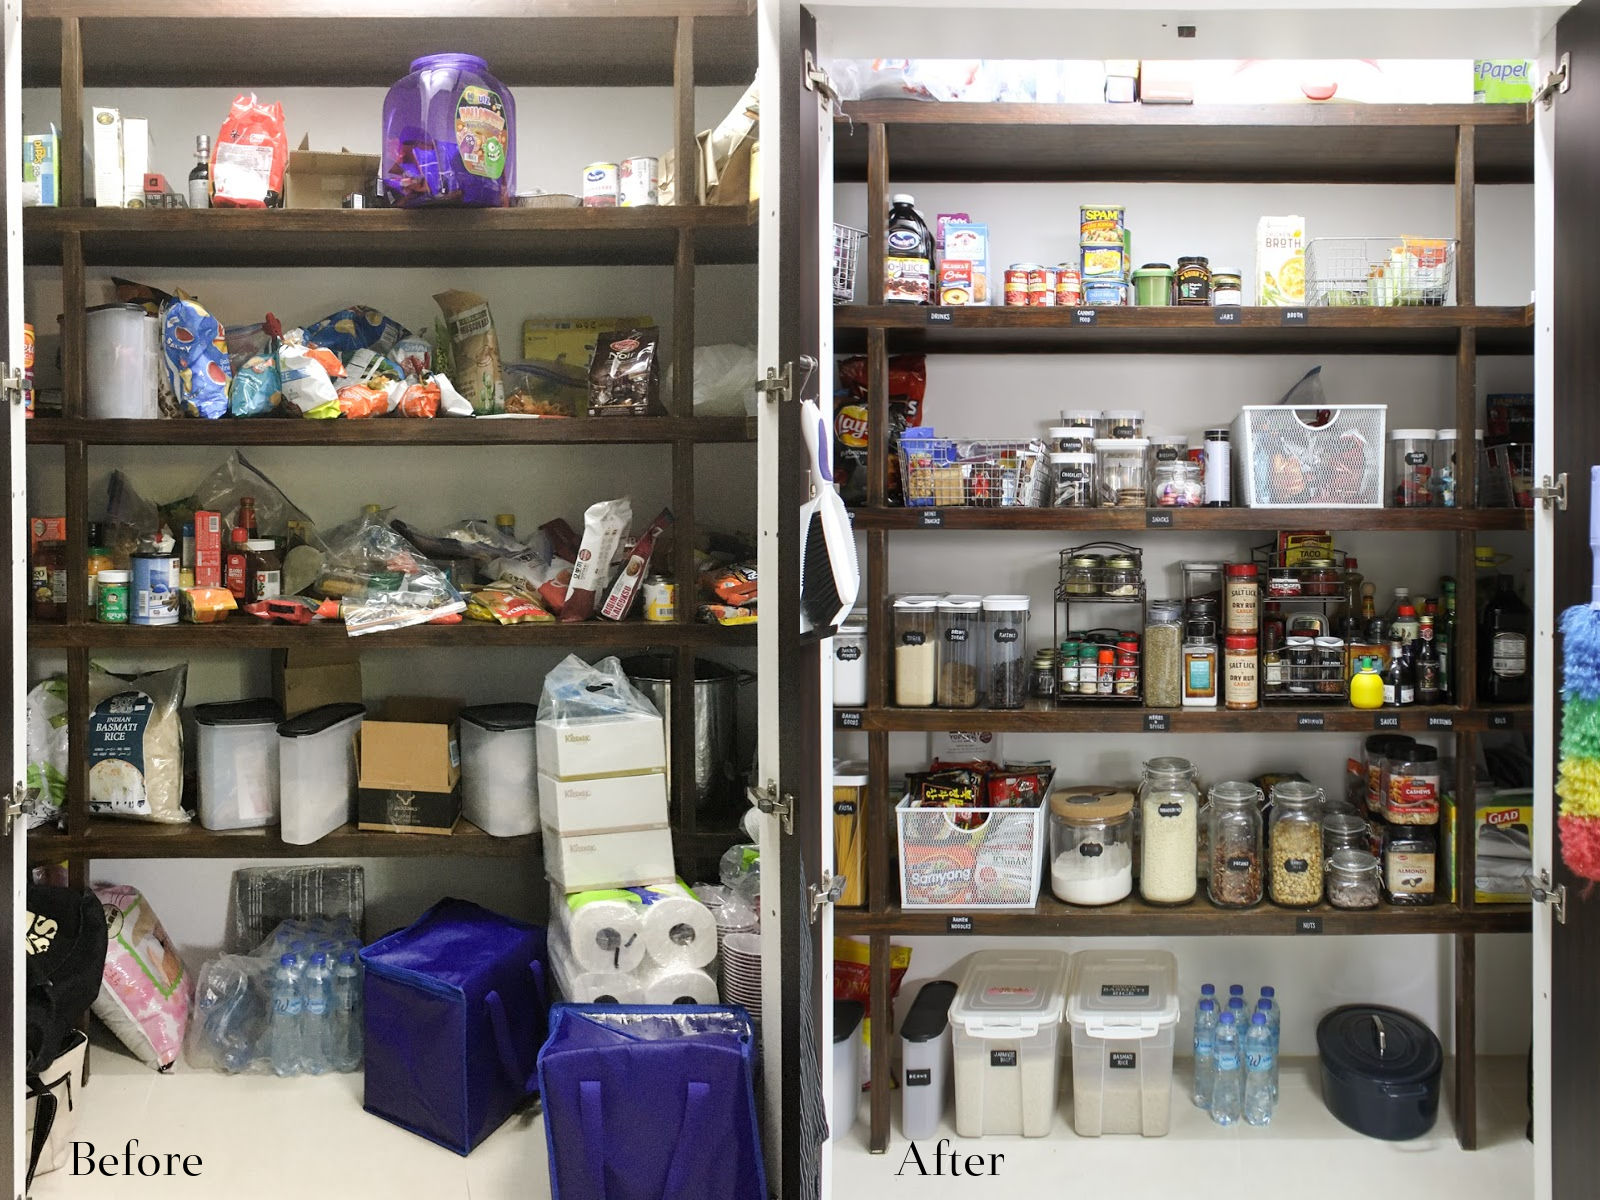
BEFORE ORGANIZING
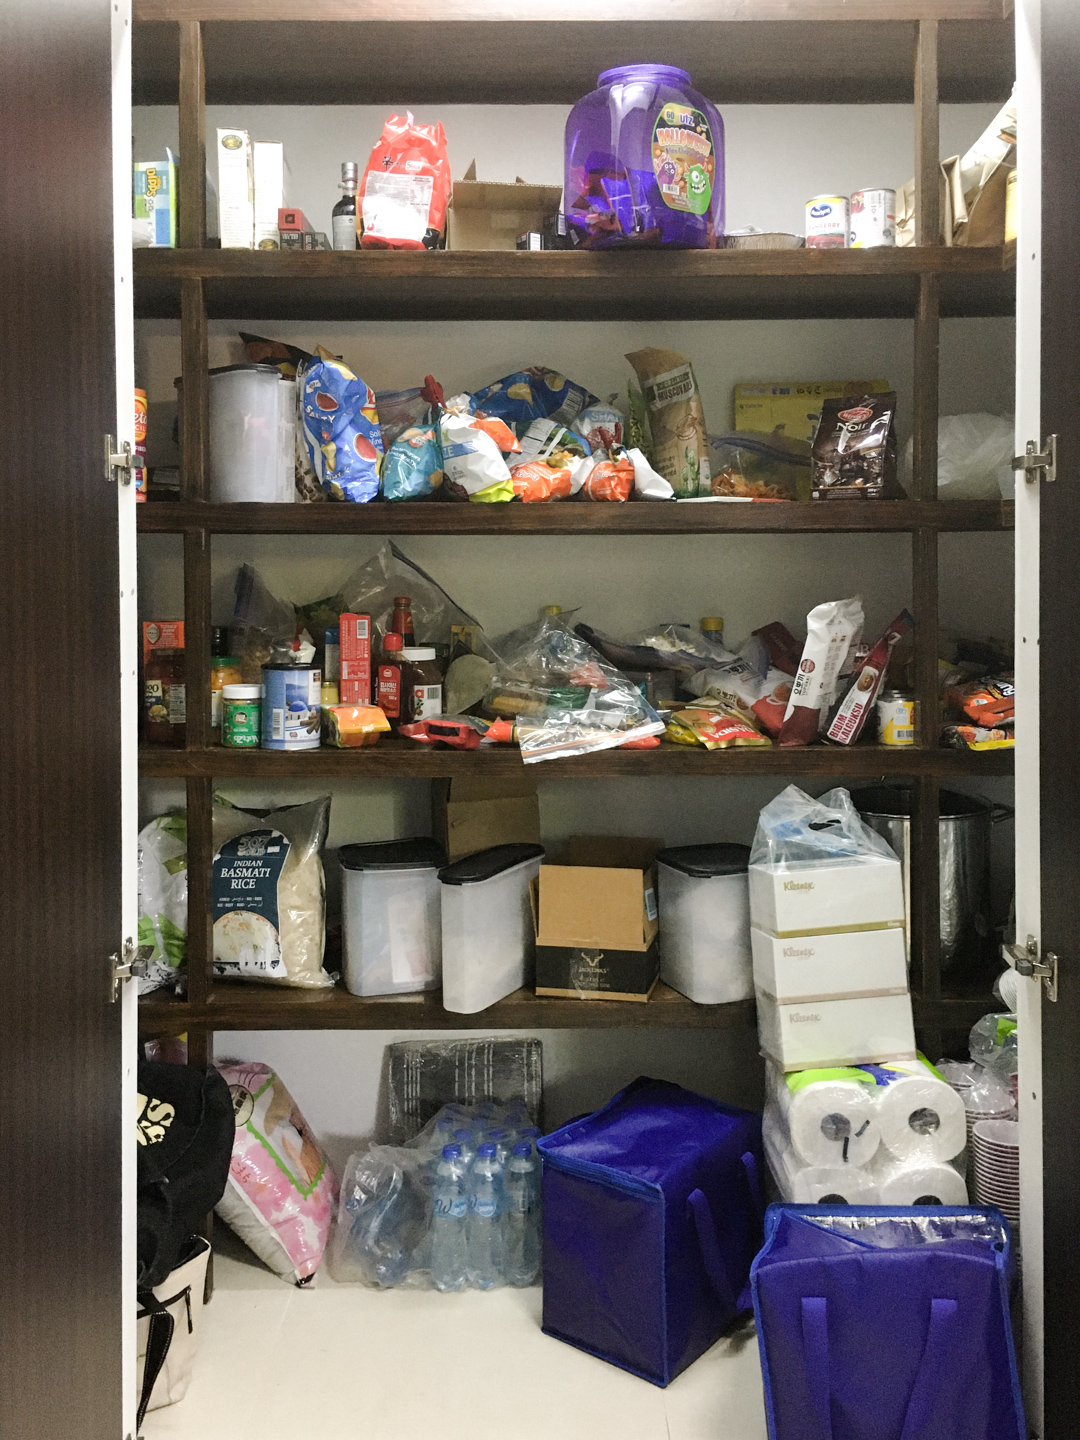
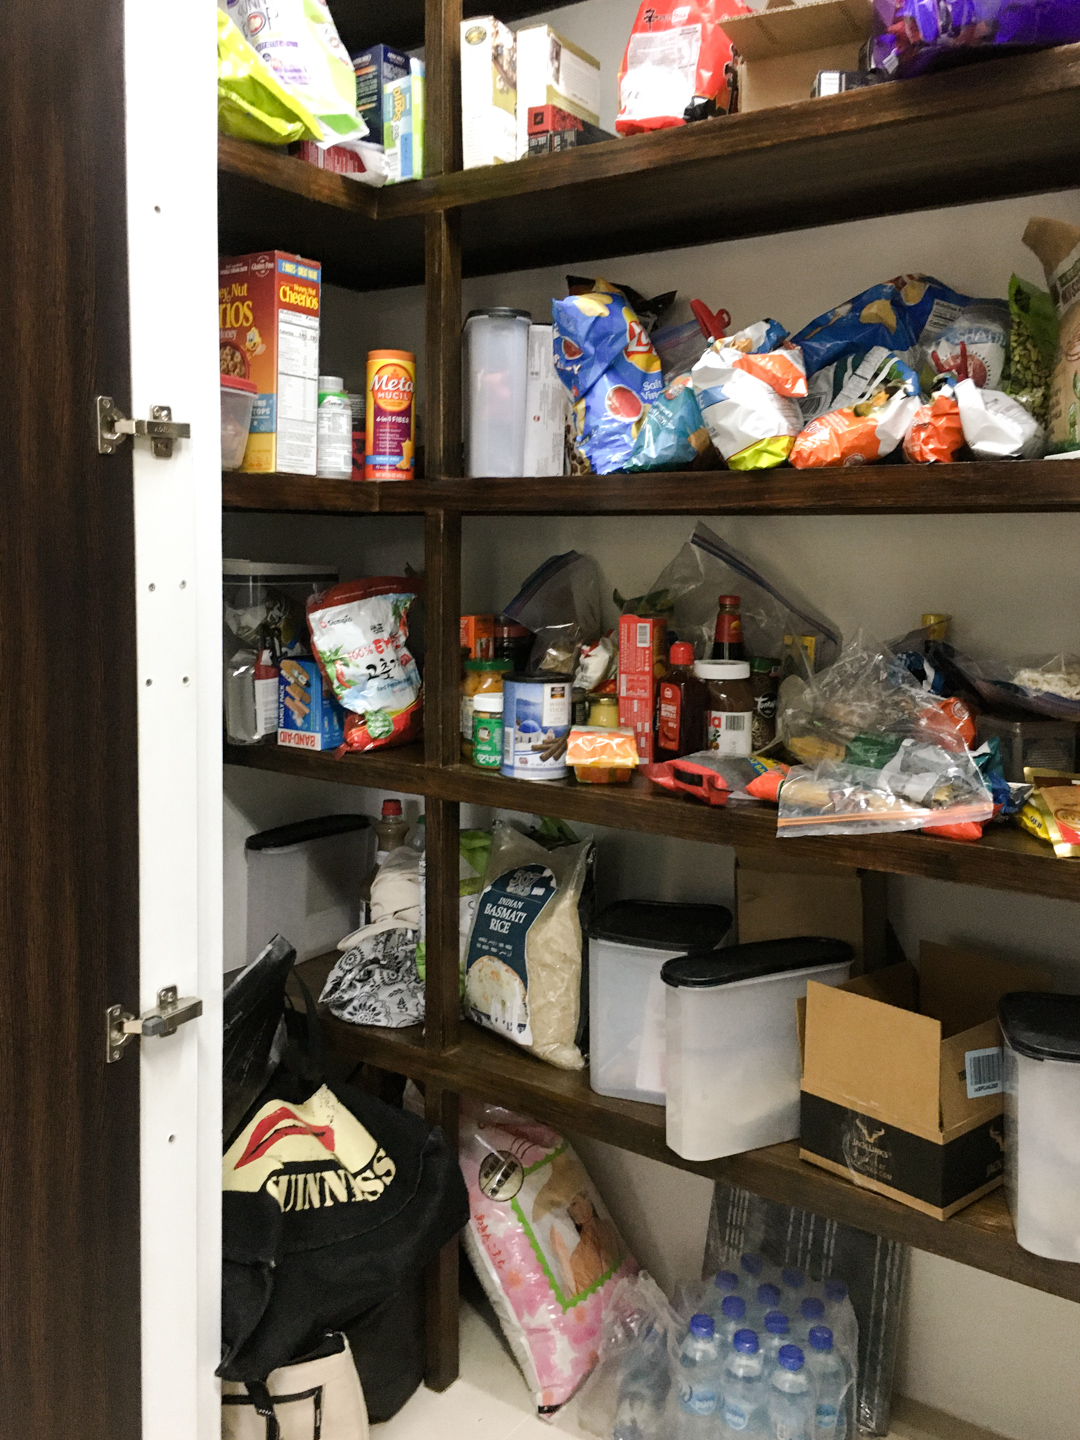
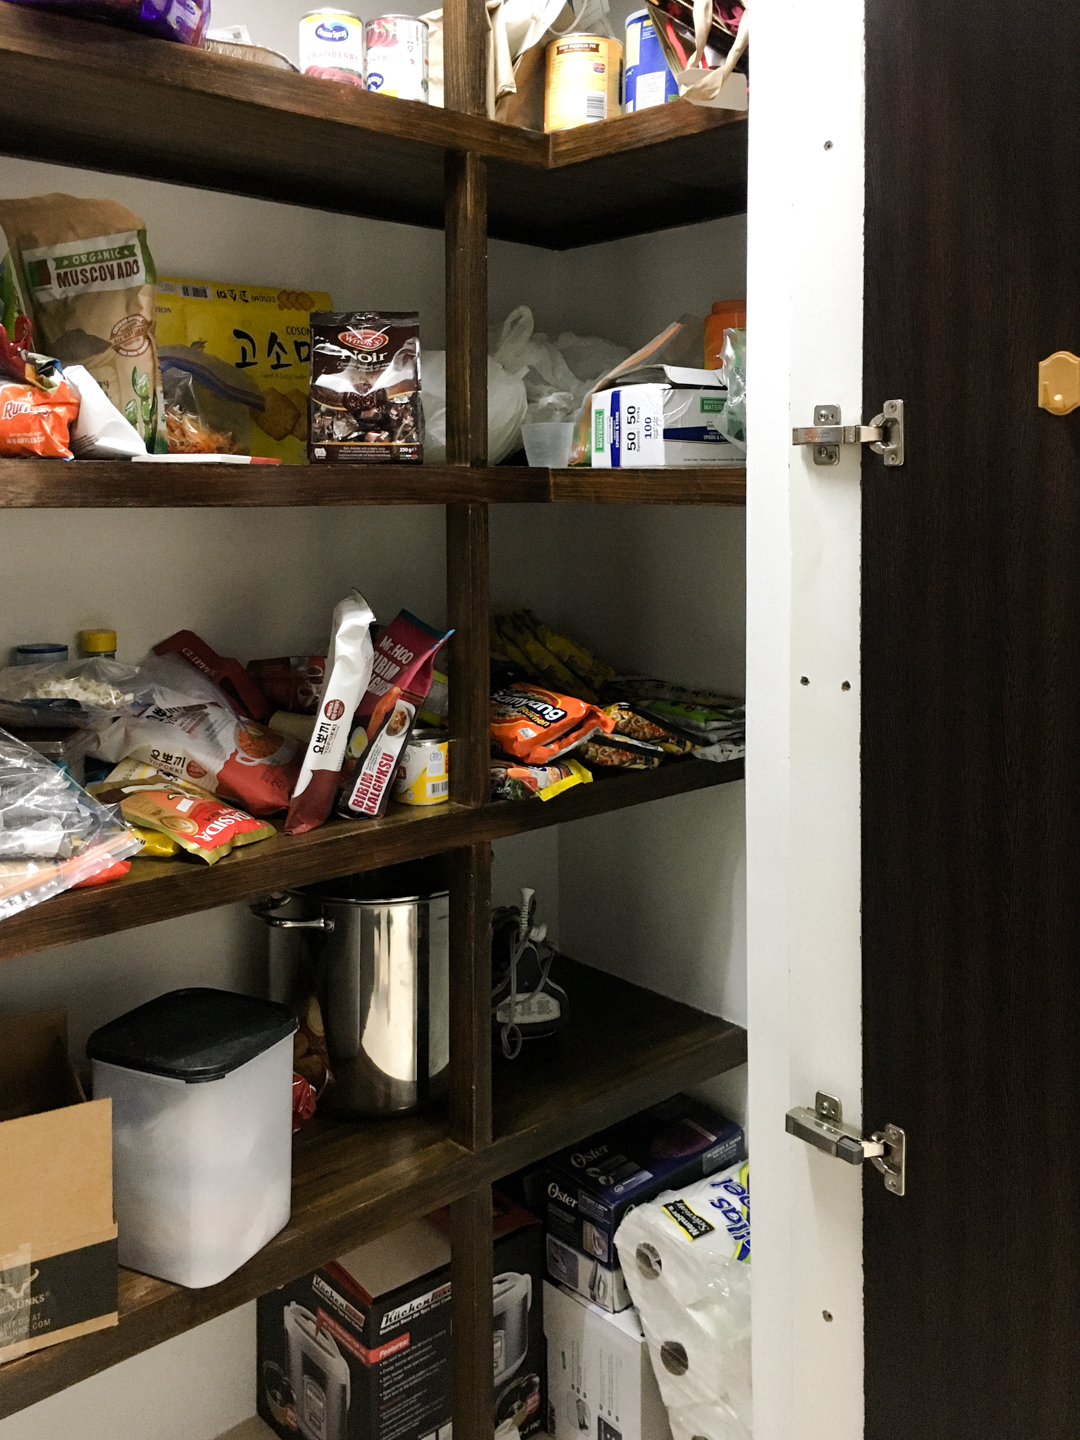
Below photos show the condition before I came in to organize the pantry. My friend gave me a permission to photograph it. In fact, she was the one who encouraged me to take photos so that I can blog about the pantry organization job that I had done for her. She’s brilliant, isn’t she?
STEP 1
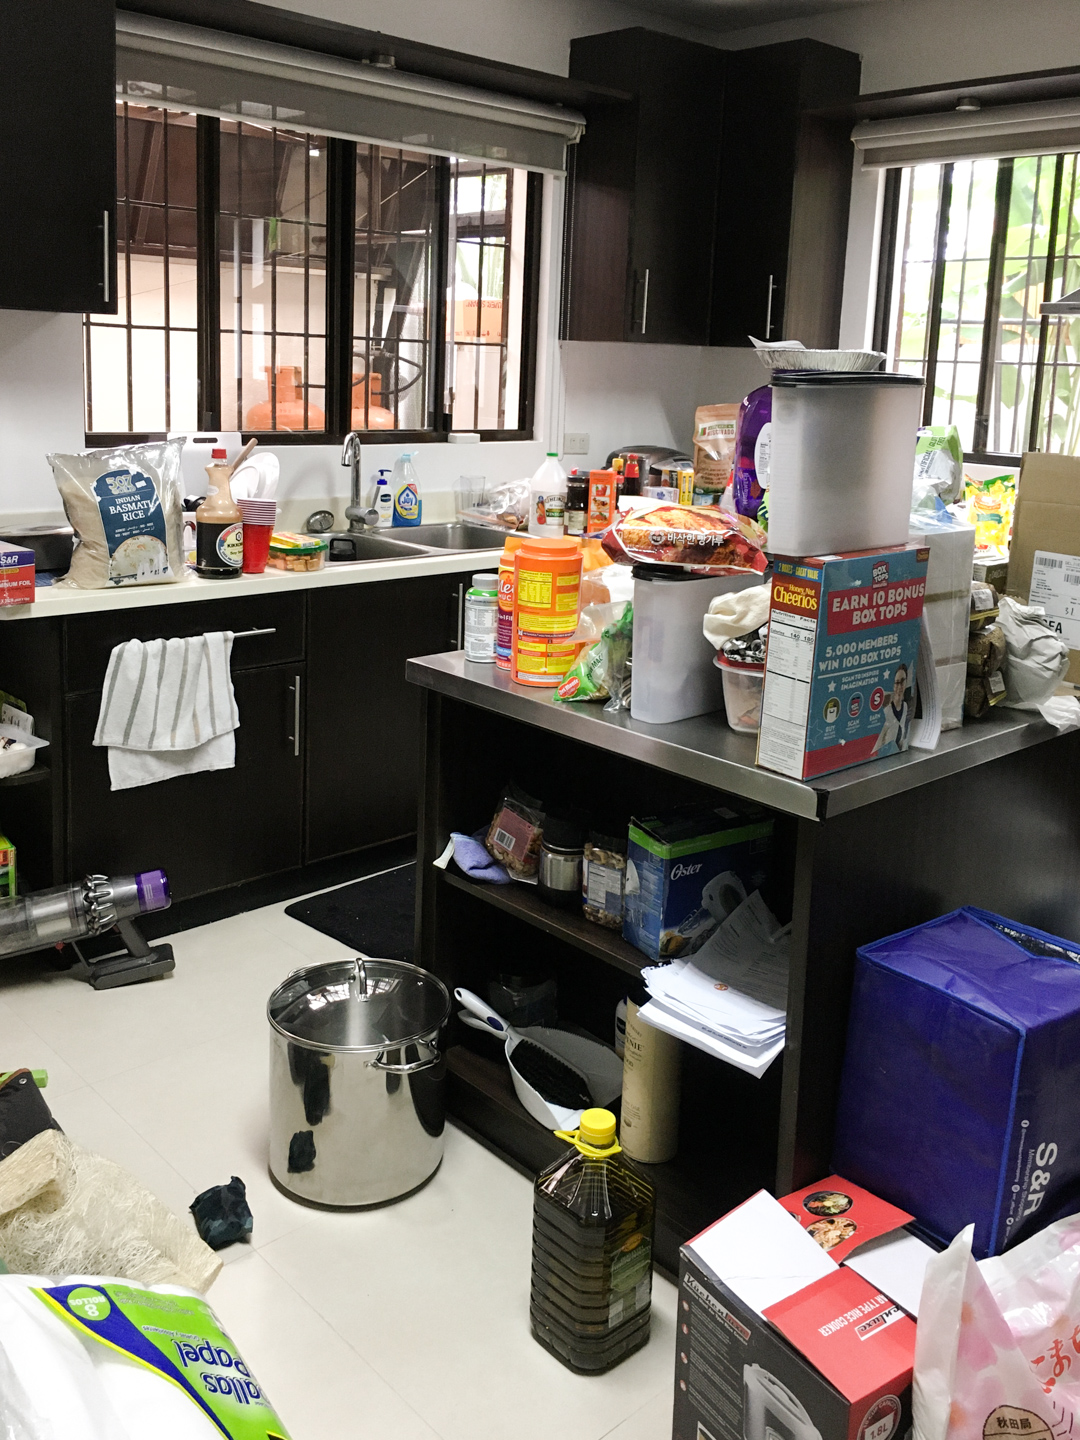
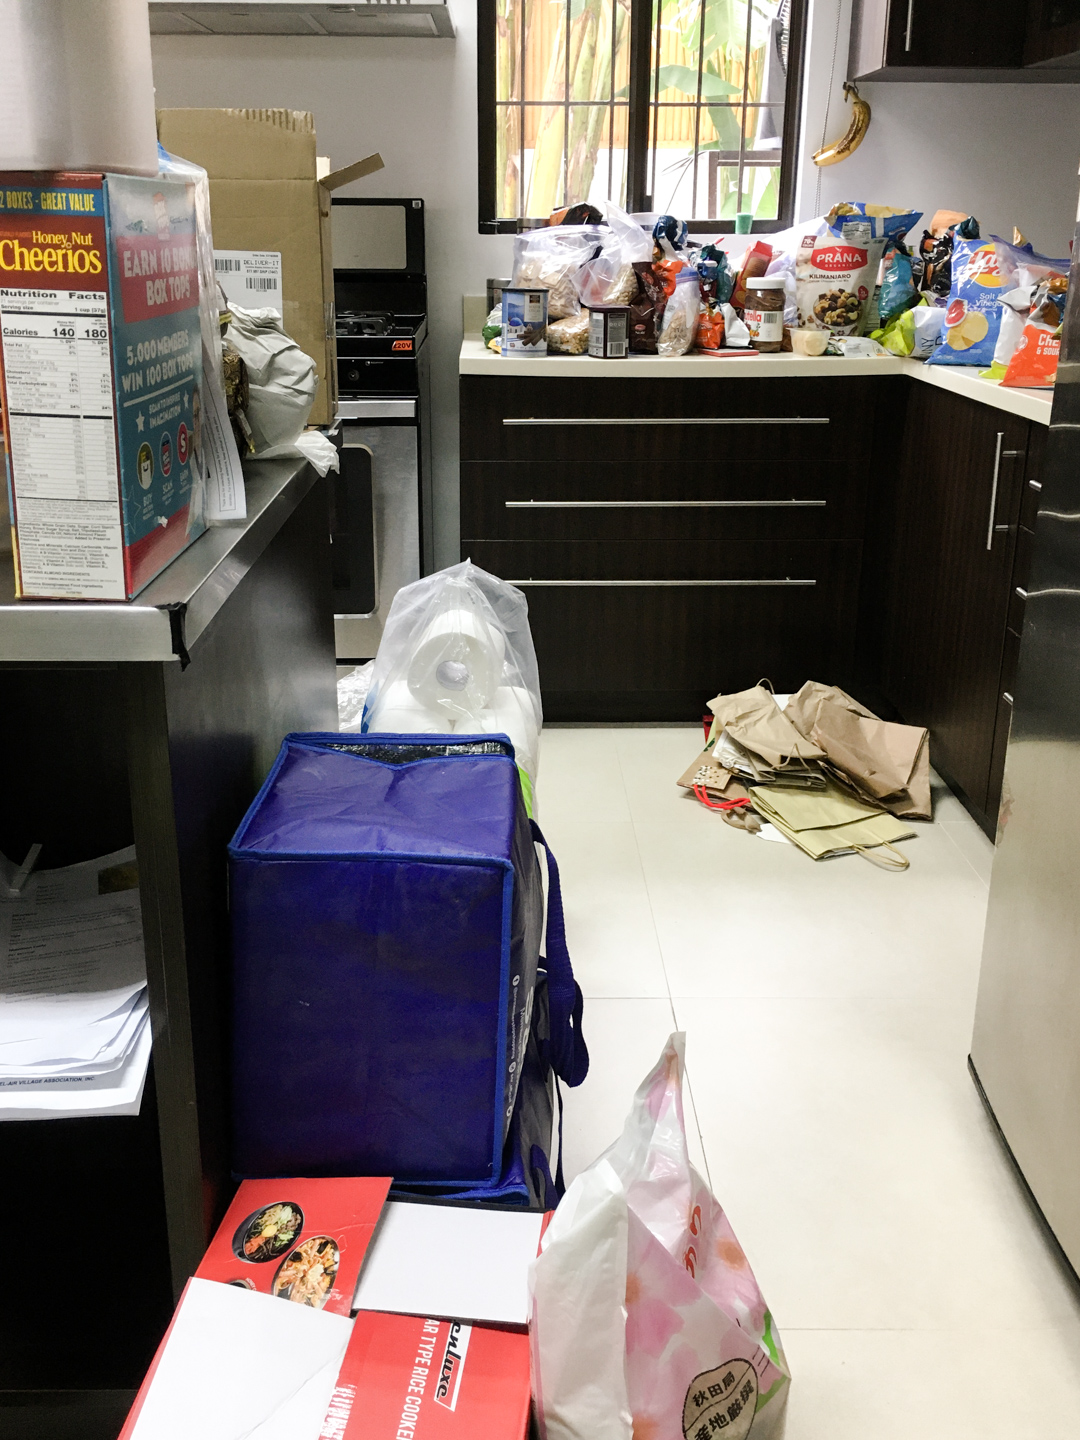
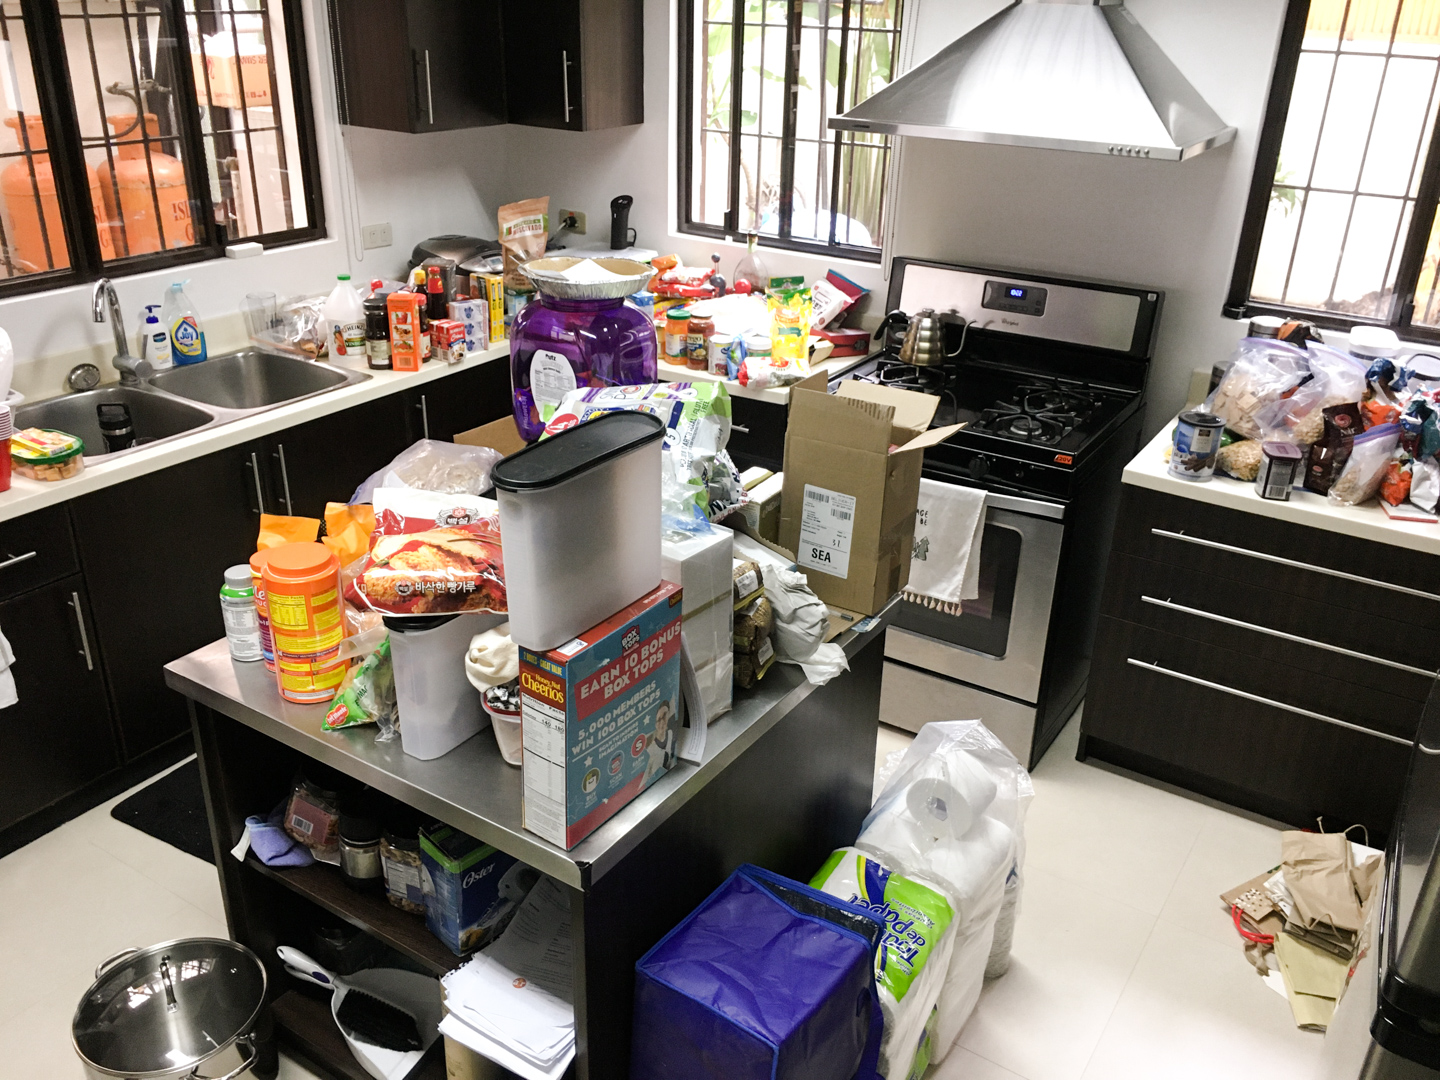
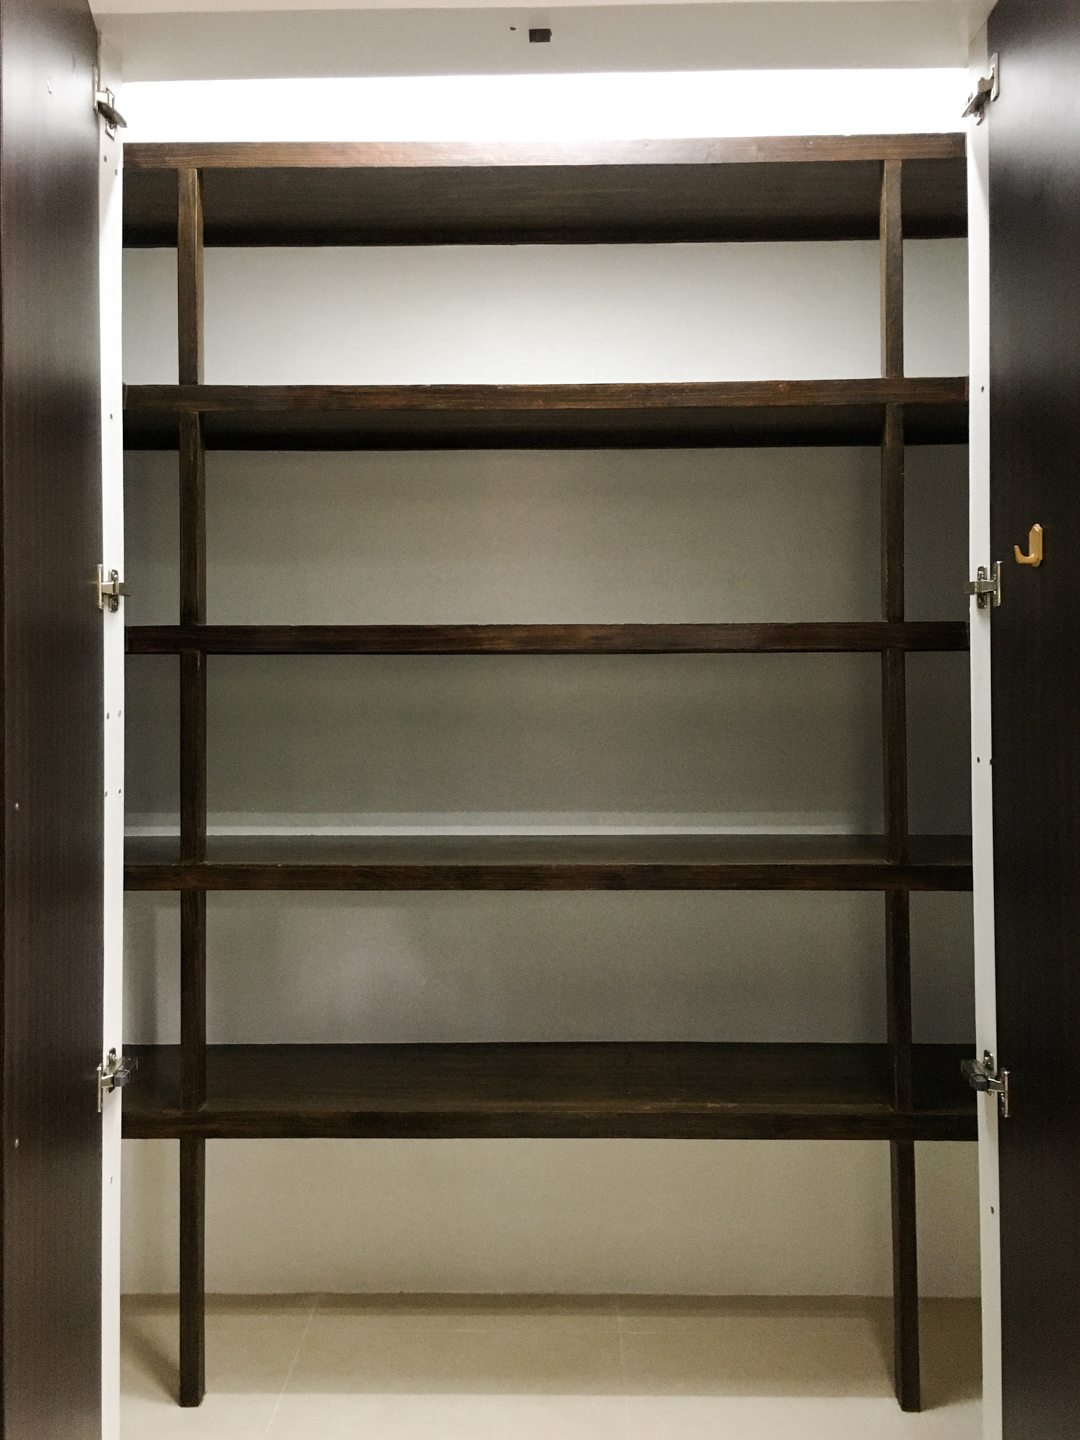
In order for you to organize your pantry, you have get everything out.
Yes.
E.V.E.R.Y.T.H.I.N.G.
I emptied my friend’s pantry. It was intimidating. As I started to move food out of the pantry, the surface area in the kitchen started to fill up. You realize how much a pantry can hold.
A LOT!
STEP 2
PANTRY REORGANIZATION WITHOUT ANY NEW CONTAINERS OR BASKETS
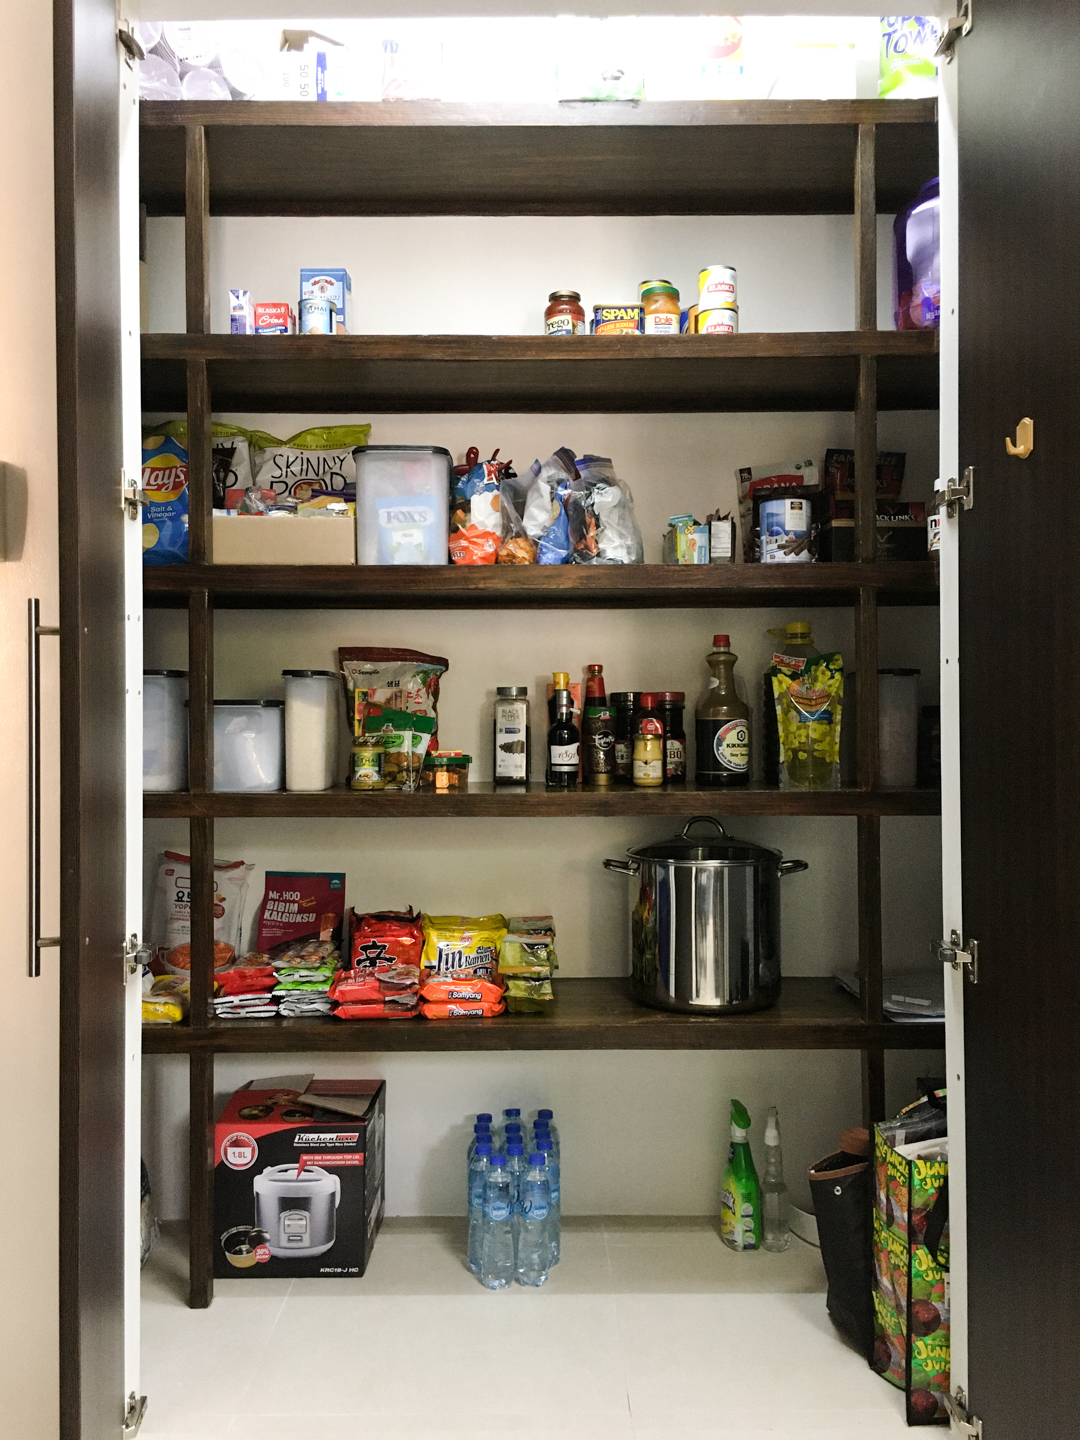
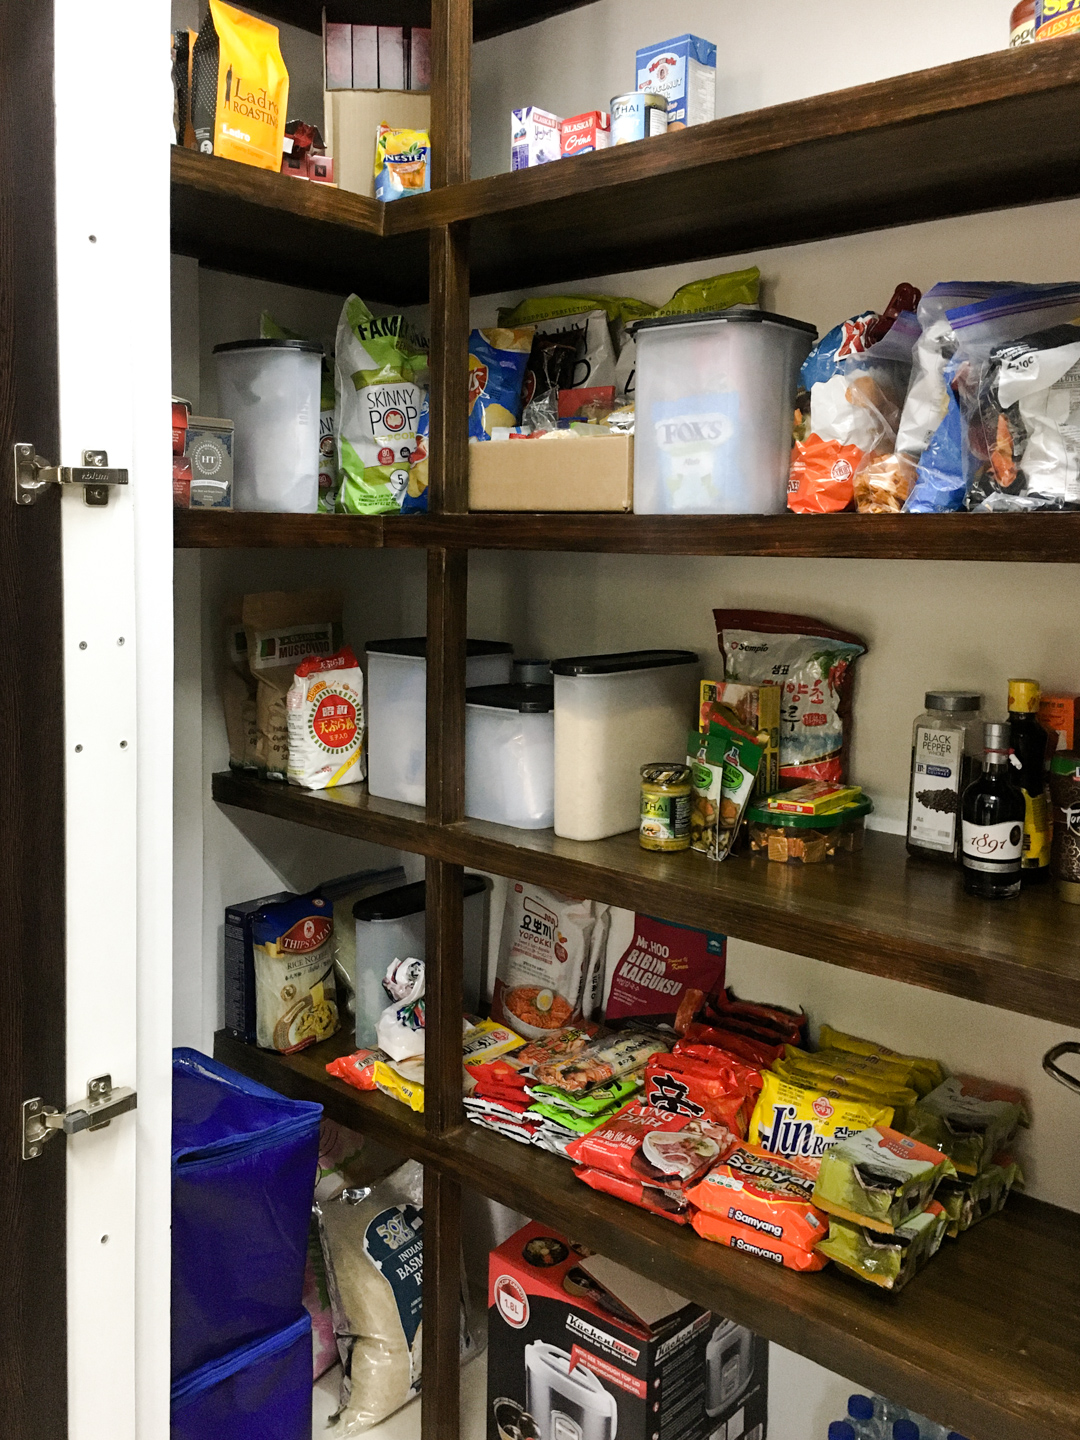
I grouped the food items and started placing them together.
Organizing my friend’s pantry without using new containers was not too difficult largely because she and her family had moved into their new home in the recent past. They moved to Manila from the U.S. Thus, their pantry was still in the process of getting filled.
Part of the reason why I wanted to do this was for me to assess what they have and what containers and size of baskets I need to purchase in order to achieve a neat-looking pantry.
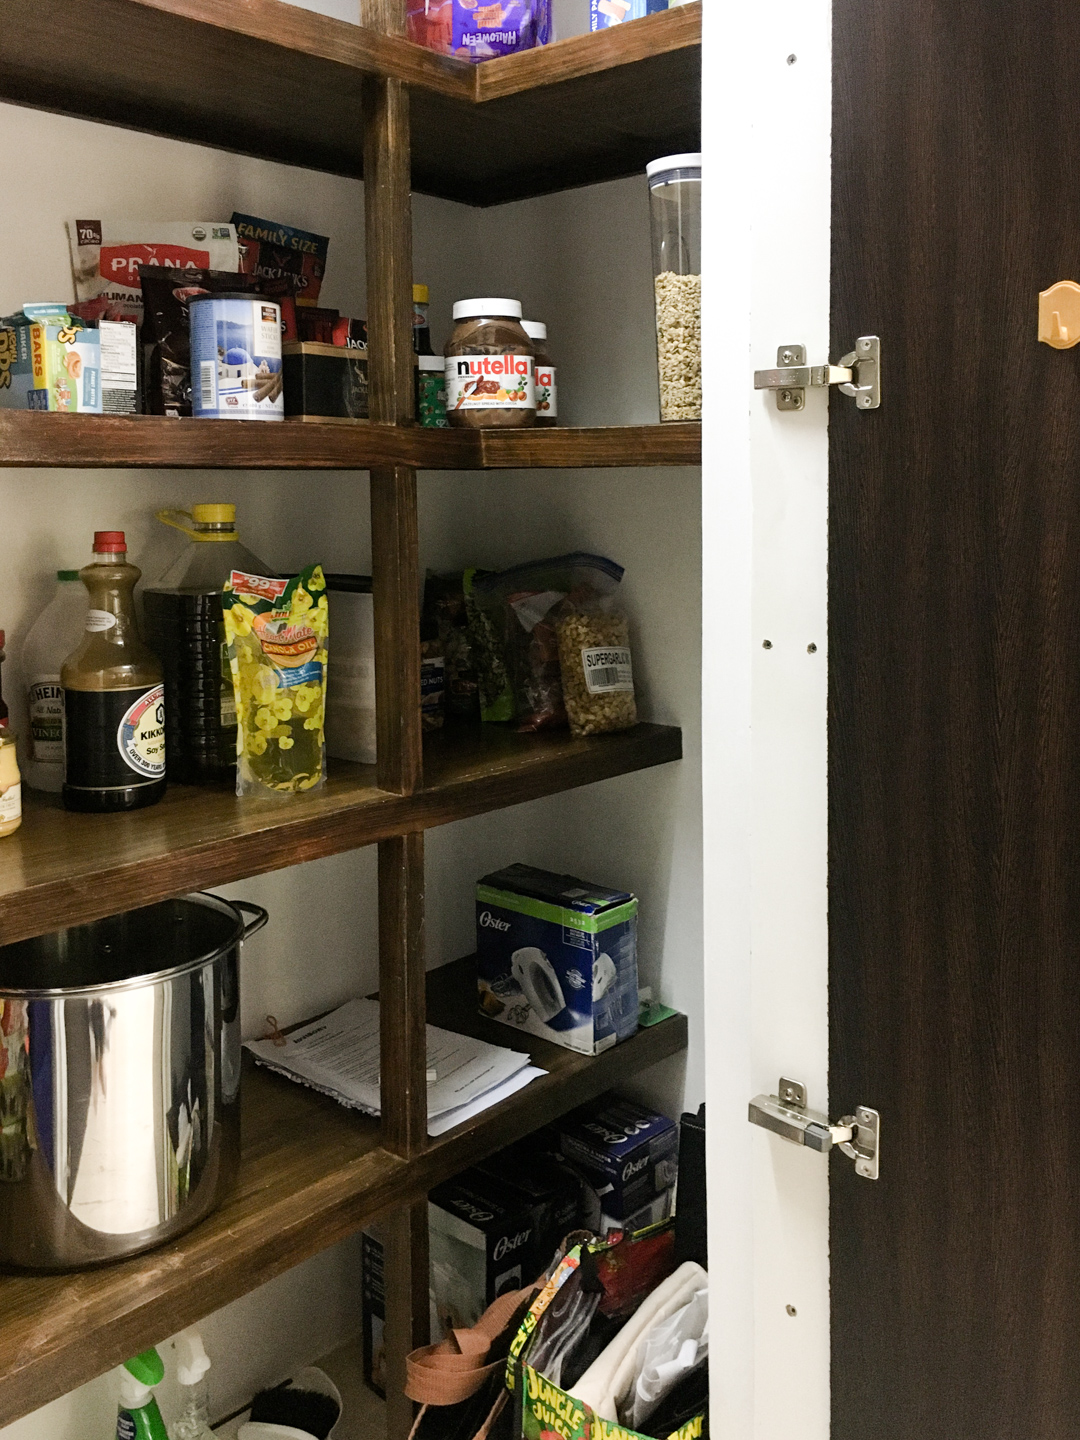
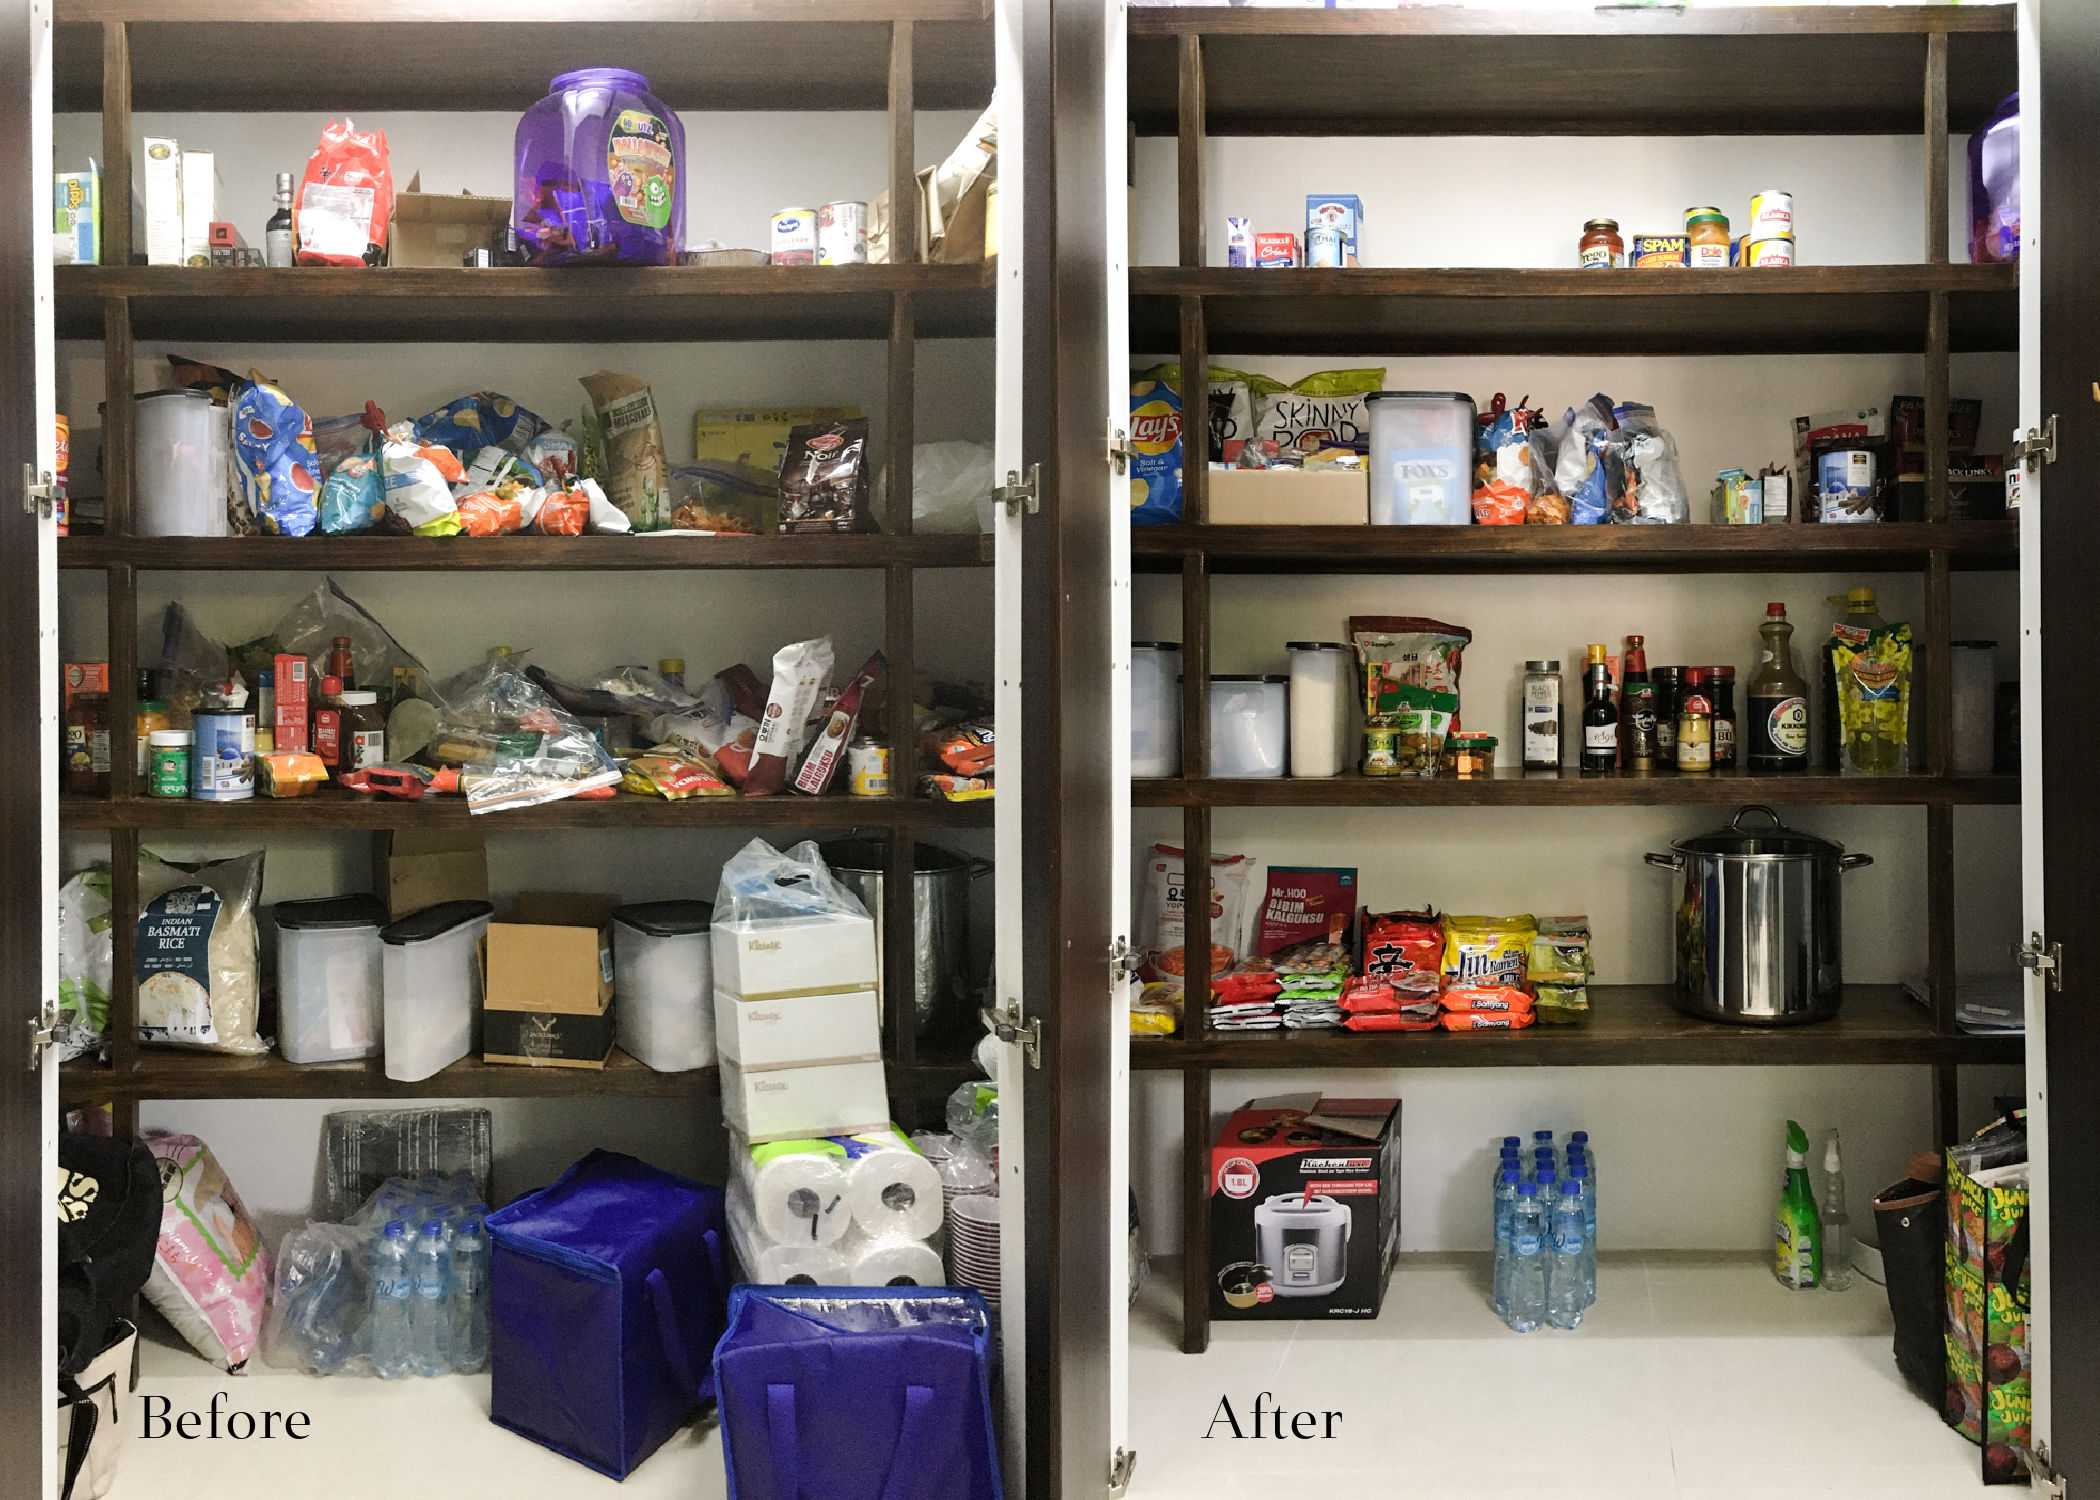
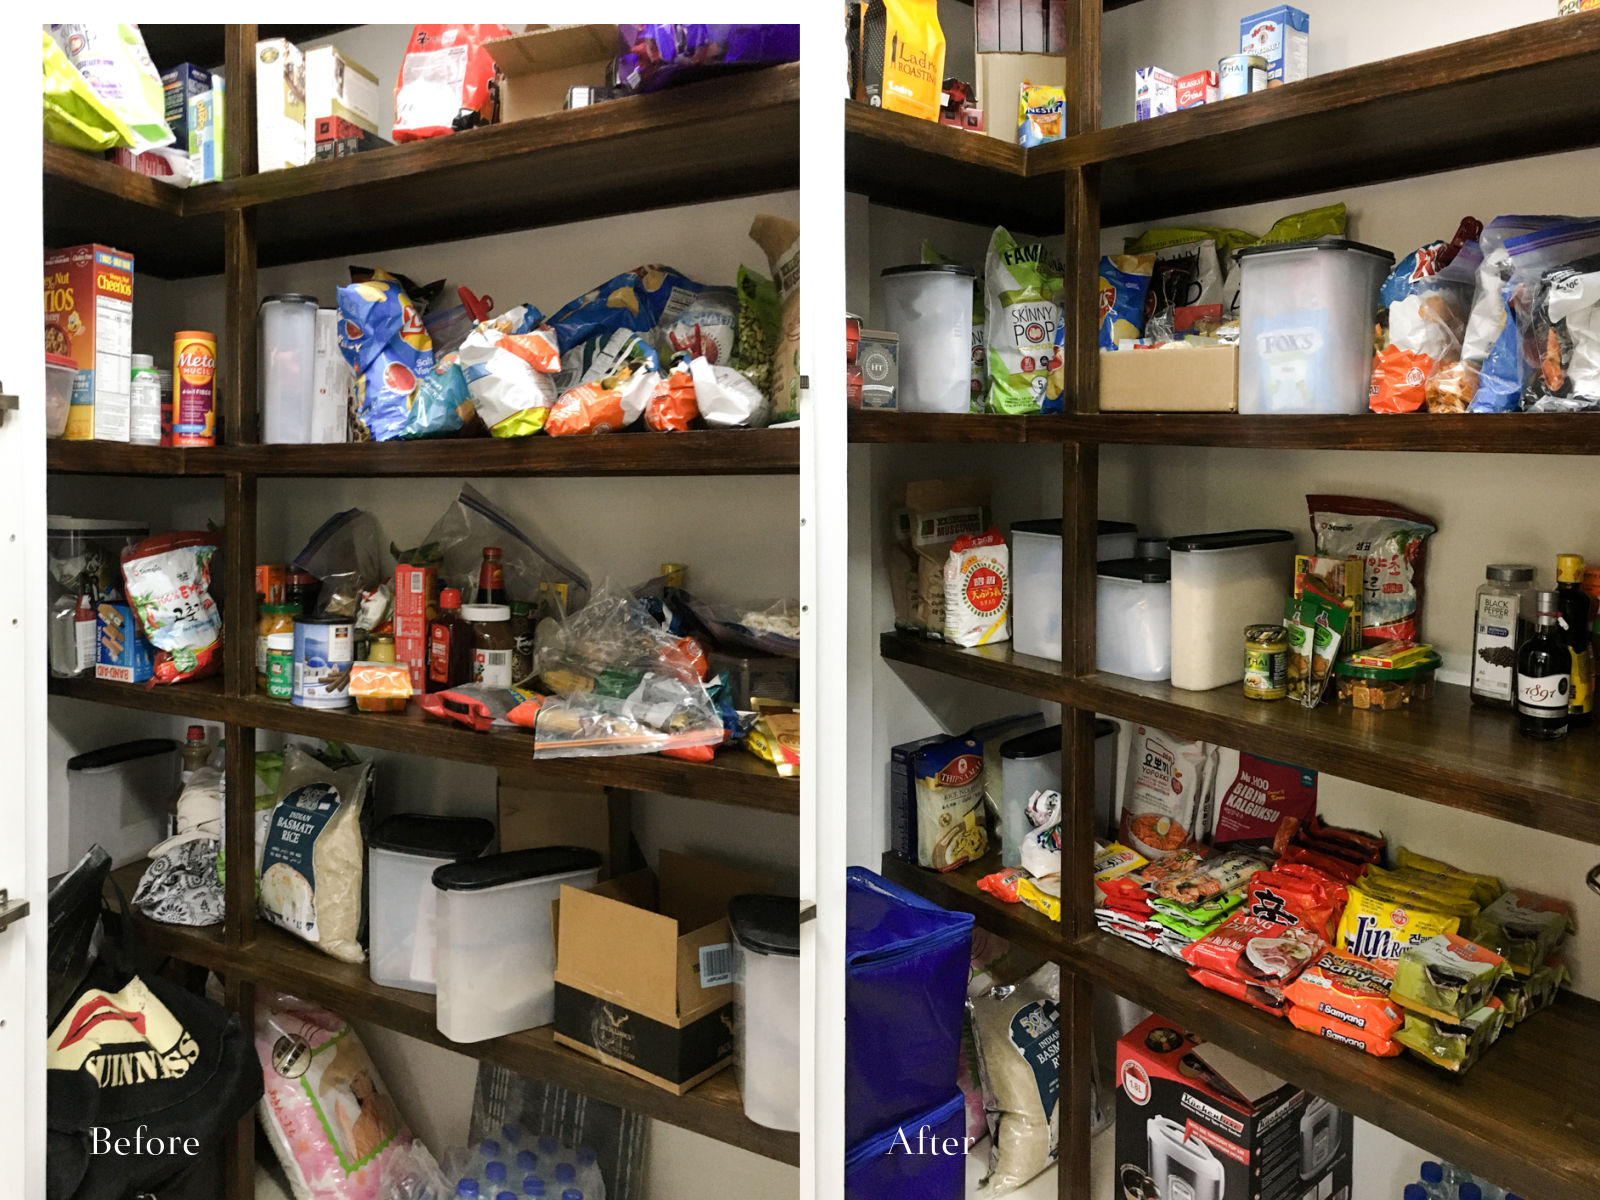
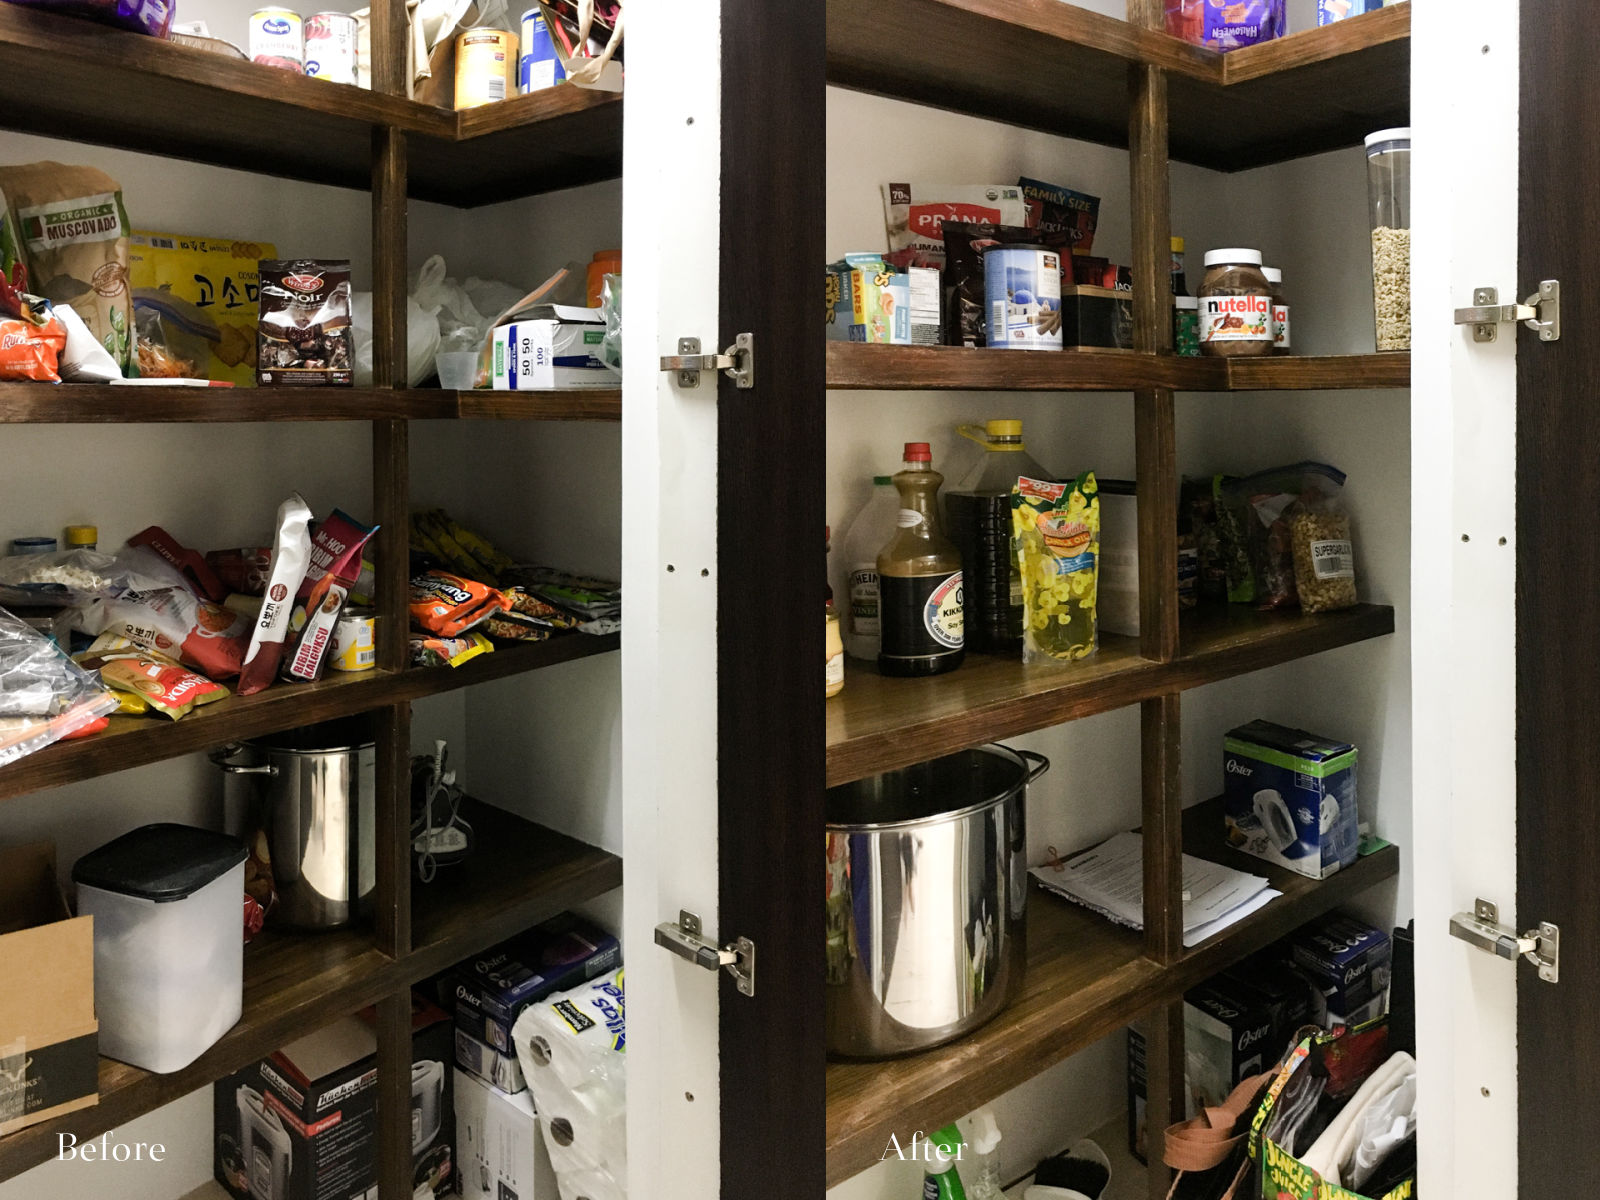
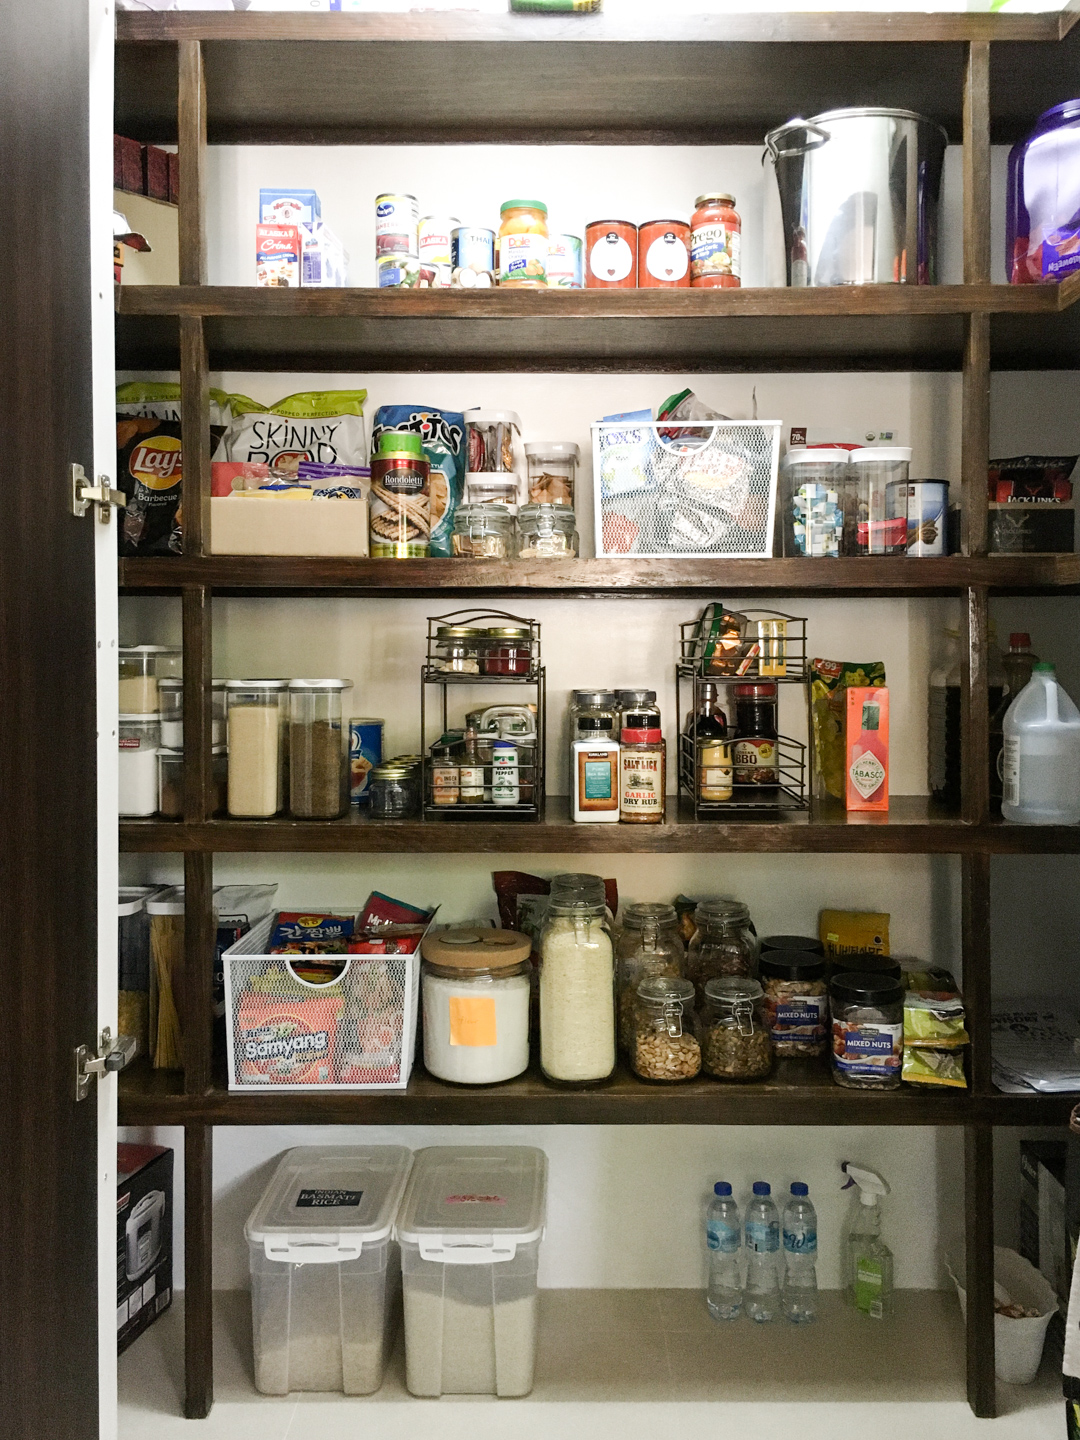
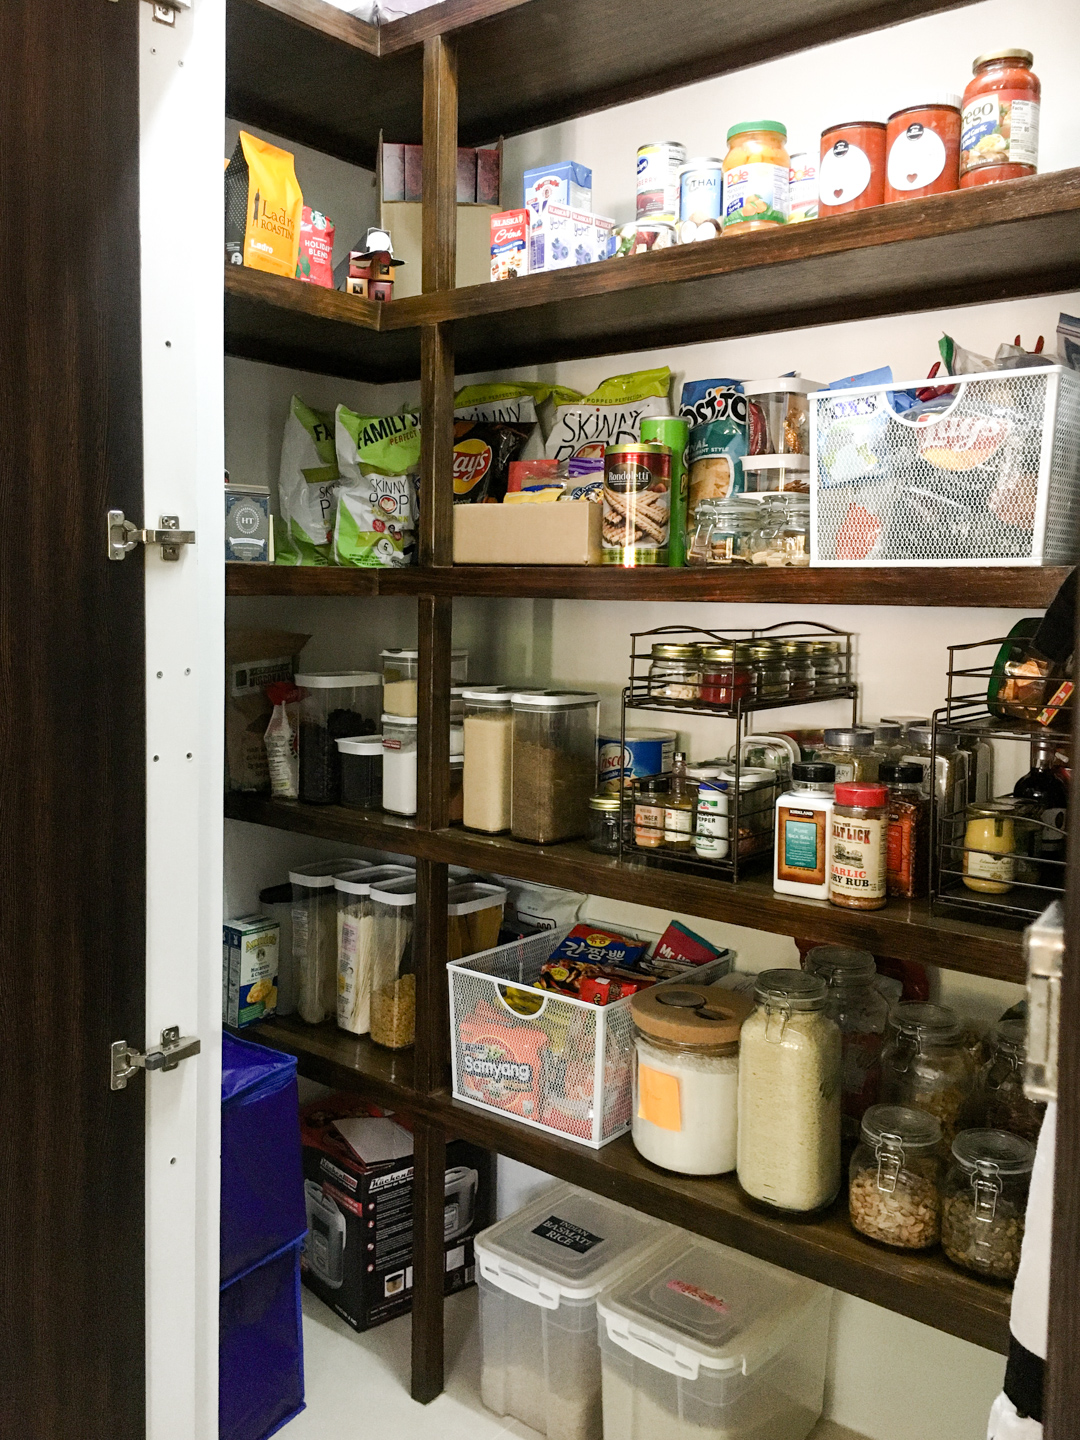
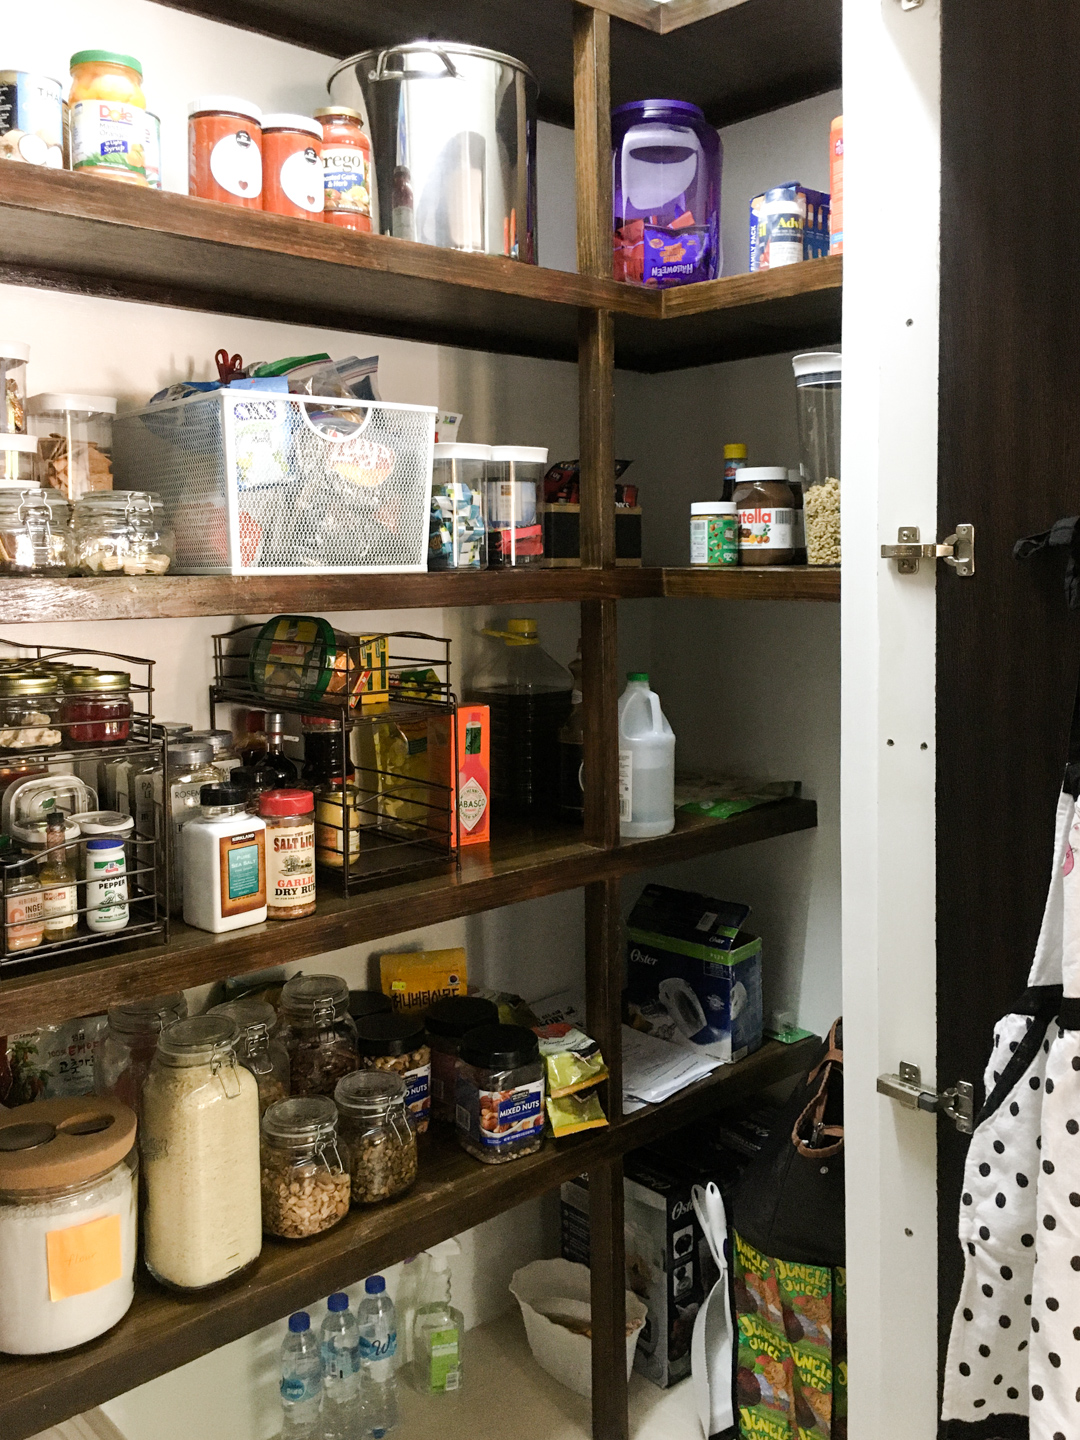
Here are photos of the pantry after I organized it without using any new baskets or containers.
BEFORE & AFTER
You can certainly organize a pantry without using containers. However, without using some containers, the challenge is to maintain the organized state. Food containers help you keep your pantry organized. Without them, it is not easy to maintain the condition.
STEP 3
SHOP FOR CONTAINERS AND TRANSFER FOOD ITEMS INTO CONTAINERS.
I started buying containers for my friend’s pantry. It took me several shopping trips to figure out what they need in order to organize their pantry. You can see how many pantry organization items I needed.
At this point, I had not labeled the containers and shelves yet. In the meantime, I used sticky notes for containers so that my friend and her family know the items in some plastic containers. You don’t want to get corn flour, baking powder and regular flour mixed up. Cinnamon and coco powder can be hard to be distinguished if they were not labeled.
CONTAINERS
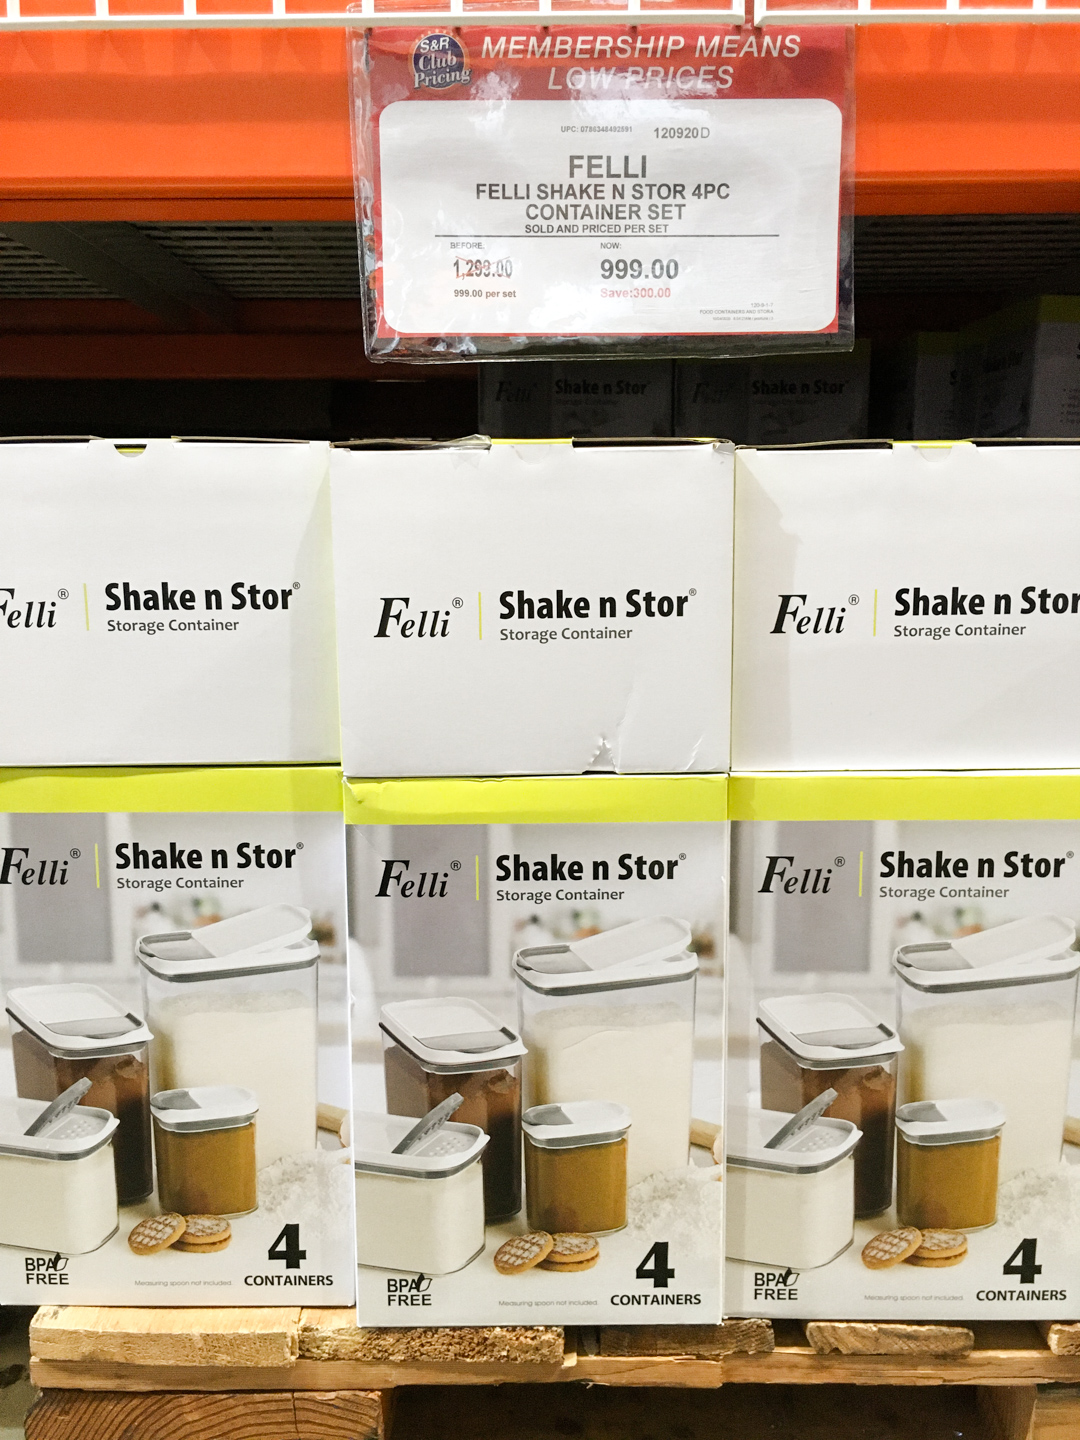
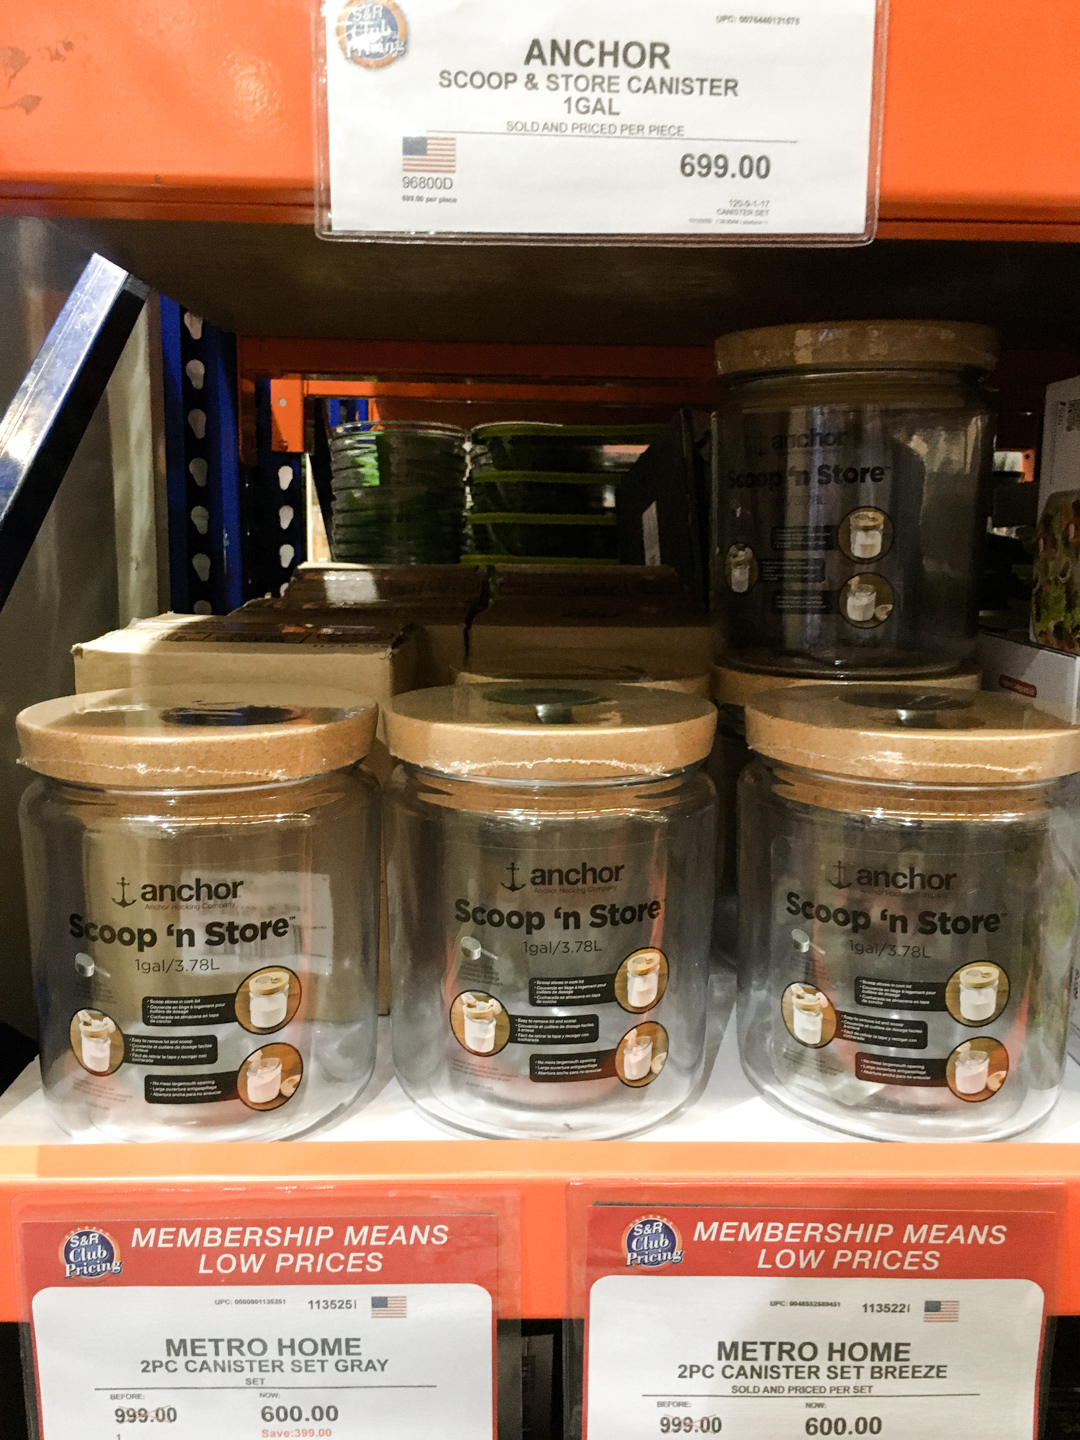
Most of the containers at my friend’s home in Manila came from S&R. Just so you know, this is not an affiliated post. Here are some of the containers that I have purchased to use in my friend’s pantry. I got very lucky that many pantry containers happened to be on sale in November. I guess organizing pantries is not on everybody’s agenda before Christmas. Who knew?
TIPS FOR BUYING CONTAINERS
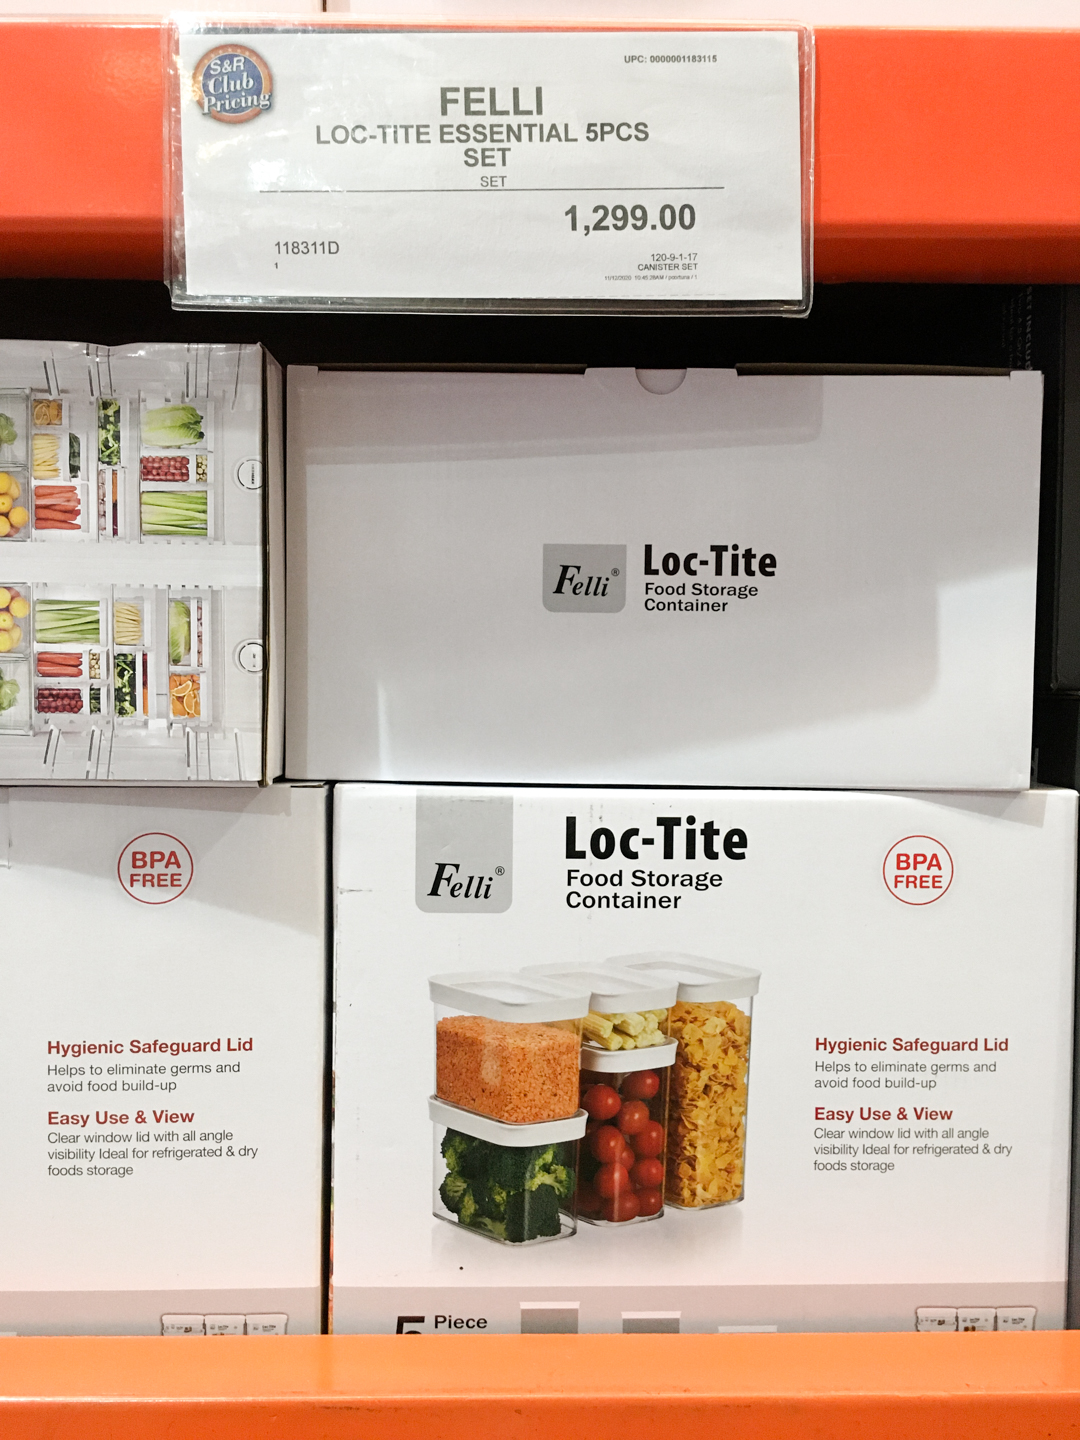
If you are starting over your pantry, I recommend that you buy a collection of the same containers and canisters rather than use different styles of canisters you have collected over time. You don’t have to buy expensive canisters and containers.
TIGHT SEAL PLASTIC CONTAINERS
Buy tight seal containers. This is especially important if you live in a country with high humidity. I would use clear containers rather than containers you can’t see the inside.
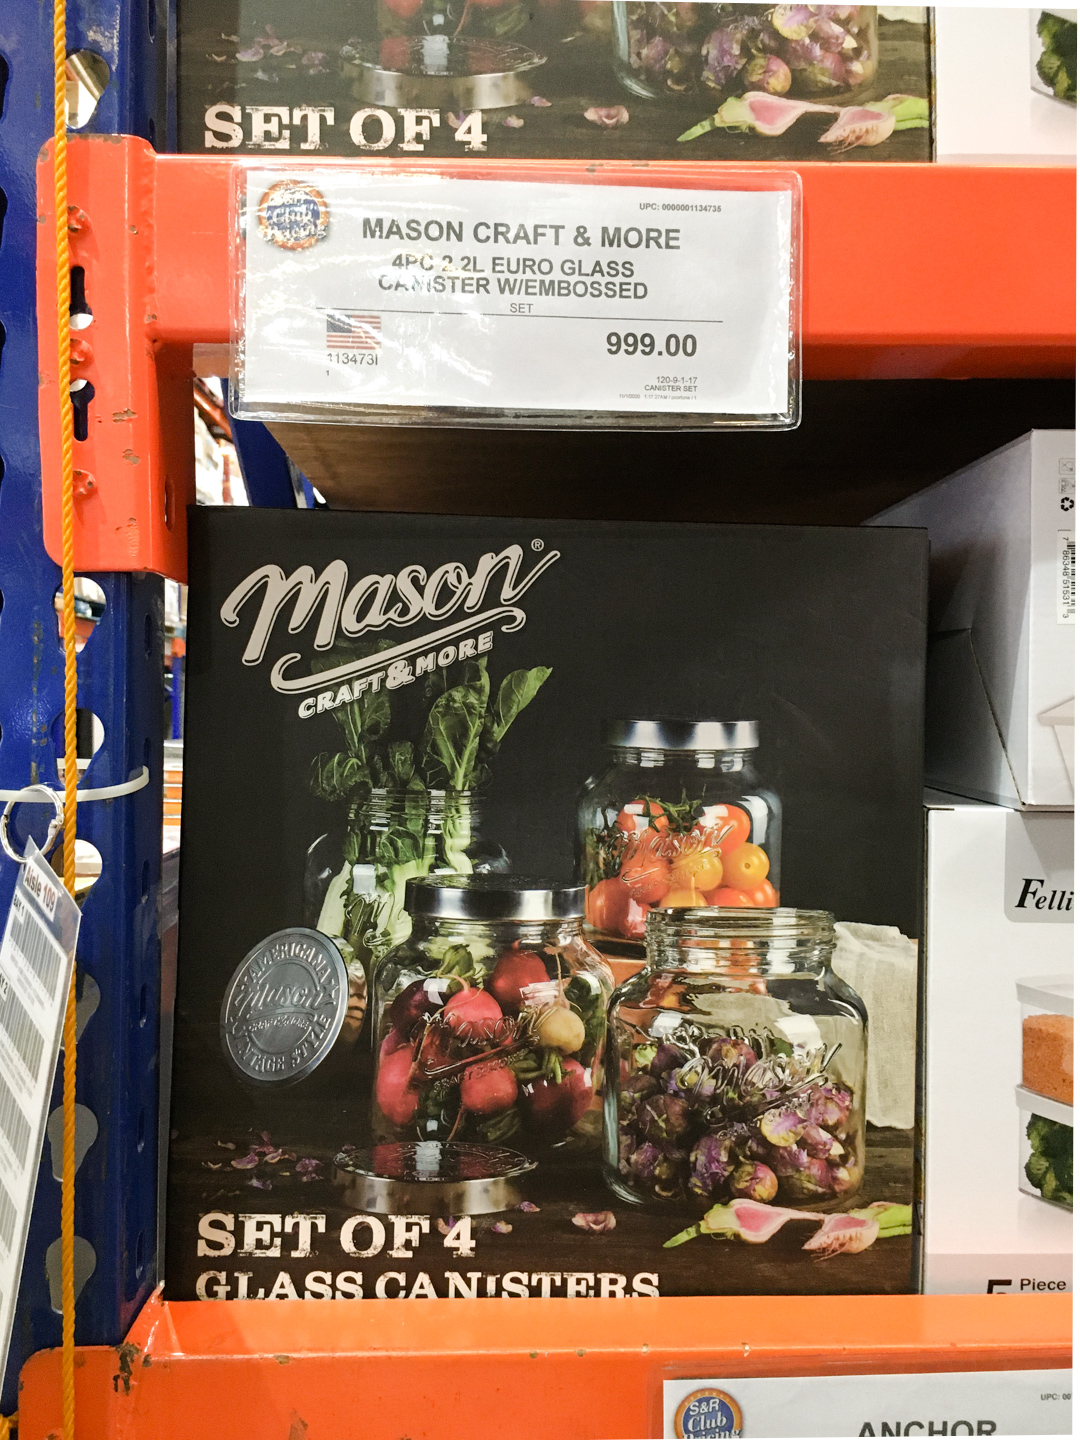
GLASS CANISTERS
I used some mason jars to store some food. They seal tightly and look pretty. I recommend getting clear canisters so that it’s easier to tell what’s inside and how much you have left.
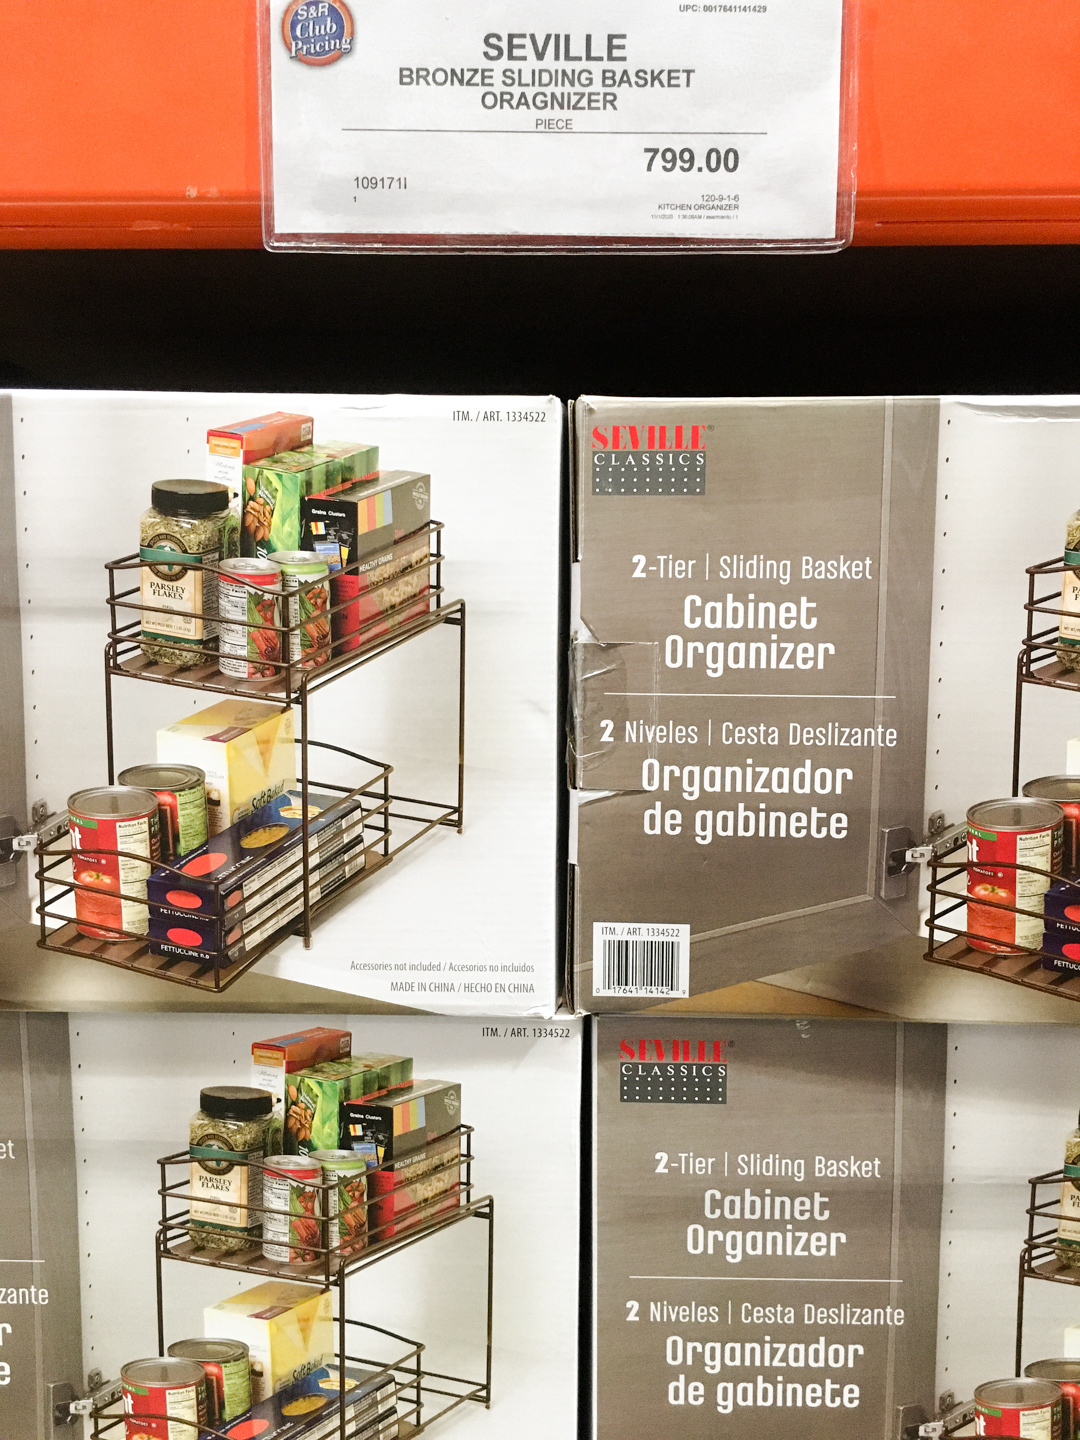
SLIDING BASKET ORGANIZER
I used two sliding basket organizer in the pantry for spices and herbs. I have one myself at home. This type of organizer is handy when you cook. You can slide one out and take it next to your stove. When you finish, you can put it back on the shelf.
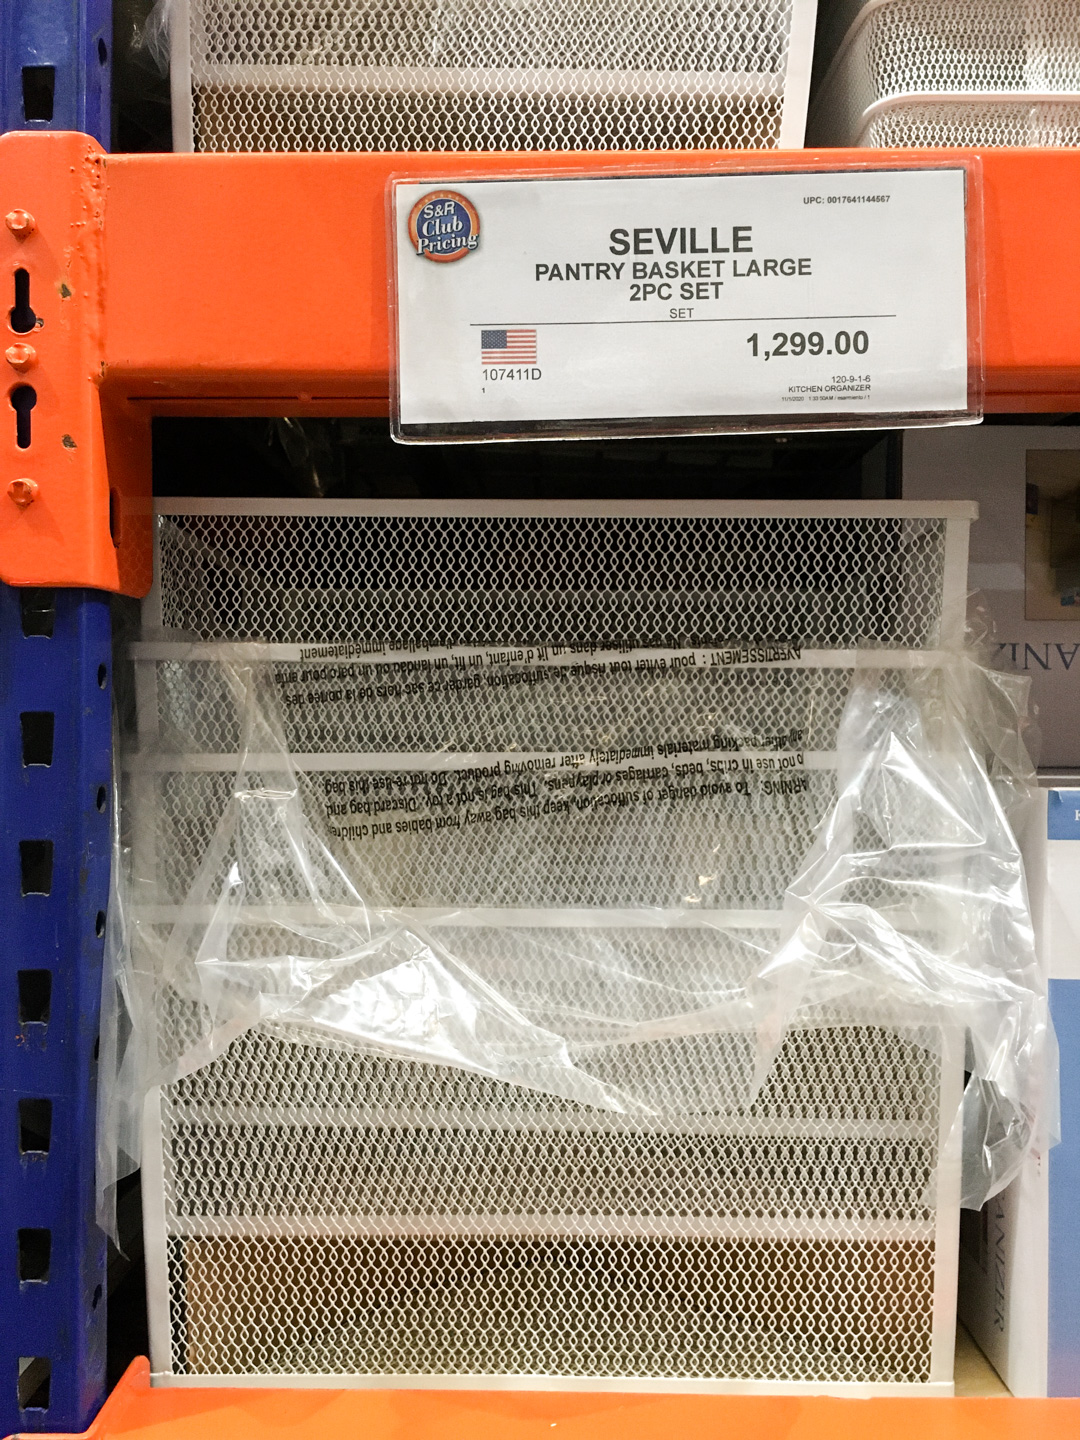
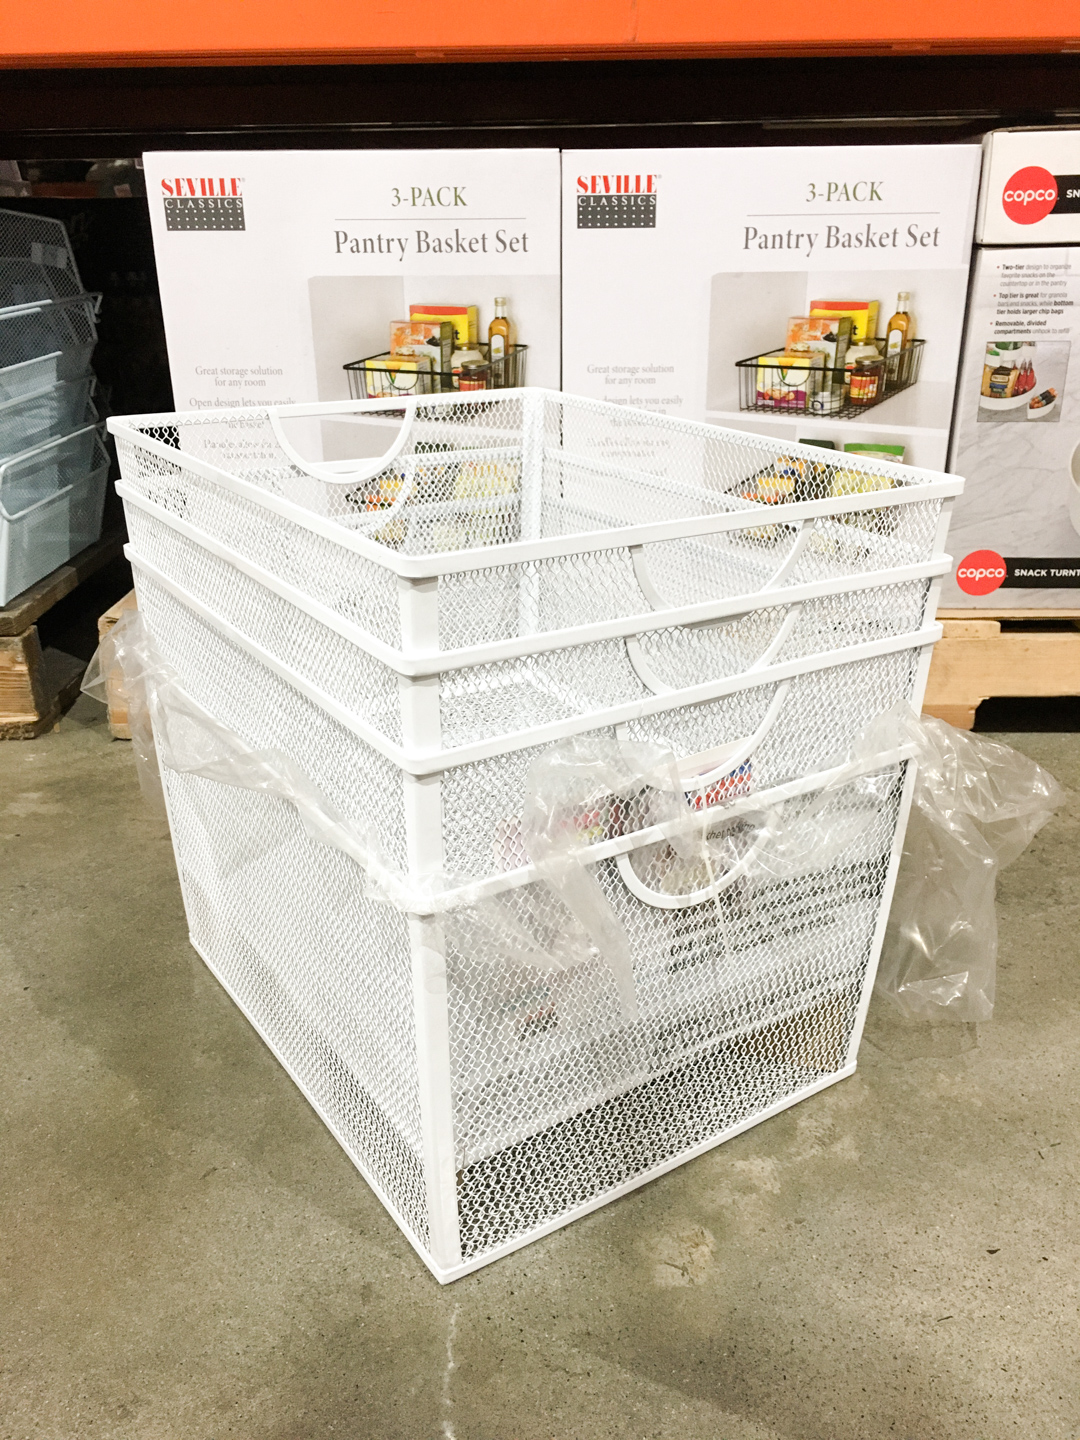
BASKETS
Don’t know how many to buy? Here are some ideas.
2 Large Baskets & 4 Smaller Baskets
They are handy for organizing small packages that you may buy in bulk. For example, packages of seaweed, ramen, coffee, tea, boxes of sweets, etc. The key is to put only the items in the same category. I used one for organizing opened snacks at my friend’s house. I used one medium size basket for organizing small unopened packages of snacks.
STEP 4
LABELING THE CONTAINERS AND SHELVES
I used chalk marker on the chalkboard stickers. They seemed practical since you can erase and rewrite. They look pretty, too. However, the chalk markers smear easily and I don’t think they are as practical as I imagined. If you are going to label your pantry containers and shelves, it may be wiser to use a white permanent marker or a sharpie. Just my two cents.
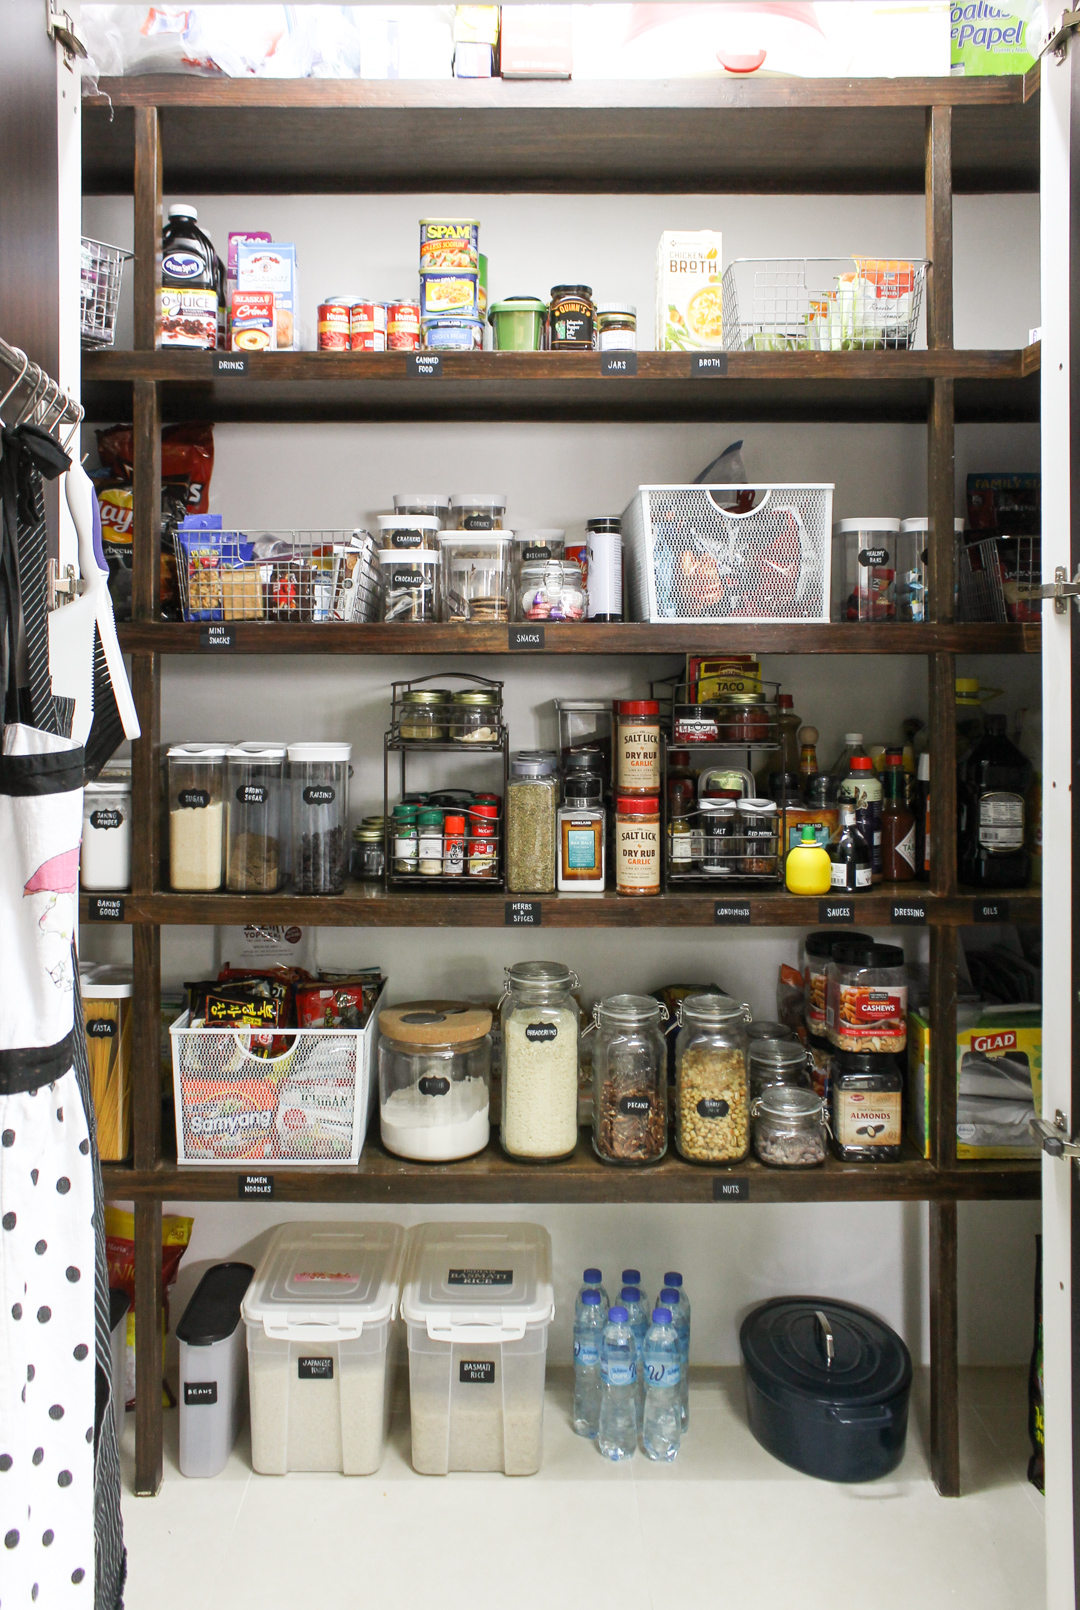
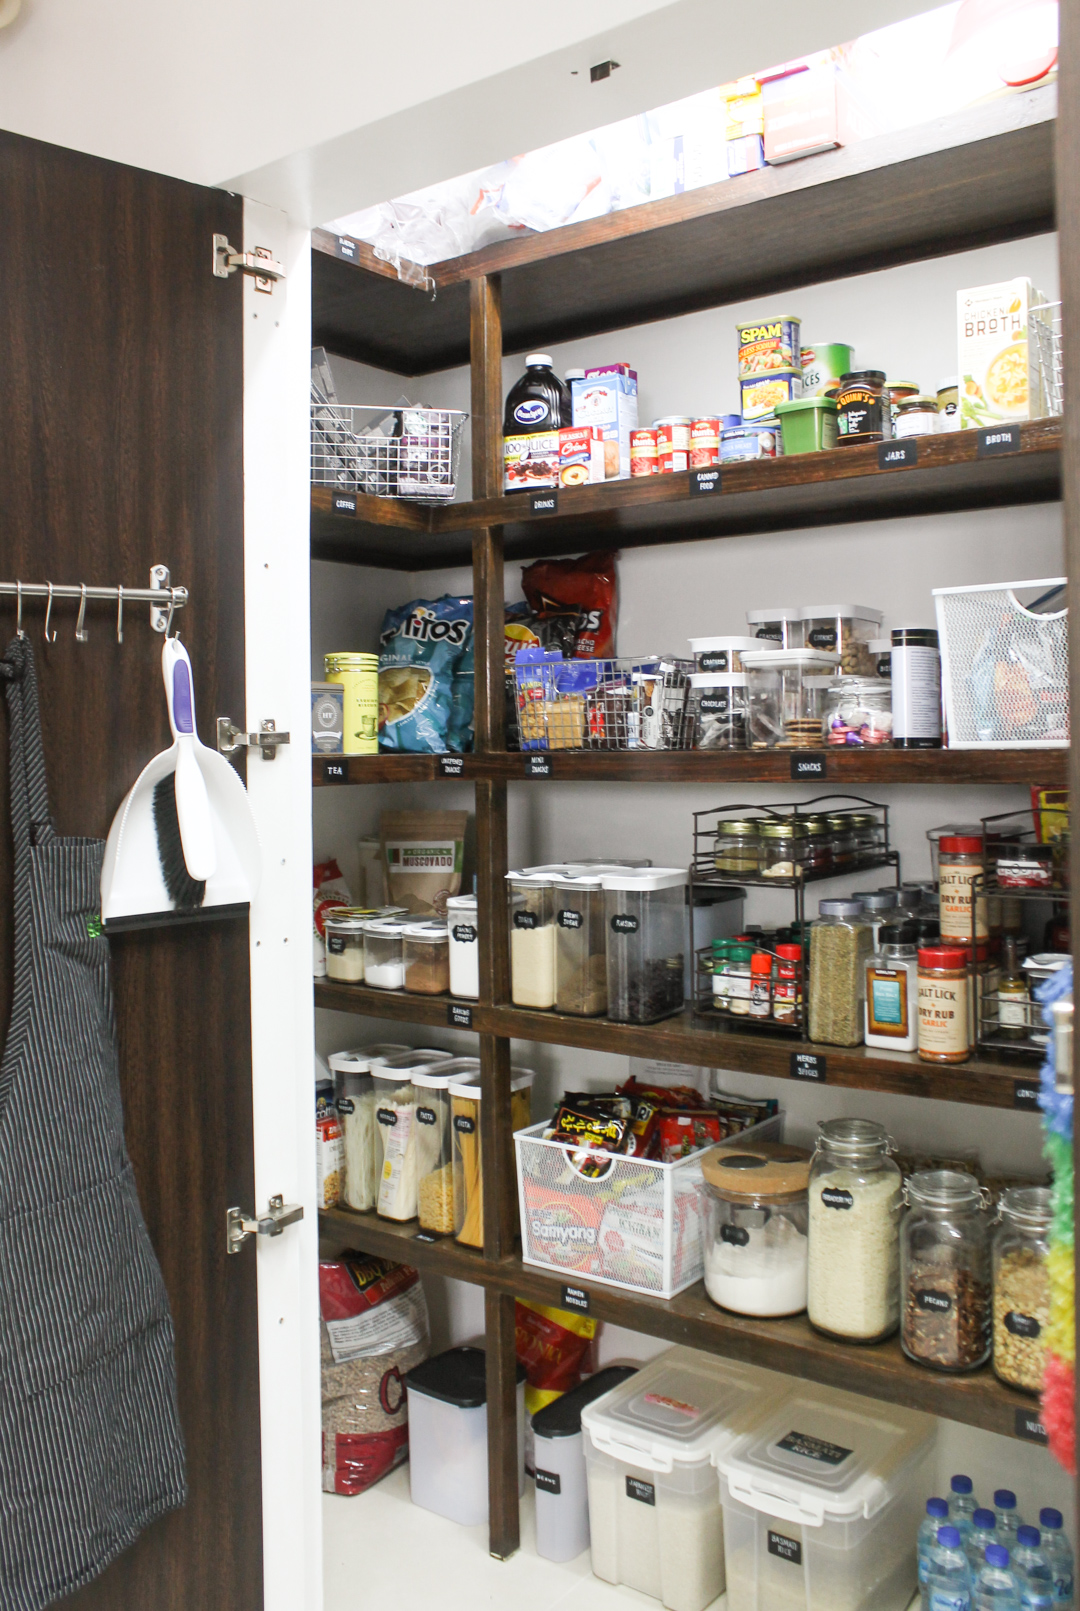
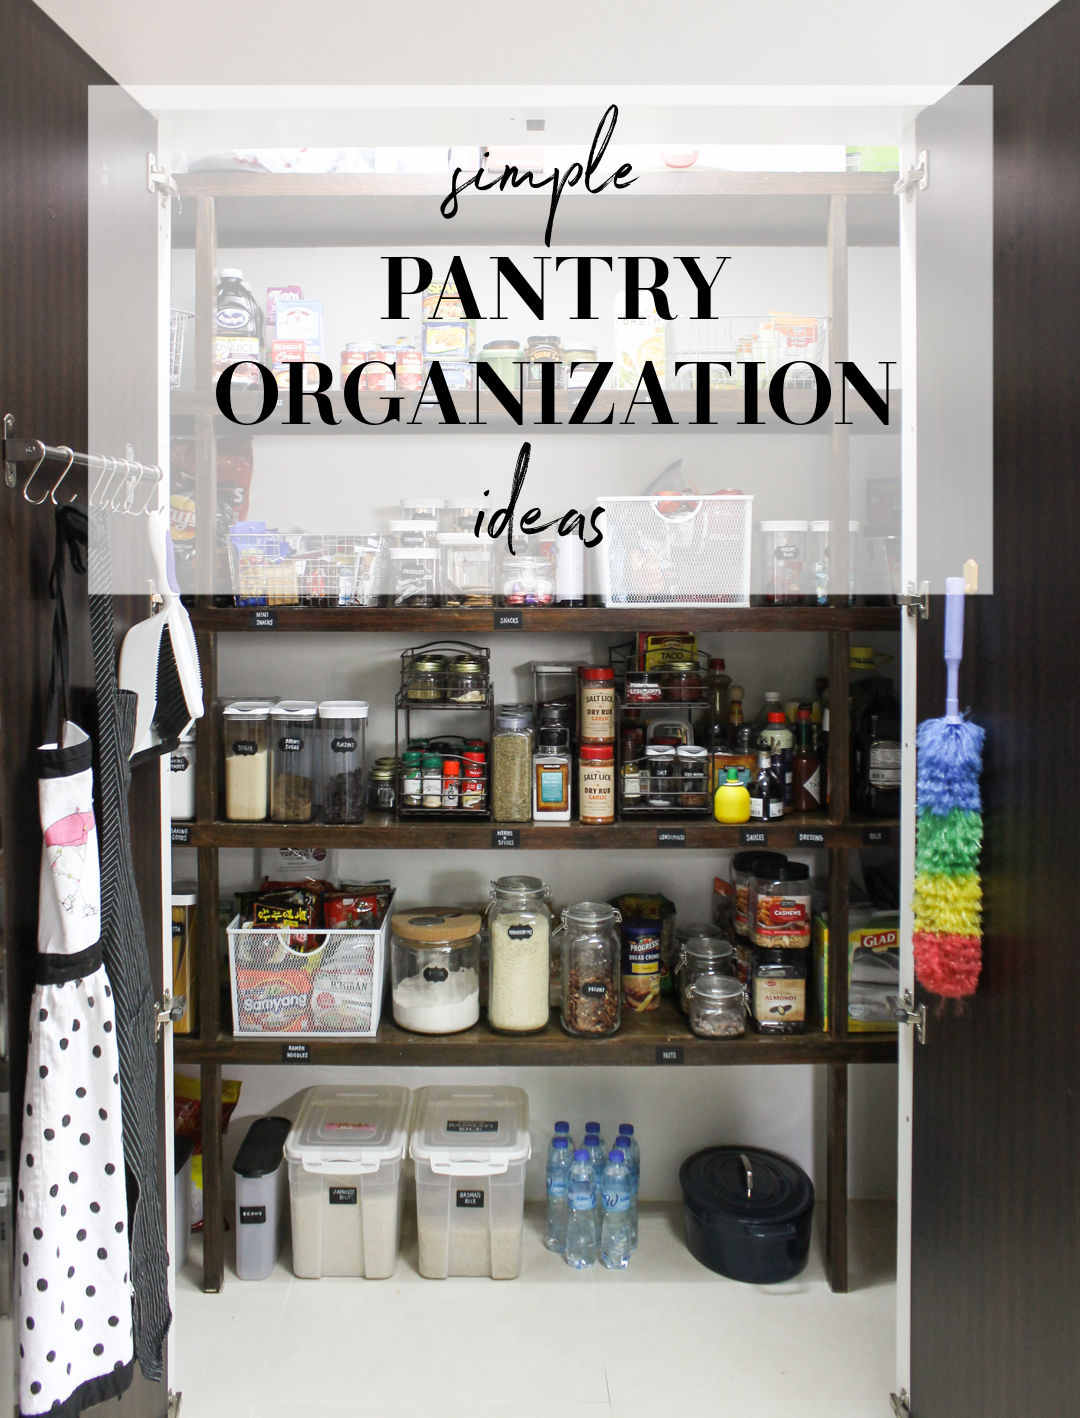
PANTRY AFTER ORGANIZING & LABELING WAS COMPLETED
What do you think?
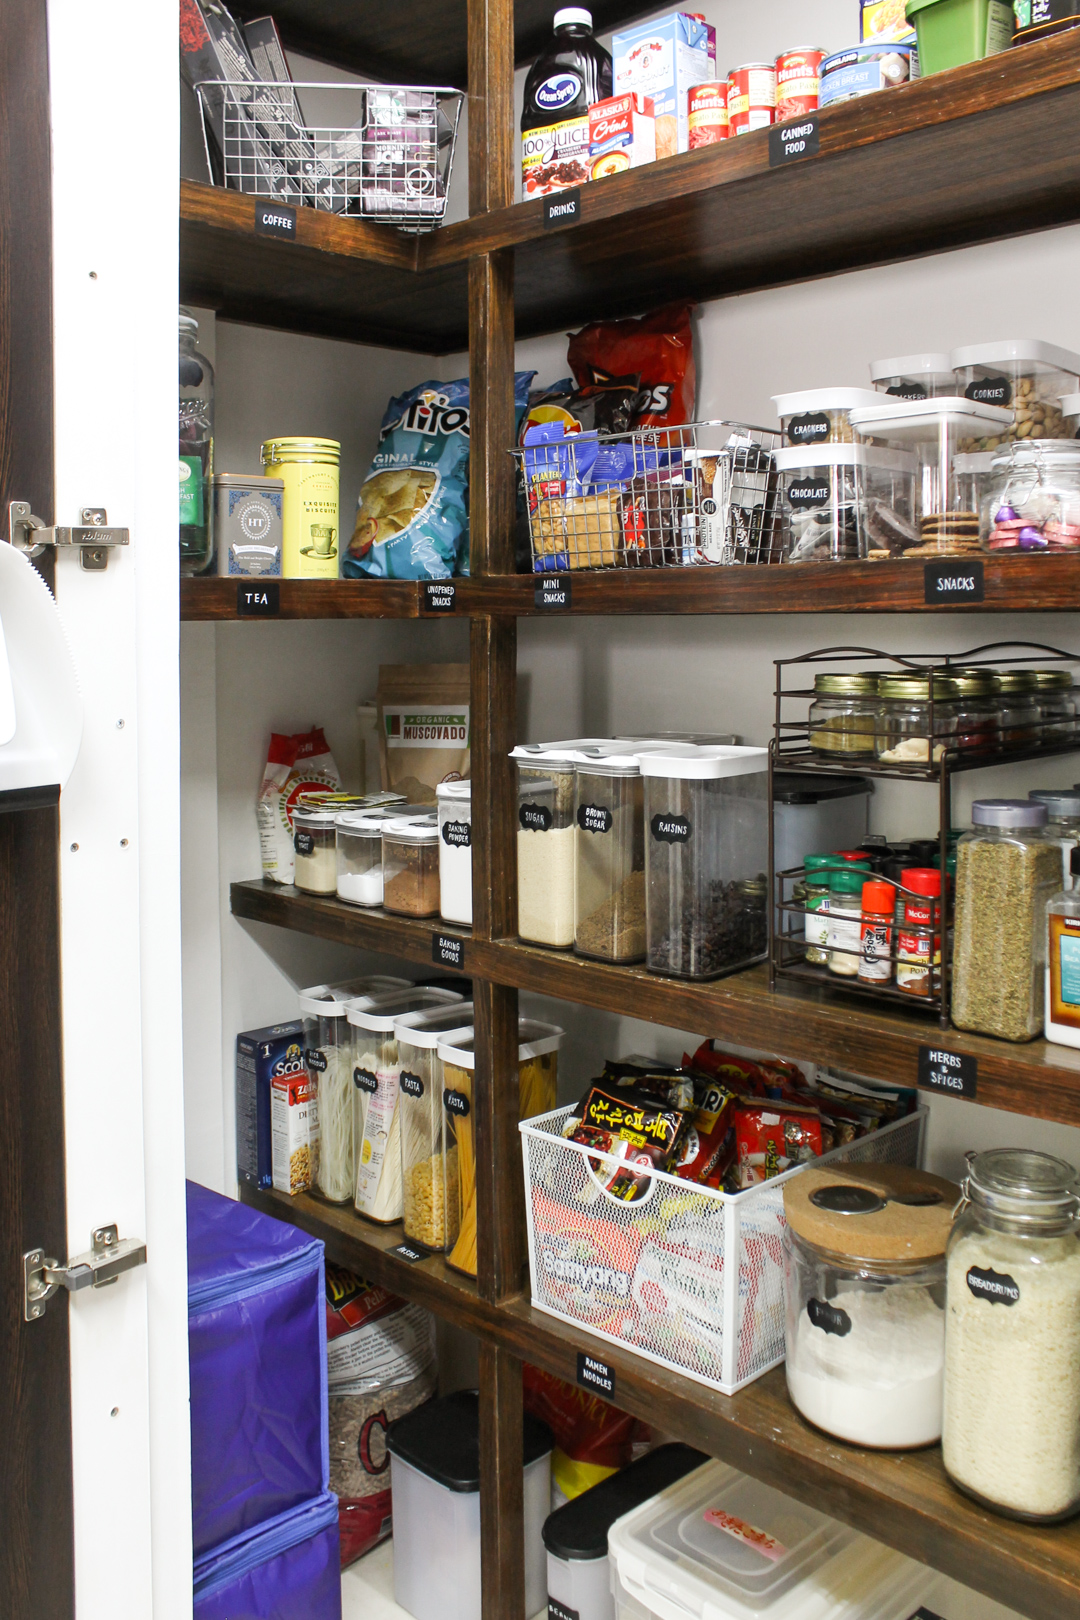
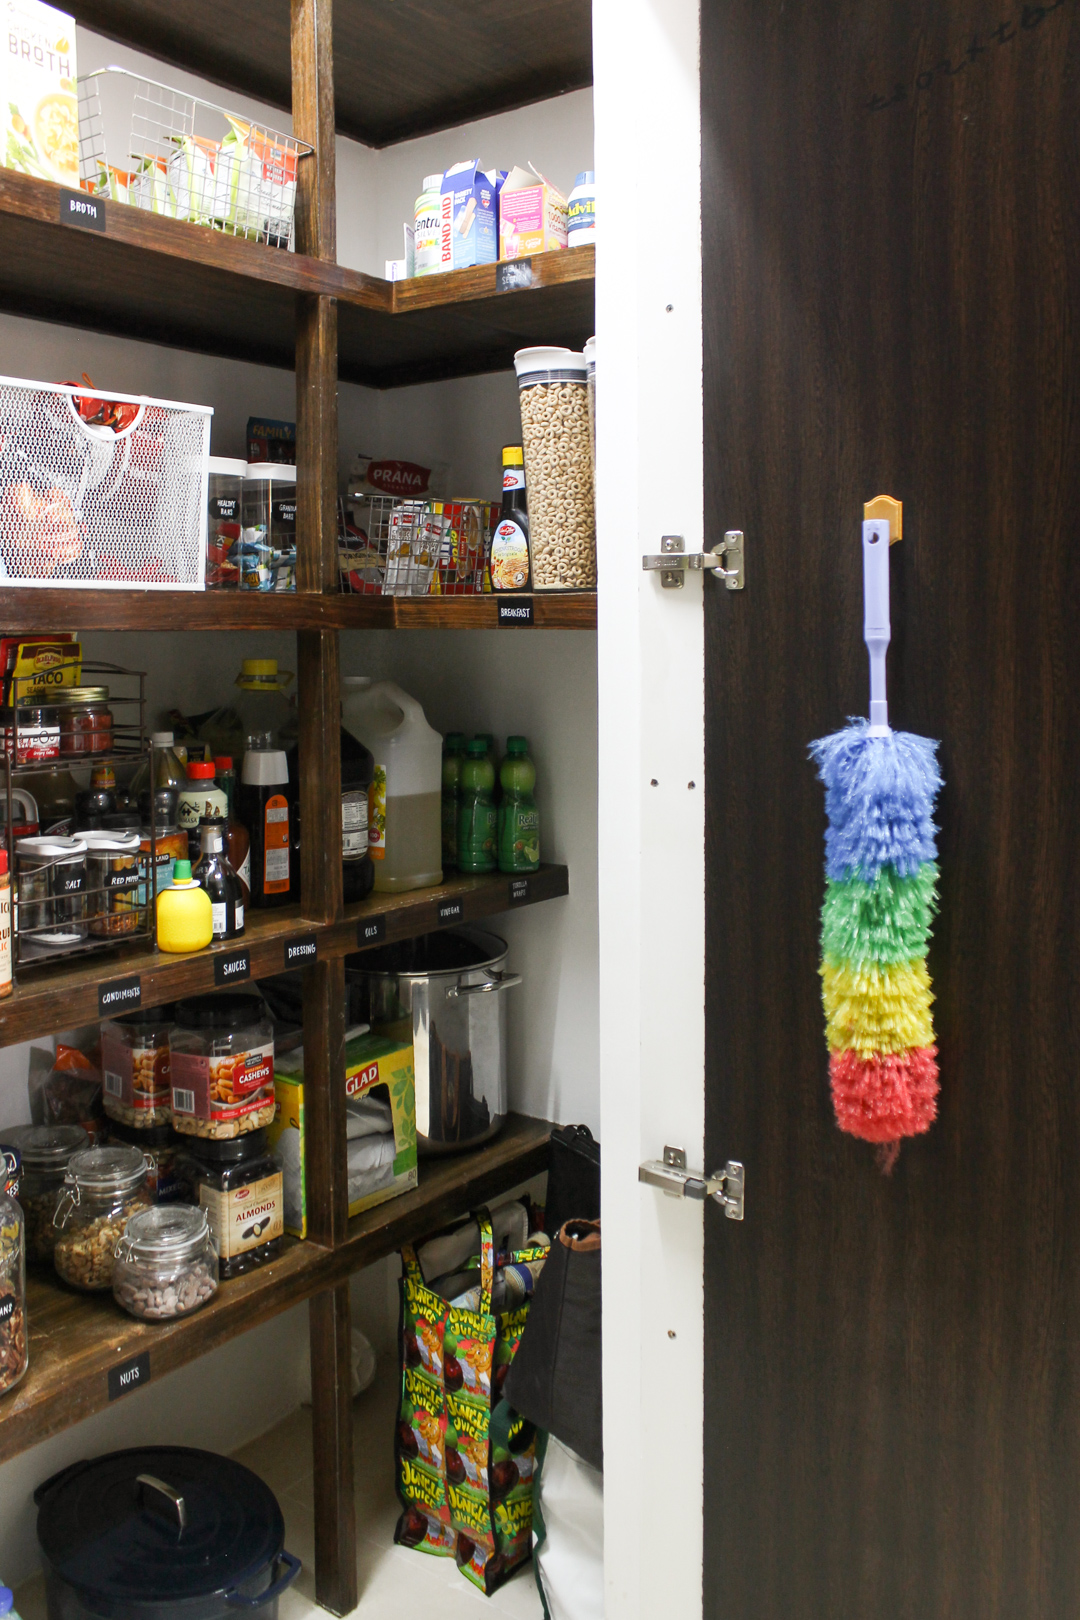
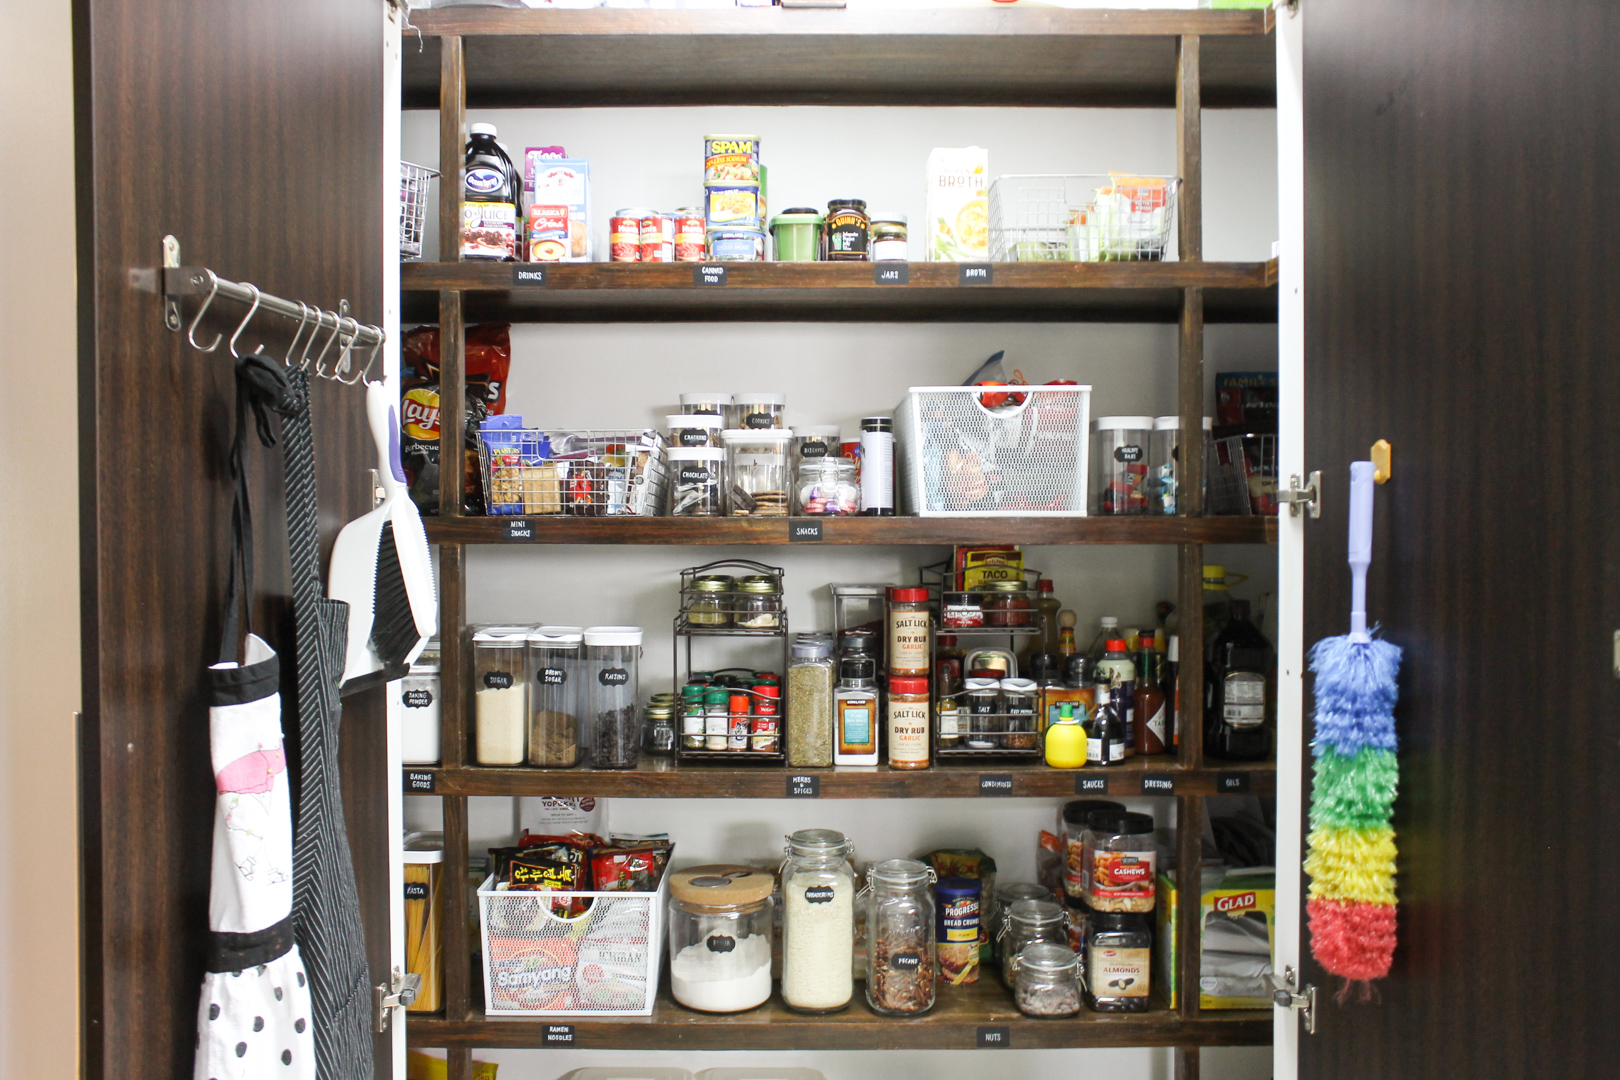
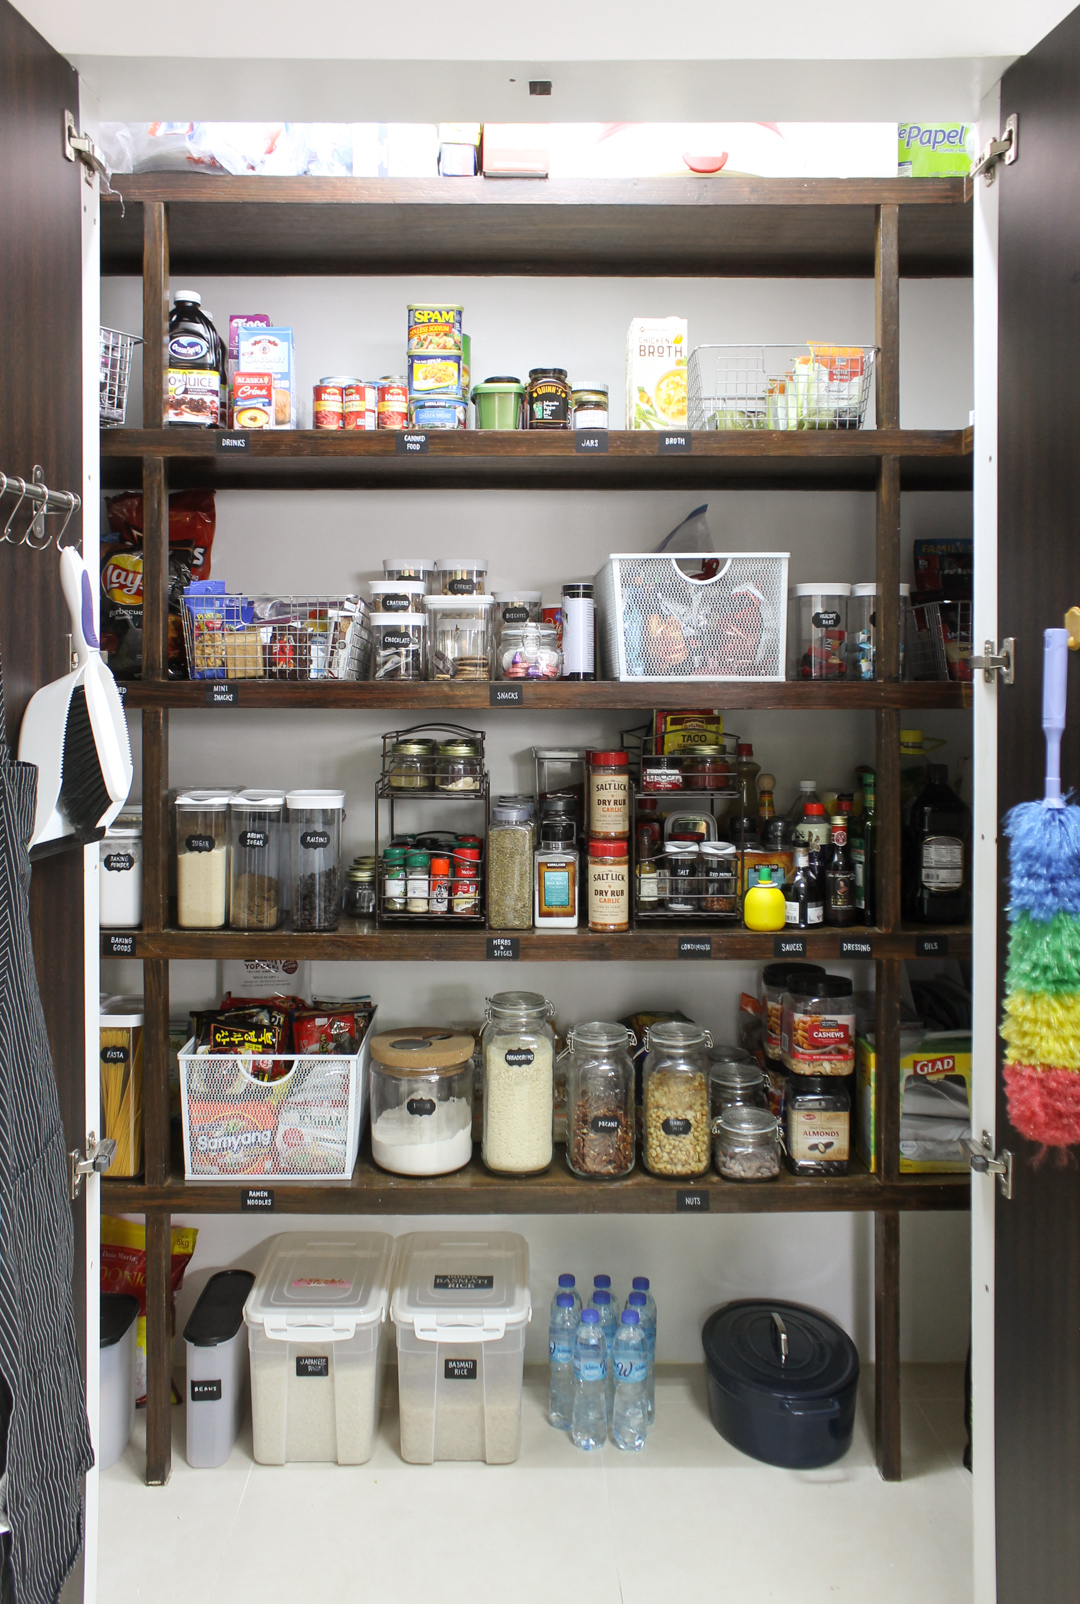
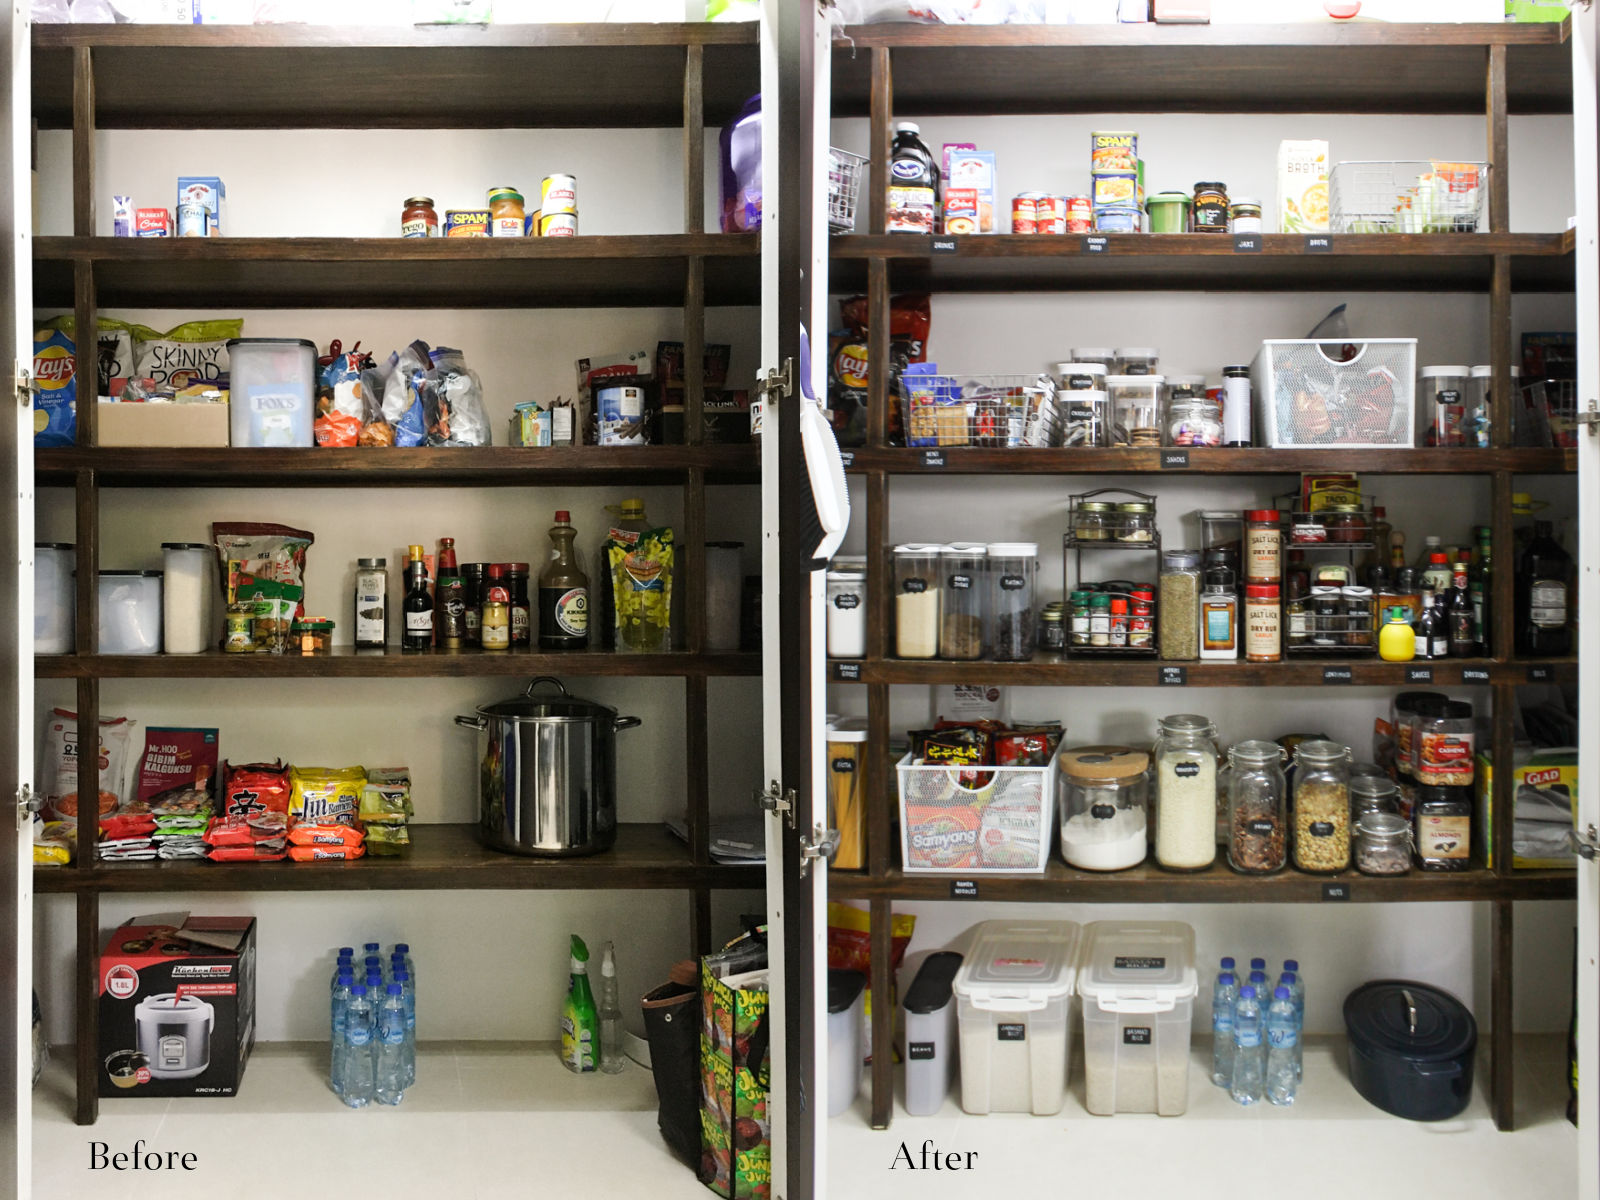
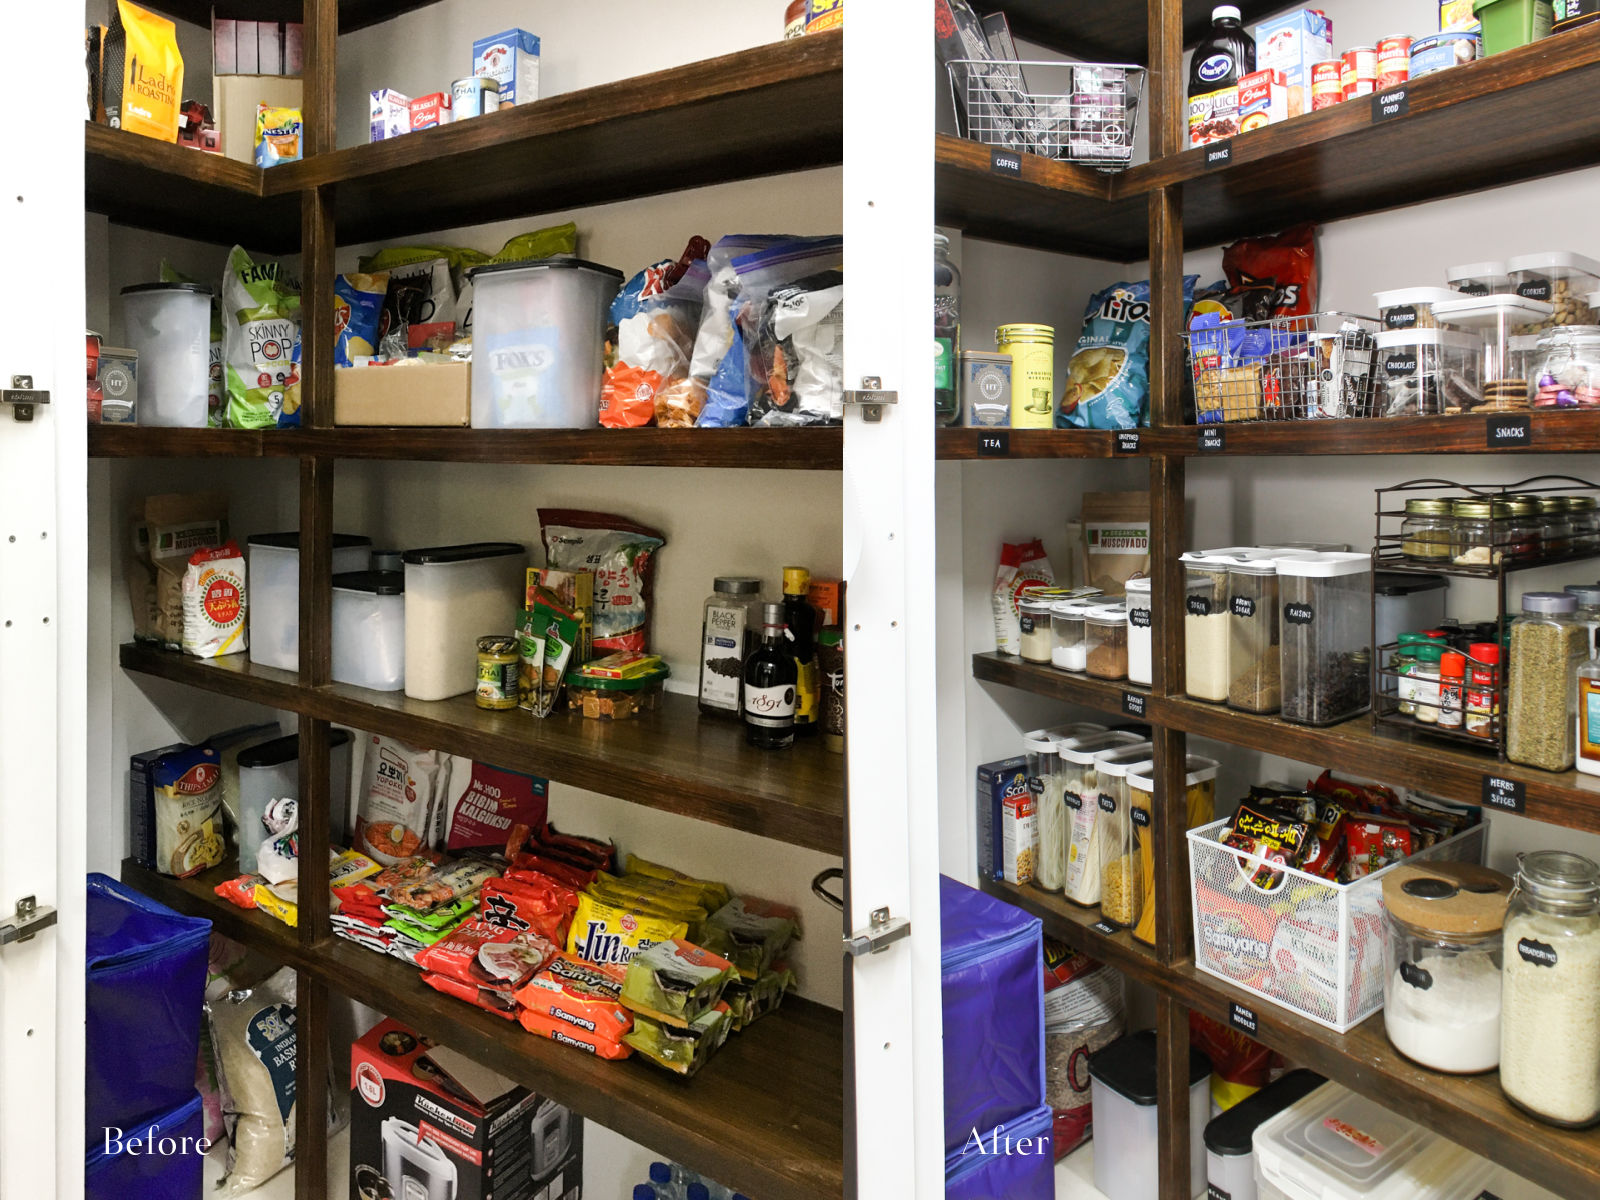
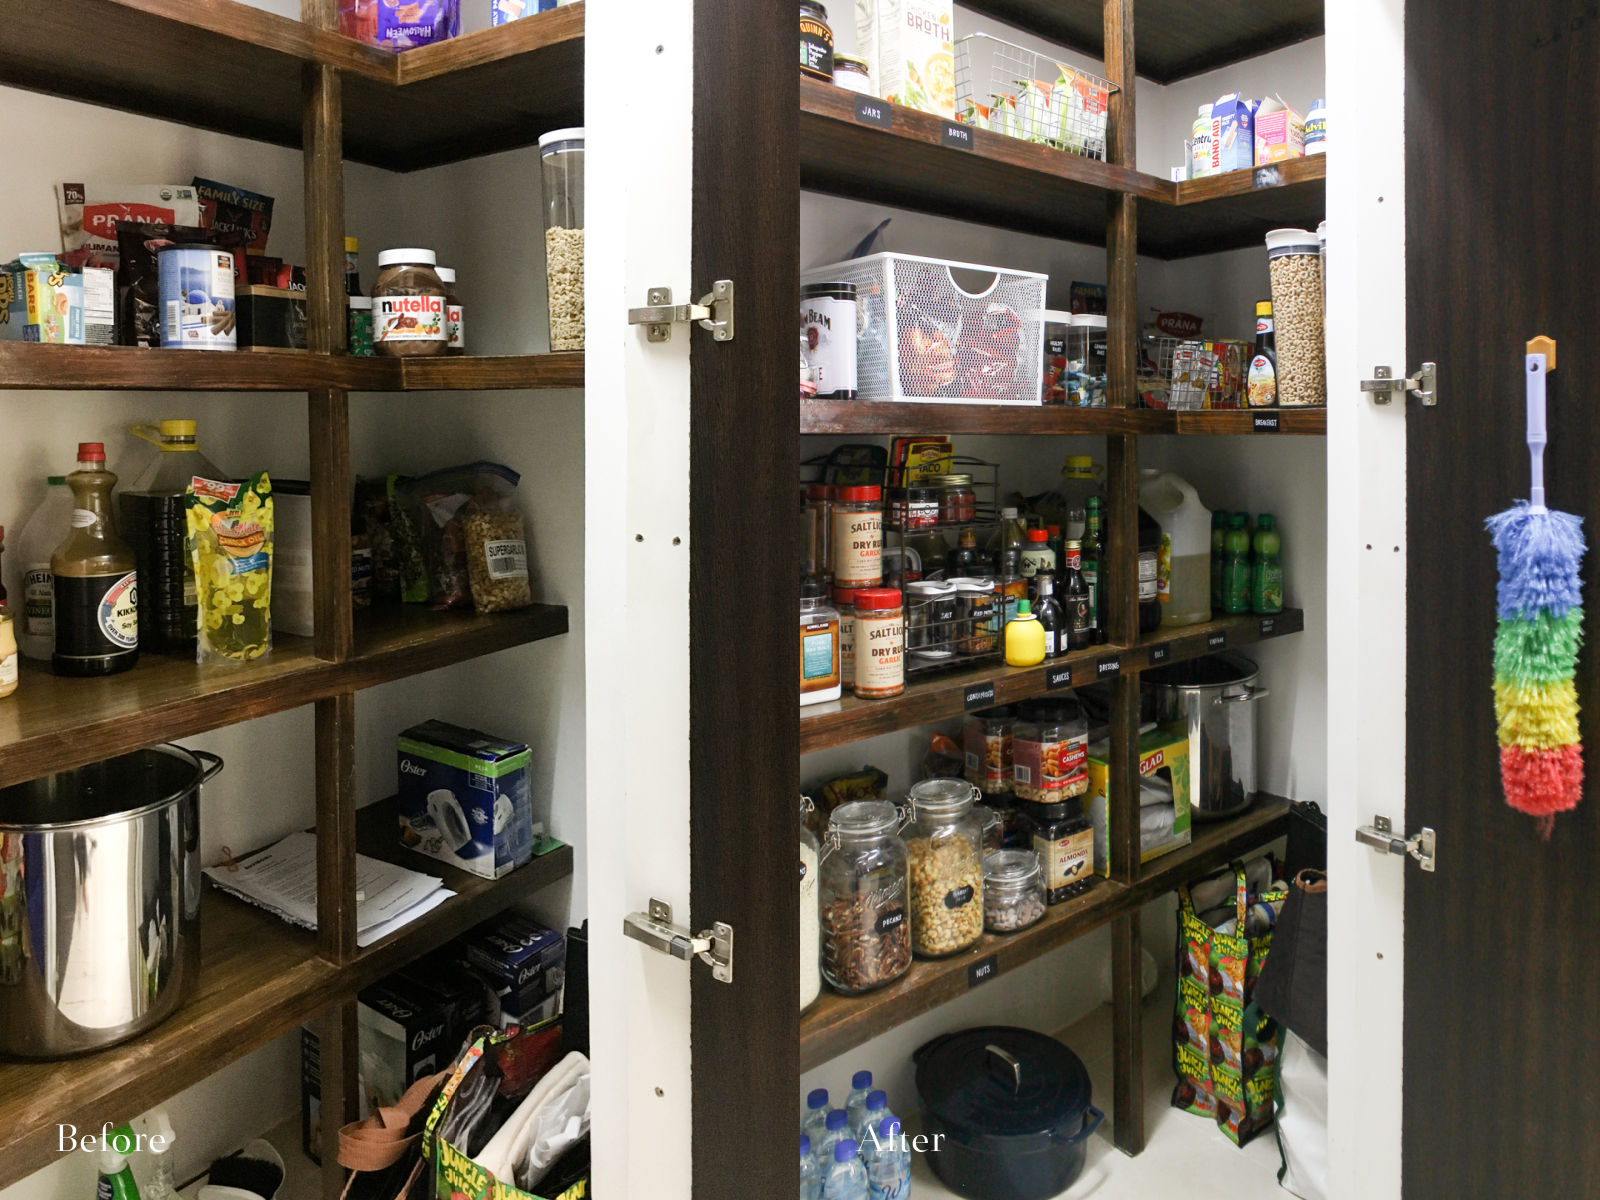
BEFORE & AFTER
LEFT: ORGANIZED PANTRY WITHOUT CONTAINERS & BASKETS
RIGHT: PANTRY ORGANIZED WITH PANTRY CONTAINERS & BASKETS
I hope you enjoyed viewing the transformation!!
Leave a Reply