I have never had a room dedicated for a study before. I used one tiny corner as a study in our apartment in Virginia in the U.S. and used another corner space in our living room for a study in our home in Jakarta.
Here is the guidelines I used for creating a study in our home in Mumbai.
1. Define the purpose of a room
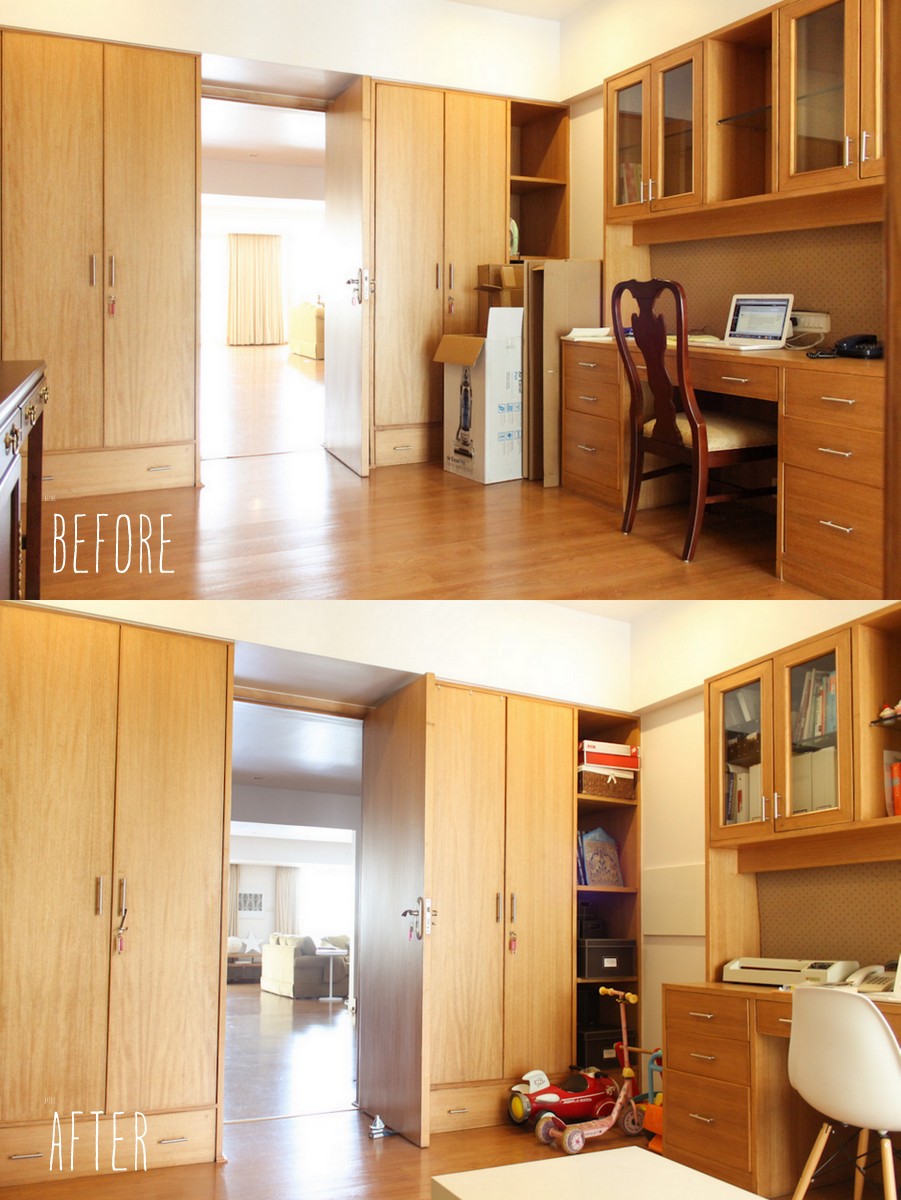
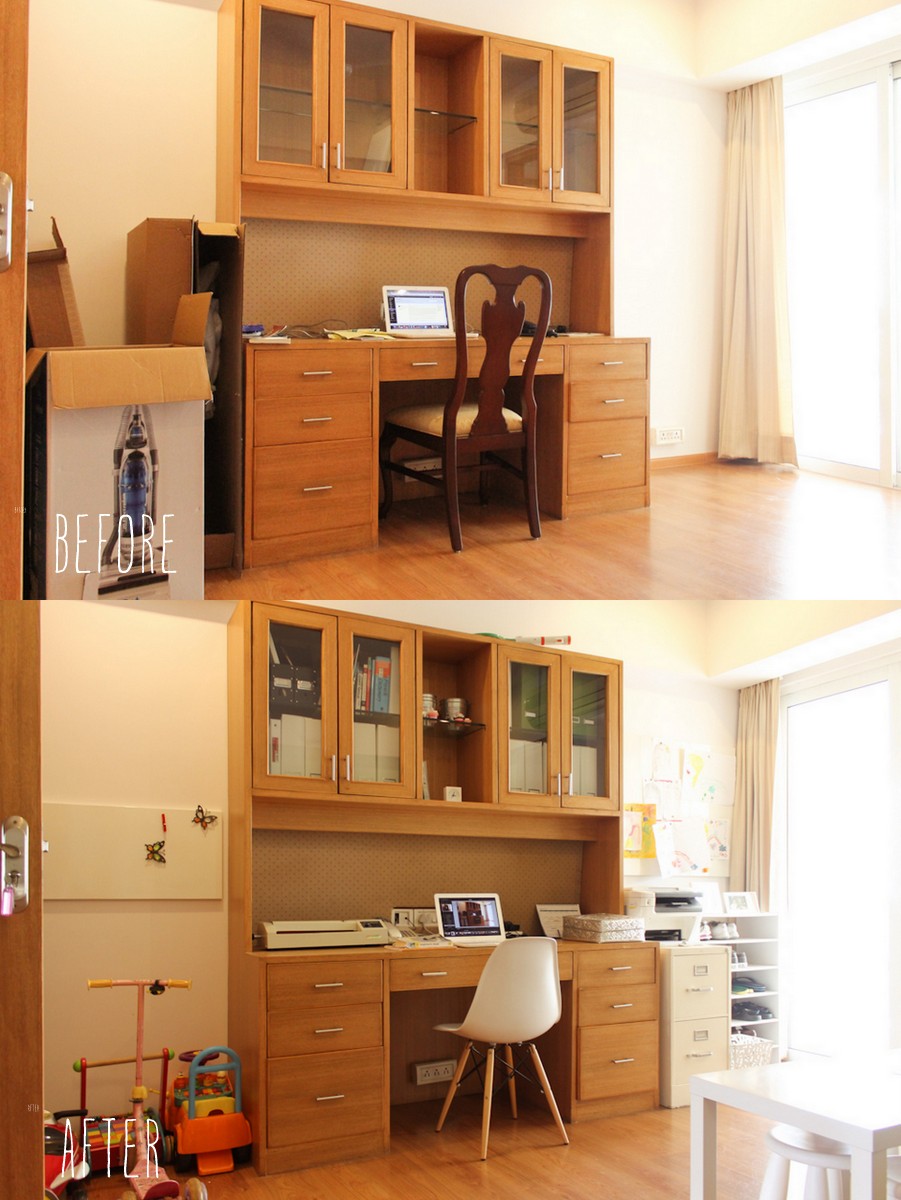
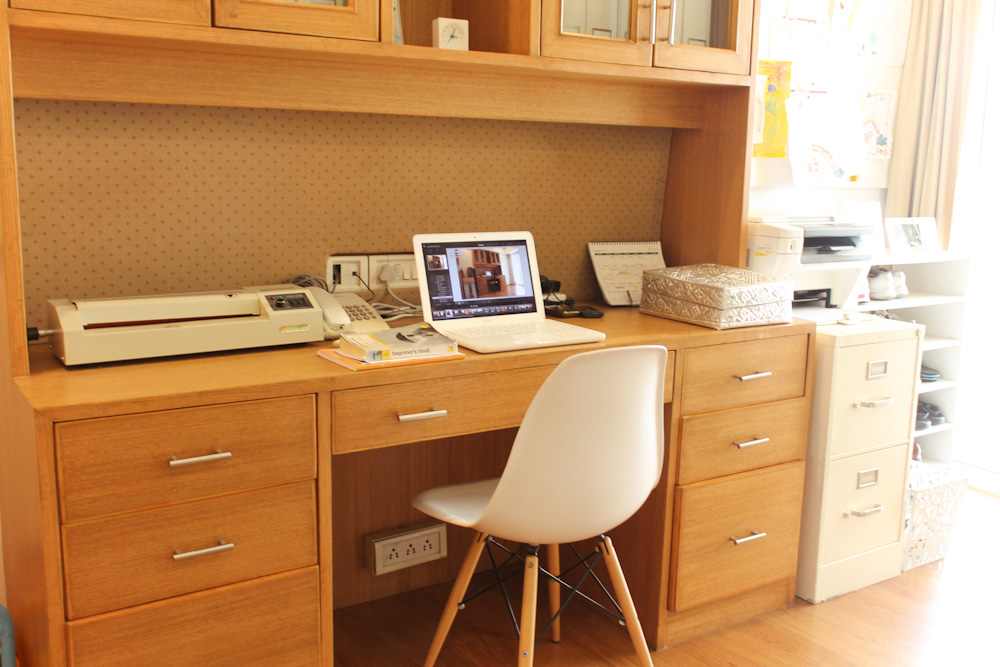
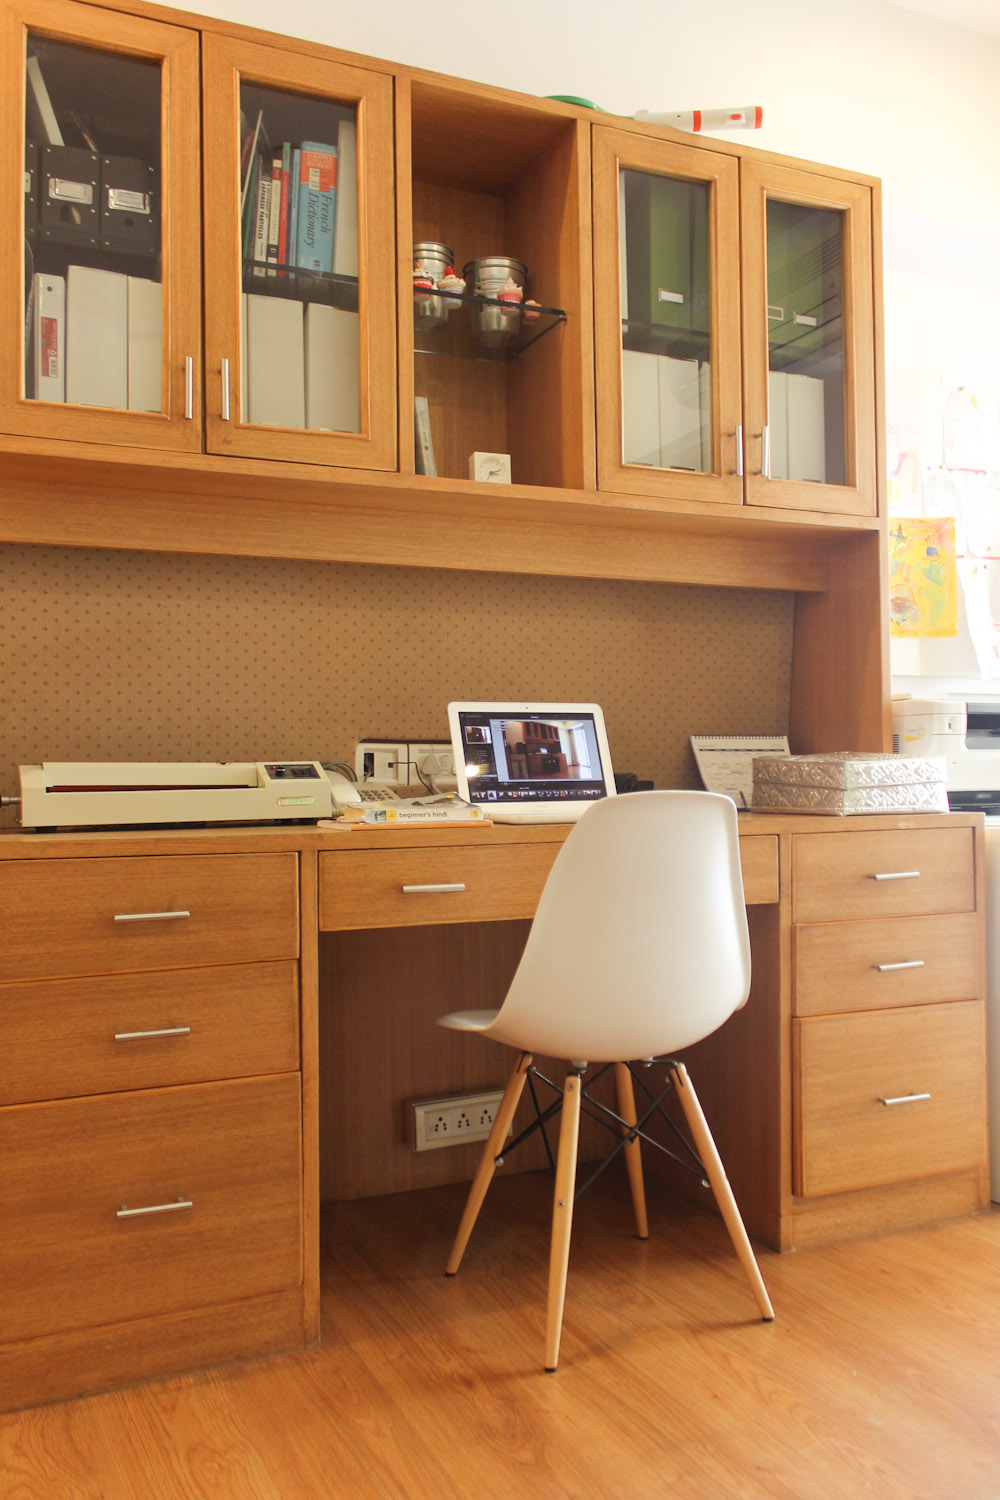
This room came with a desk, so by default, it became a study slush kids drawing room. I like to have a little area where my kids can draw and I wanted that area to be where I can manage more easily so that I can keep an eye on my toddler son with color pencils. My girls spend a lot of time drawing, so this room is always in use for their creative activities.
2. Decide which pieces of furniture to place in the room and find placements for them.
I wanted this room to have functions as follows.
a. study
b. drawing room
c. filing
d. craft storage
e. storage for riding toys
f. general storage i.e. shoes, diapers, backpacks for kids, etc.
g. piano
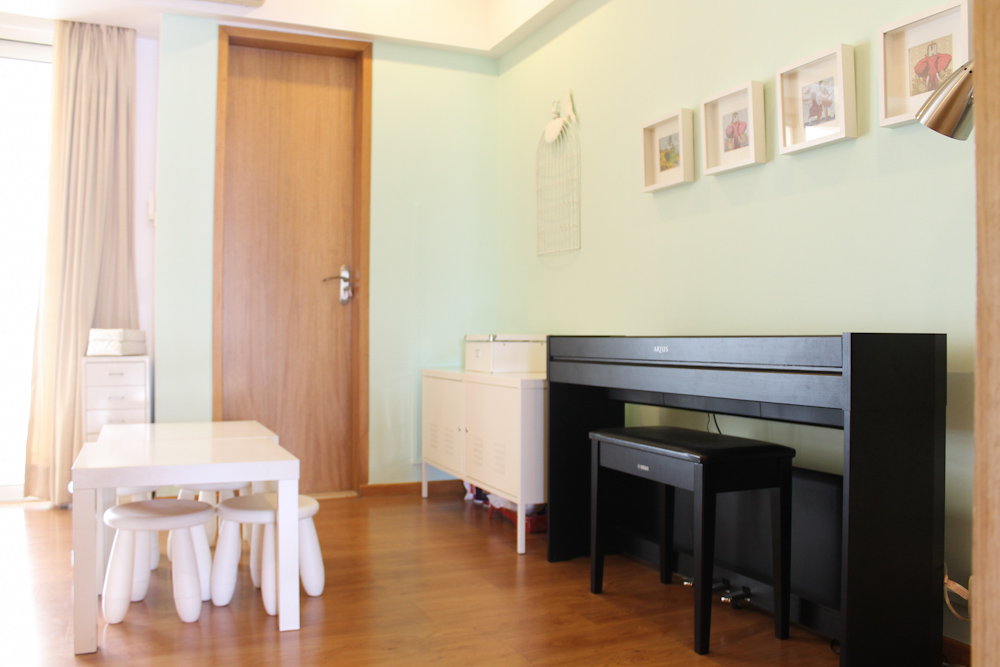
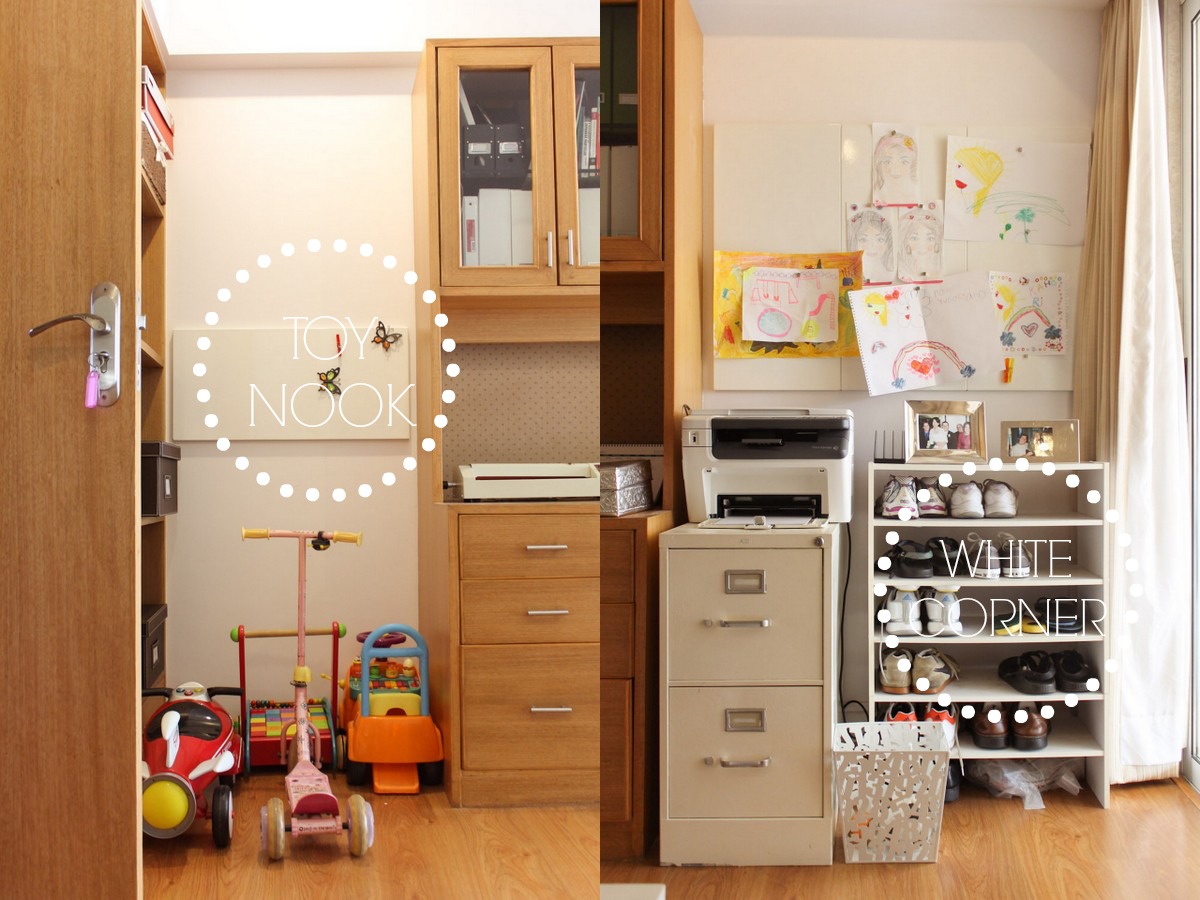
I don’t keep any toys in this room except for the riding toys and toy balls. They need a place to be put away. I found the left hand corner a good space for a toy nook. I filled the right side corner with white. I could’ve reversed, but I didn’t because it looked more unified by placing white pieces of furniture in one corner even though the shoes make it look kind of ugly. I will have to cover them with a fabric. That’s on my list of things to do in the near future.
3. Decide whether you want to paint or not. Then pick a color theme.
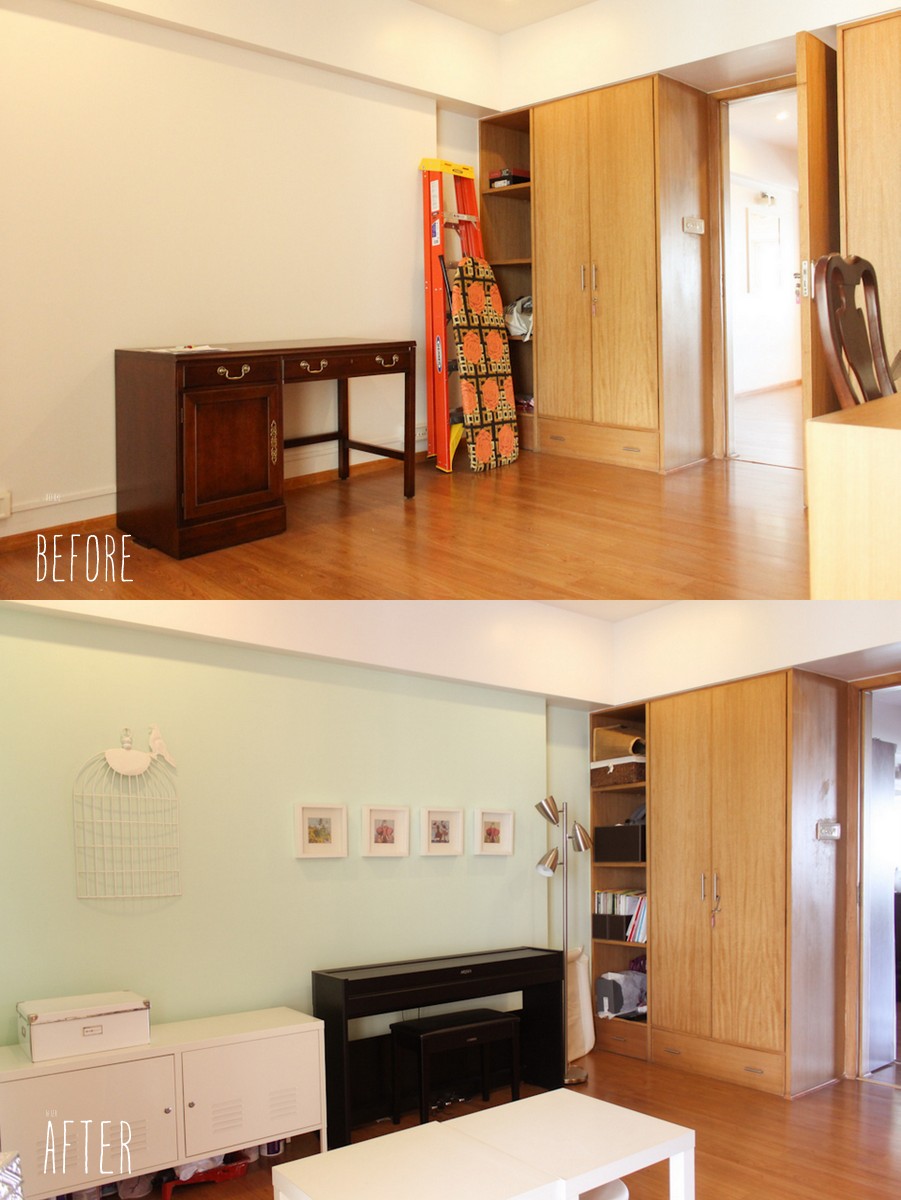
I wanted to a light/bright color for this room because this room does not get much natural light. I knew that I wanted to put our few white pieces of furniture in this room, so I had white wall decor in mind as well. I have been obsessed with mint green for a while, so I decided to go for the mint green color. The paint color I picked ended up being a bit brighter than I wanted, but the good thing is that this color makes the room brighter which I am very happy with.
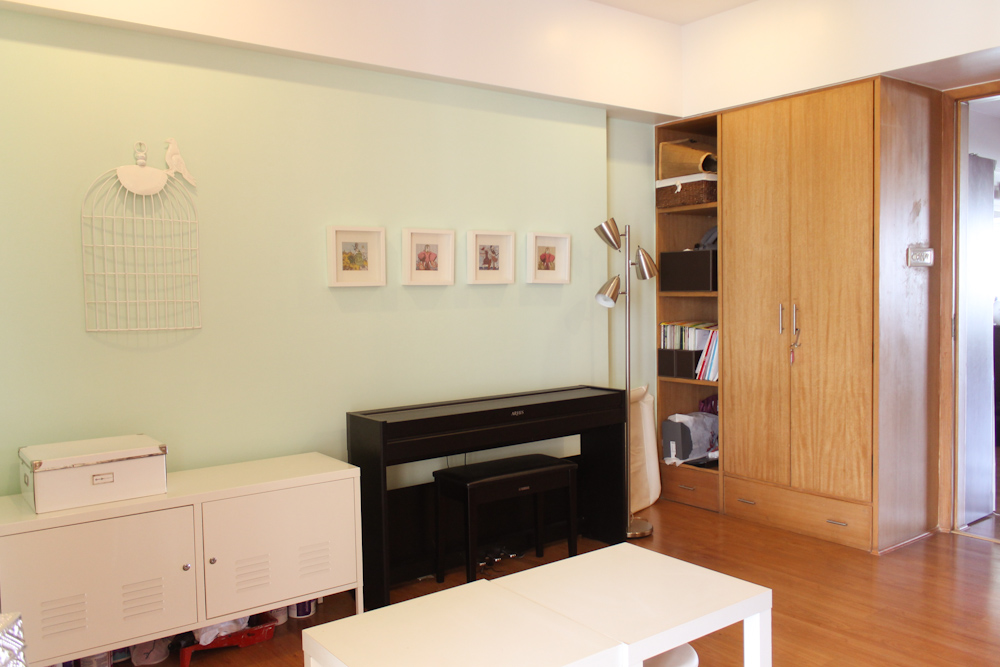
*Please ignore the paints under the white cabinet. I need to finish painting the walls and get rid of the paint cans.
4. Use a box to hide clutter
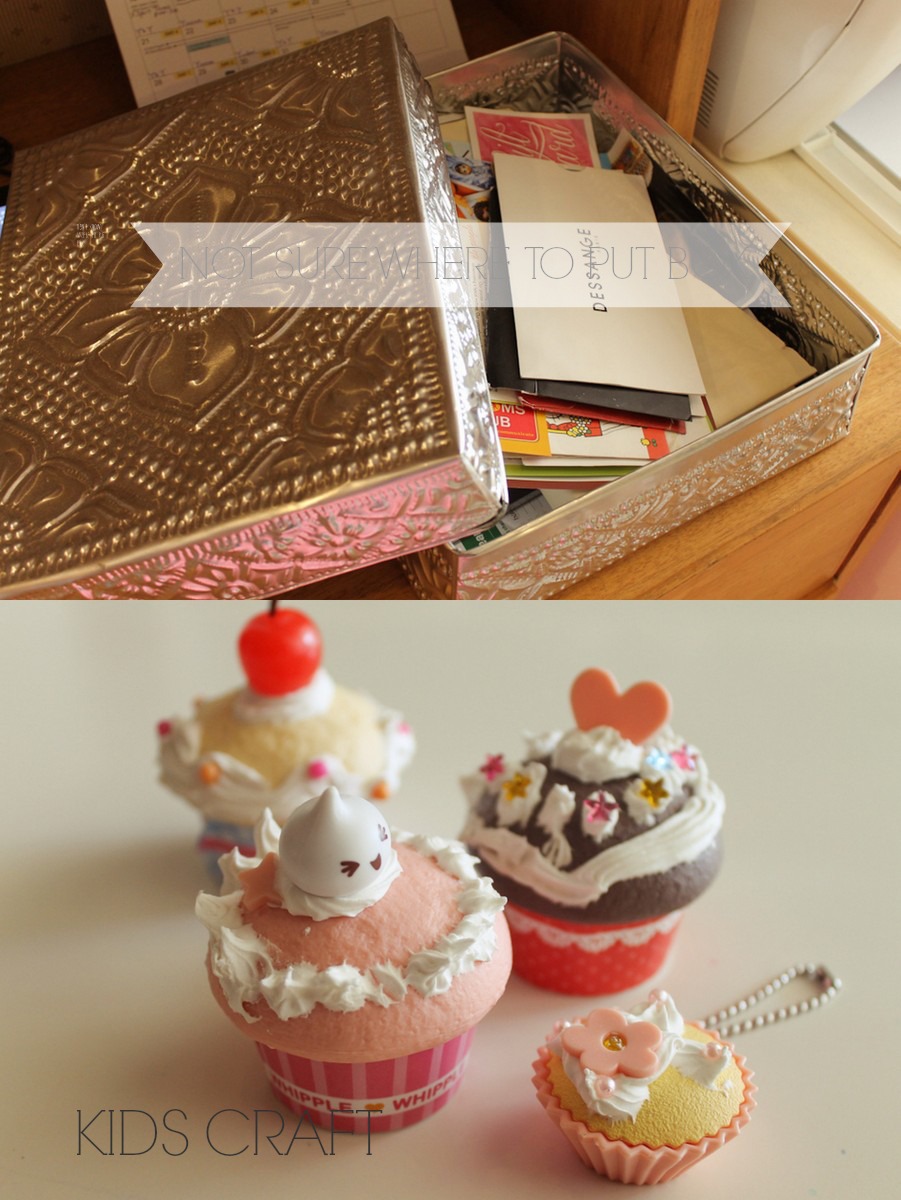
I seem to always have little paper items that I don’t know where to put because I might use them again soon, so I hide them in this box so that I don’t have to look at my clutter. I try to go through them at least once a week and throw out the items that I don’t need any more.
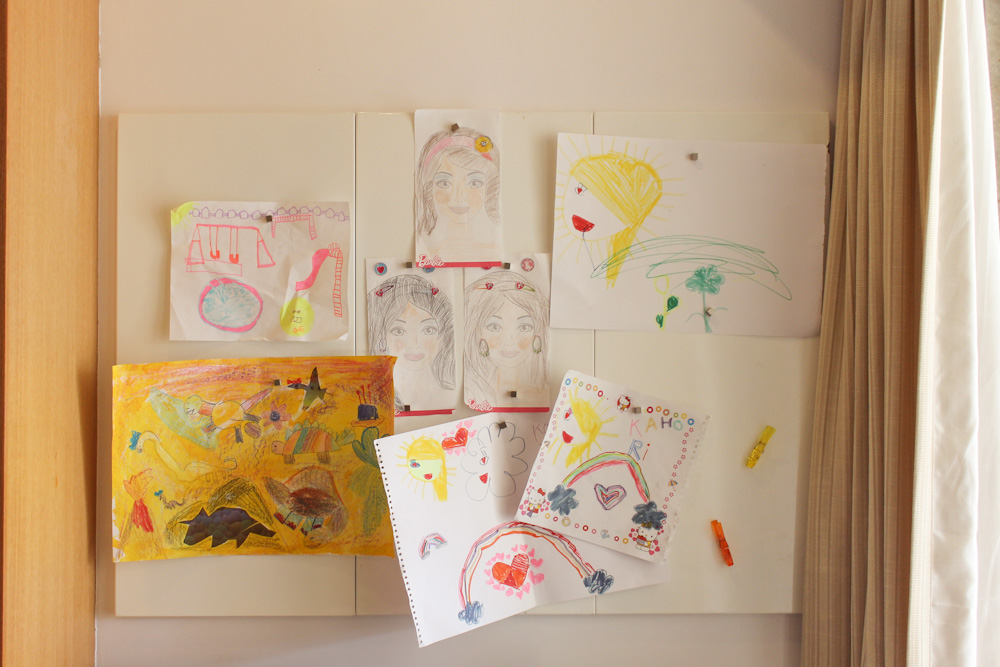
5. Make a place for kids drawings
IKEA SPONTAN MAGNETIC BOARD comes very handy for this. I am a big fan of IKEA’s Spontan magnetic board in white. I created a corner wall with three of them put together where I can display some drawings that my older two do. They give me so many drawings that I don’t know what to do with them. This way I can appreciate their little work and they can see their own work at least for a short while. Then they unfortunately move on to the trash. There is so much you can keep in your home.
7. Use a cute basket as a storage
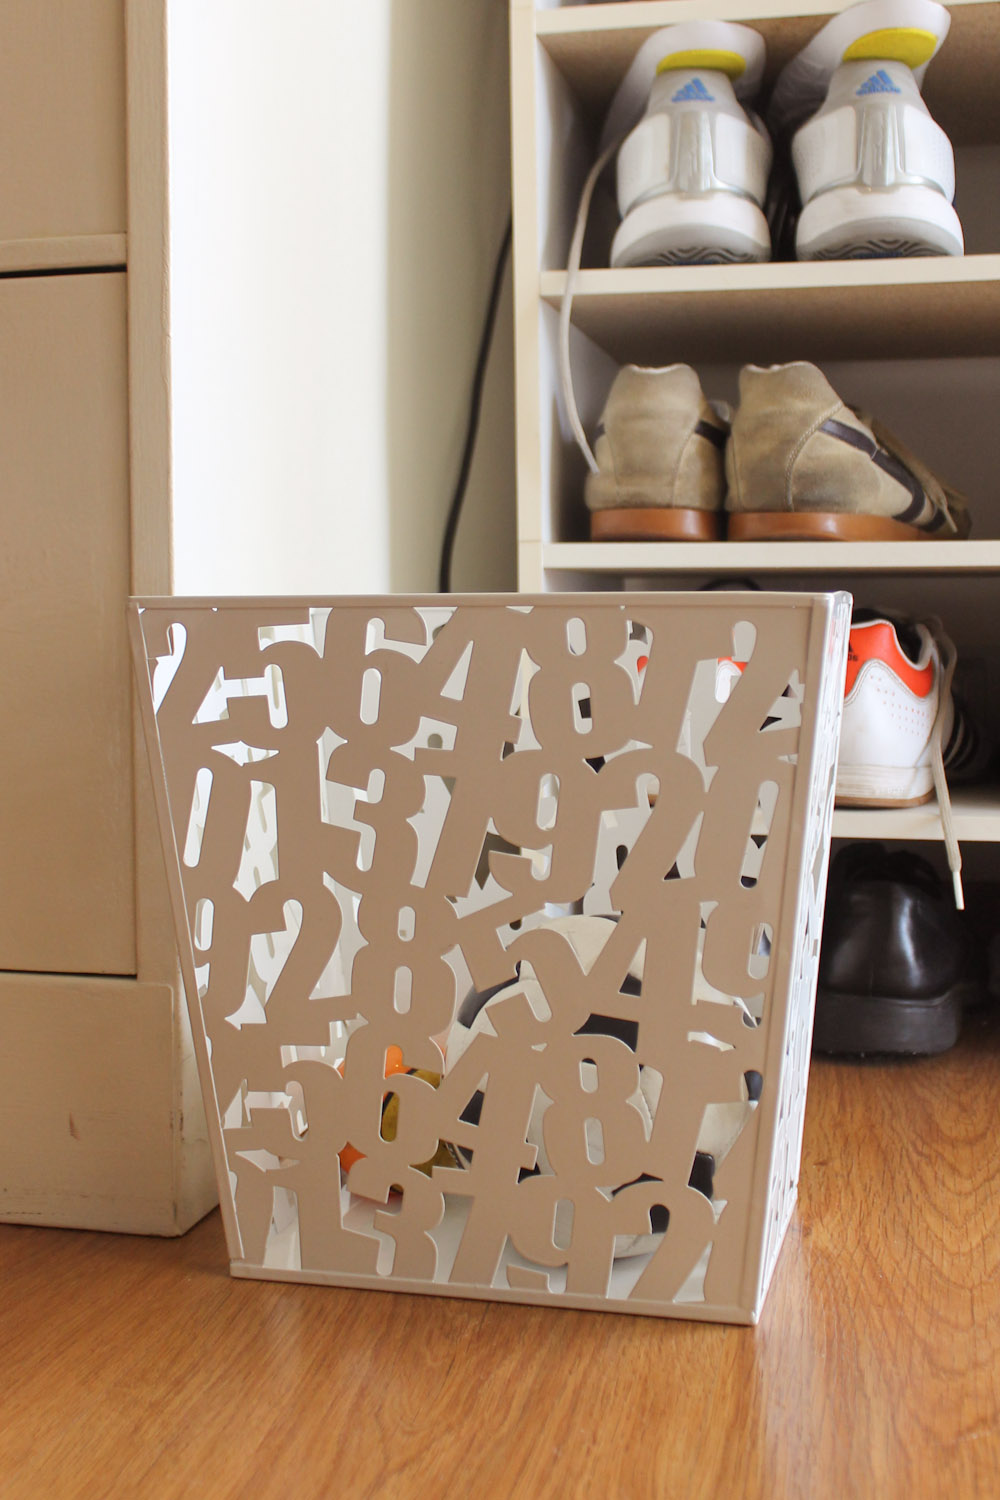
I love my white trashcan I purchased in Jakarta, Indonesia at Informa store. I used to love going to Informa when we lived there because sometimes you can find some fun items. This is a trash can, but we kind of use it as a basket for my son’s toy balls. He loves to kick any round or non-round objects and they need a place to be put away.
It looks like I need to do some work on the shelves… It is still work in progress.
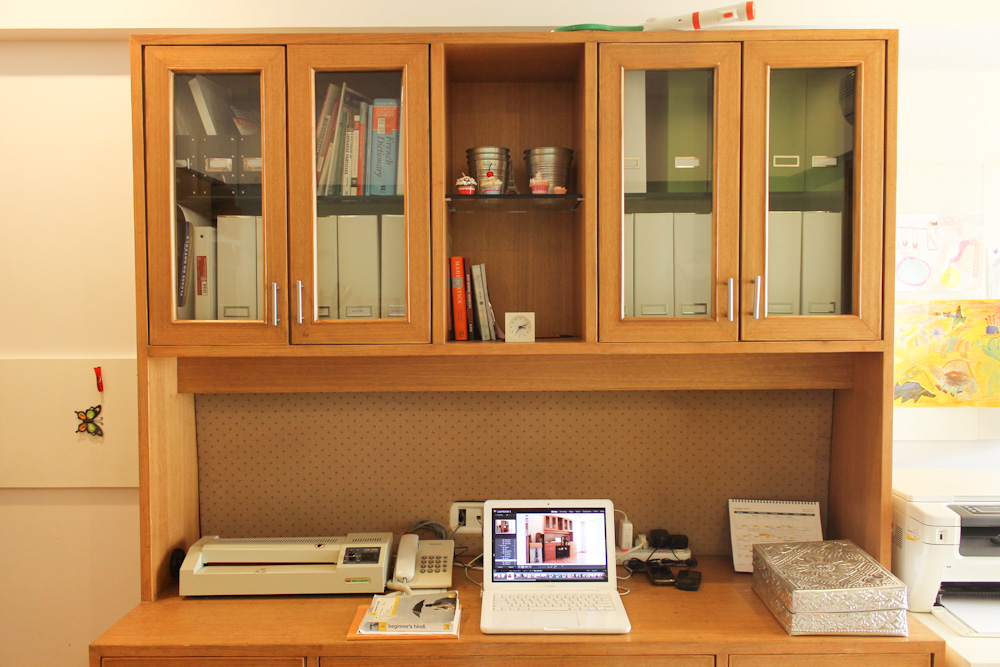
Please ignore my mosquito racket. I have to have it in a convenient location!
Work Area
I need to change the fabric in the back of this board. I will get there eventually… I have to find a furniture stapler for this project first.
5. Distinguish your need and fit it in a room
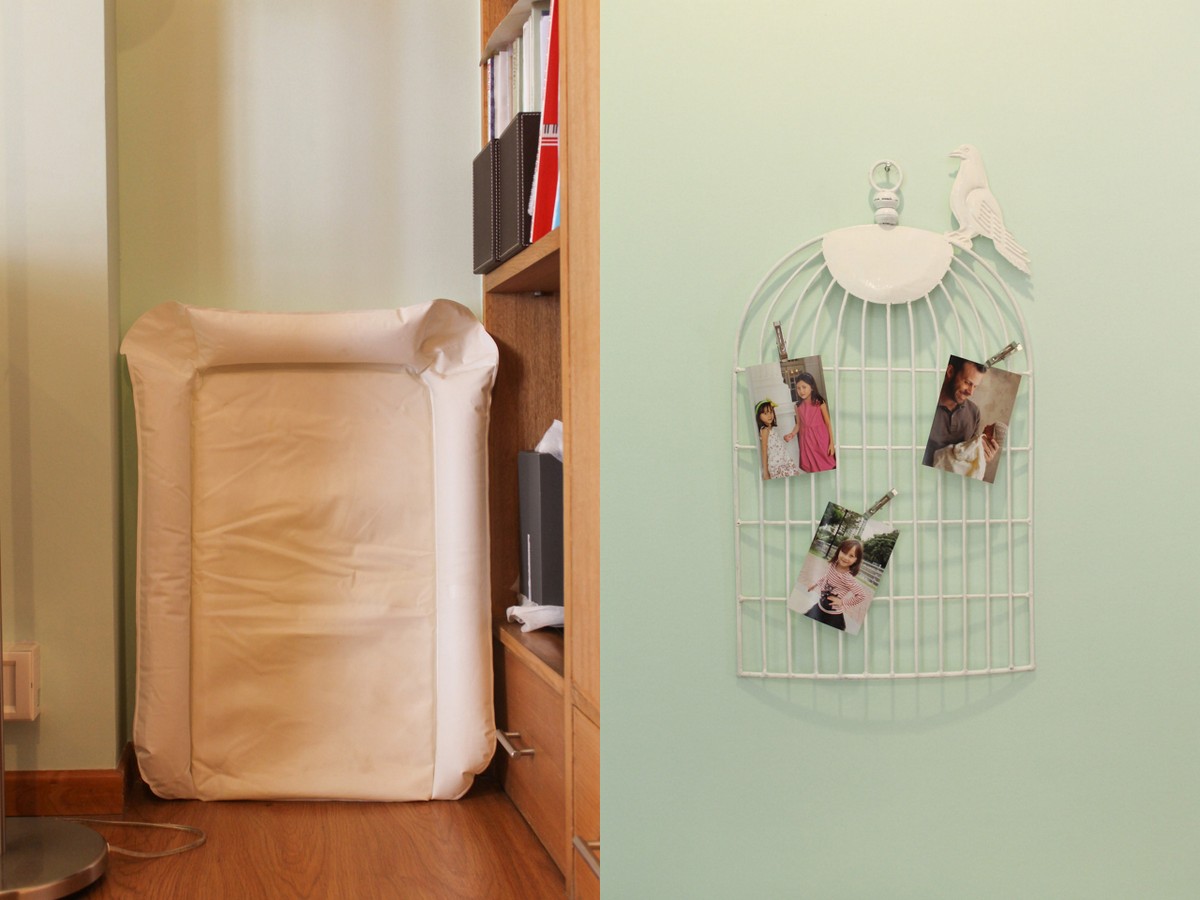
My toddler son wears diapers, so diapers need to be stored somewhere. I figured that a study is better than our living room or dining room. The white mat is an IKEA’s Gullunge changing pad. I don’t have a diaper changing station any more, so I use this on the floor when I change my son’s diaper in our study and after it’s done it’s usually placed against the wall.
I decorated my Paisley Things bird cage wall display. This cage wall decor came with tiny wooden clothespins, but the moving company staff threw out the wrapping without realizing that the pins were in it. I have to look for new ones, but in a mean time, I use the metal ones I found very cheaply in Mumbai.
This room is still work in progress. I have some other clutter that I see which I want to hide very badly, but I am trying to relax and take it easy. I have time. I can’t spend all my time decorating our new home. I have kids to attend and a life to enjoy. This is thus what I have done so far.
I hope you enjoyed my post!
One of the fun things of stalking your blog is watching how you transform ordinary rooms into something fresh & chic like you just picked them out of some interior magazines :).
Oh btw, I saw this clever idea on Pinterest on kids arts & craft or drawing, take photos of each them & turn them into a photo book. That way you don’t feel too guilty for throwing them away ;D
Fenny, so nice of you to say! Thank you!! Taking photos of arts & craft work done by kids is a cleaver idea! My middle child’s teacher also mentioned that I could take photos of her work when she handed me this tick big file of her school work just from one semester so that I don’t have to drag it to other parts of the world when we move. Now I have 3 kids, I simply don’t have enough storage space for all of them to be kept in the future. I’ve got to get organized!
Hey Kaho, you are so fast! I swear I am in awe of how fast you transform your rooms. I like you am still in the process but I don’t have the guts to post them yet on my blog. I think I am waiting until I am completely done, but I think I am putting to much pressure on myself. I will follow your lead and just go for it. It will be more fun to see how each room tranform on my blog aye? I am always so inspired after reading your home post! I should totally get crackin’ on my DiploHome posts!
By the way for the fabric backing of your desk, I have a super simple suggestion that doesn’t even need stapler or glue. I will post the DIY solution on my soon and I think you will love how easy it is. Will pm you once the post is up!
You should totally post how much you have done. Then if you make changes, that will be another post!
I would love to learn how to transform the fabric backing of my desk without stapler or glue! That would be really cool!
I love seeing how your transform the homes you have lived in! Particularly like how you always manage to combine adult and kids spaces together in a very harmonious way. Looking forward to seeing more transformations in this home 🙂
Thank you, Corsage! I appreciate your kind words!!